Knowing that my schedule would be crazy, I wrote up a couple posts about the first few weeks of the Broken Panes Quilt Along. I did that, got busy and didn't look at the blog until today. Imagine my surprise when I didn't see my posts. 😲 I quickly went to my info page and realized that I forgot to actually schedule the posts! I simply saved them as drafts instead of scheduling them.
The good news is that I can resolve that issue by simply combining the two and provide a single post for the first two weeks. (I've also gone back and made sure that all of my other posts are scheduled and not just saved. 😁)
Let's start from the Beginning...
Jen over at PBJ is hosting a Quilt Along for her Broken Panes pattern.

I knew as soon as I saw the pattern that I wanted to join the Quilt Along, so I pulled these fabrics.

Week One (last week) was all about cutting...
Check out Jen's post HERE
I have learned over the past few years that I often get distracted while cutting, which can result in some disastrous mistakes. To avoid that from happening, I now make a point of getting everything organized, label my fabrics, mark up my pattern to show what I need to cut, and finally mark it off when I actually cut it. It has really helped me make fewer mistakes and stay on track.
I tape snippets of fabric onto the pattern so there is no confusion as to which fabric is being used... (Obviously, I don't cover up everything like I did in this photo. I just did this to show the fabrics and cover the cut sizes. )

The pattern included instructions for four sizes so I've circled (in pencil) the size that I am making. That really helps me avoid mistakes!

Here's my nice, neat pile of cut fabrics.

I'm ready to get sewing!
See Jen's post HERE
Now that everything is cut, I've cleaned and oiled my sewing machine and I'm ready to start sewing the strip sets.
Sewing strip sets is really a time saver, especially is you follow a few simple "rules."
1) Don't stress about thread! Choose a neutral thread color so that you don't have to worry about matching thread to each fabric, which would require a bunch of thread changes. I often tell my students that if you see thread on the front side of your sewing, it's generally not a thread-choice problem, but rather a pressing problem or stitch length problem. Here are my favorite and most-often used piecing threads.


These are So Fine!, by Superior Threads. Can you see the colors in the first picture? It really isn't so much about color as it is light and darkness. All three of these blend well with most of my fabric choices.
2) Sew at a moderate speed (not super fast), to ensure that the edges of the strip sets match up properly and that you are actually sewing with an accurate and consistent 1/4" seam allowance.
3) Chain piece when possible. This really speeds up the process and saves thread. Click here for a more detailed explanation on chain piecing.


All the strips sets are sewn,


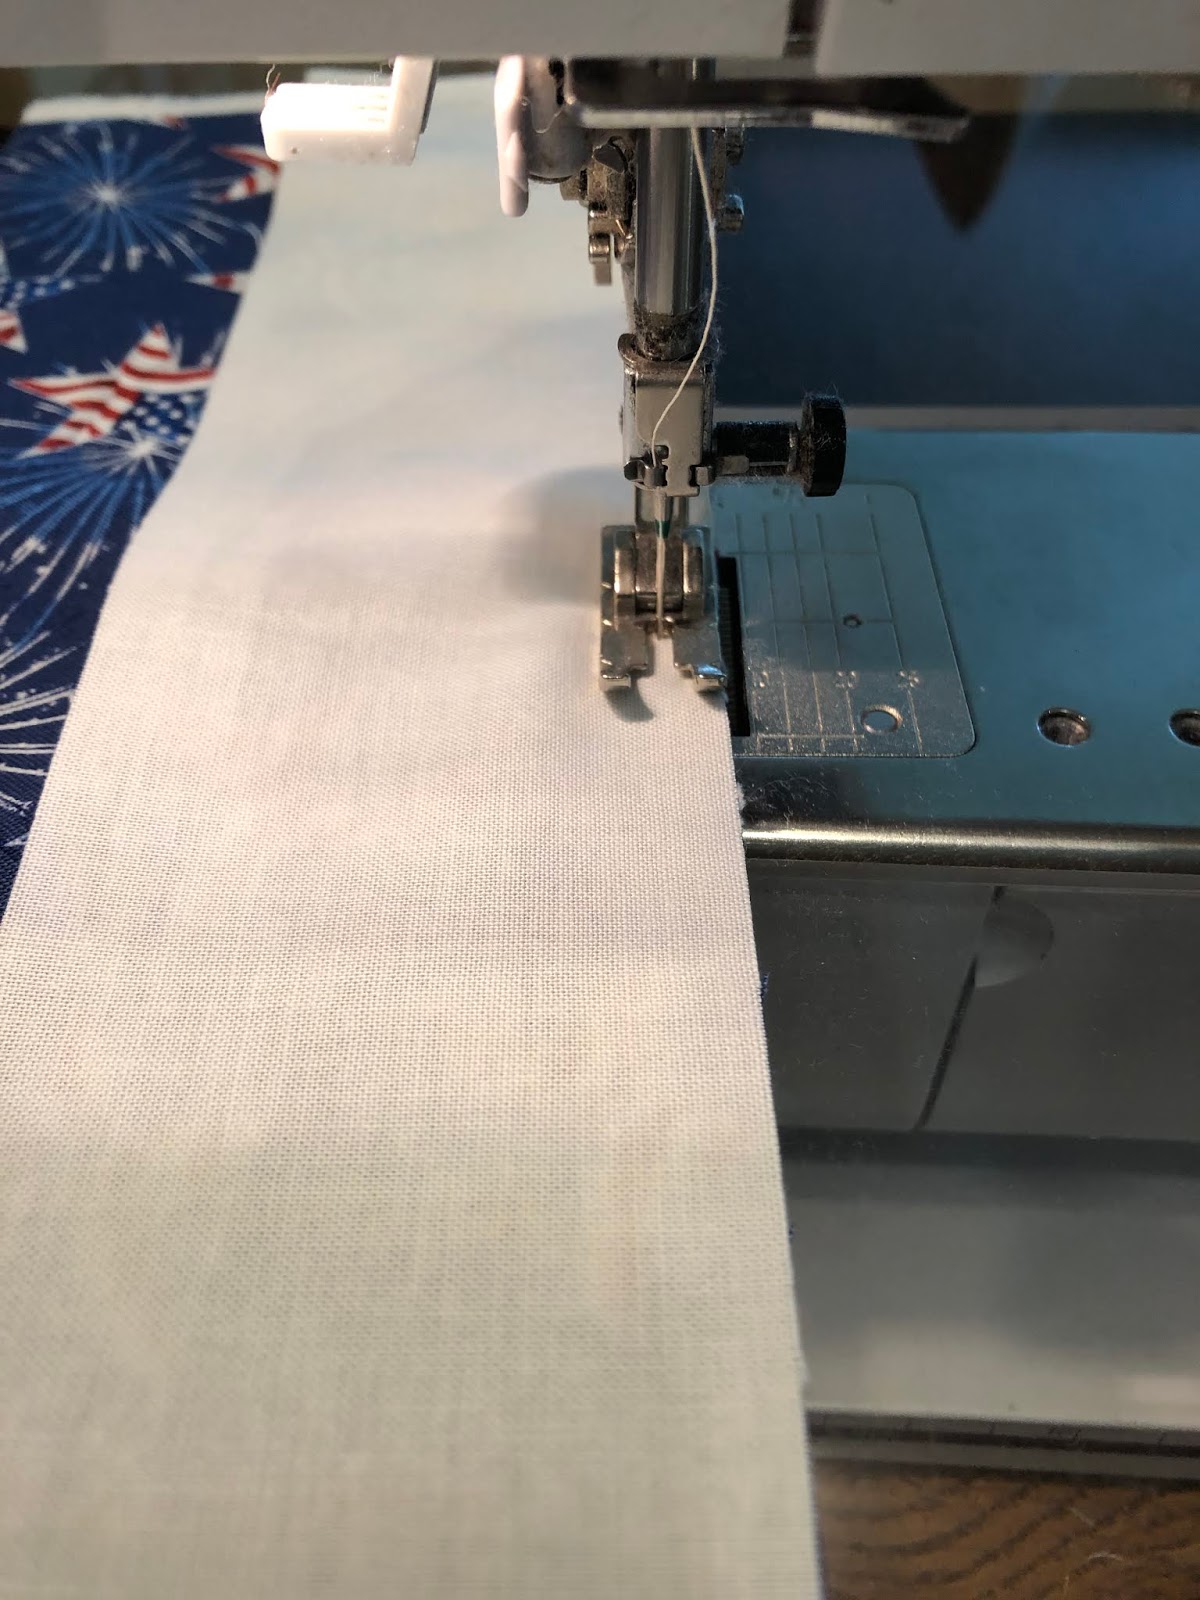
4) Take care when pressing to avoid creating a strip that "bows" or curves. I set my seams by simply laying the iron on top of the seam before opening it to press. (Be sure to read the pattern instructions so you know which way to press the seams!)


Here's my seam - front and back

It's time to start sub-cutting those strip sets.
5) Trim off the selvage to clean up the edge and have a nice straight place to start cutting. (Be sure to get not only the printed selvage, but also any holes that might be on the edges. Since those can be tricky to see, look at both the front and back of the fabric to be sure to catch them and remove them.)

6) Use both the vertical and horizontal lines on your ruler to be sure that you are accurately sub-cutting the strip sets.


Don't rush this part! Taking time to accurately sew strip sets and cut them is going to make your life and sewing experience so much easier and fun.
I've got everything cut and ready to sew...I'll see you on the 25th when we start sewing the blocks together.
