I completely forgot to share my Scrappy Leaf Potholder pictures and tutorial. Oh my...


Supplies
Fabric Scraps - at least 8” in length and in widths ranging from 1” – 2 ½”
Backing
Fabric – at least 8” x 11 ½”
Bias
Binding – approximately 2” x 30” per potholder
Cotton
Batting – at least 8”x 11 ½”
Insul-Bright
– at least 8” x 11 ½”
Leaf
Template
Instructions
Download and print the leaf template.
(I'm having trouble getting the download to work properly. If you want the leaf template, leave a comment and I'll send it as a pdf to you.)
Cut out the leaf and cut
the leaf in half along the dotted center line.
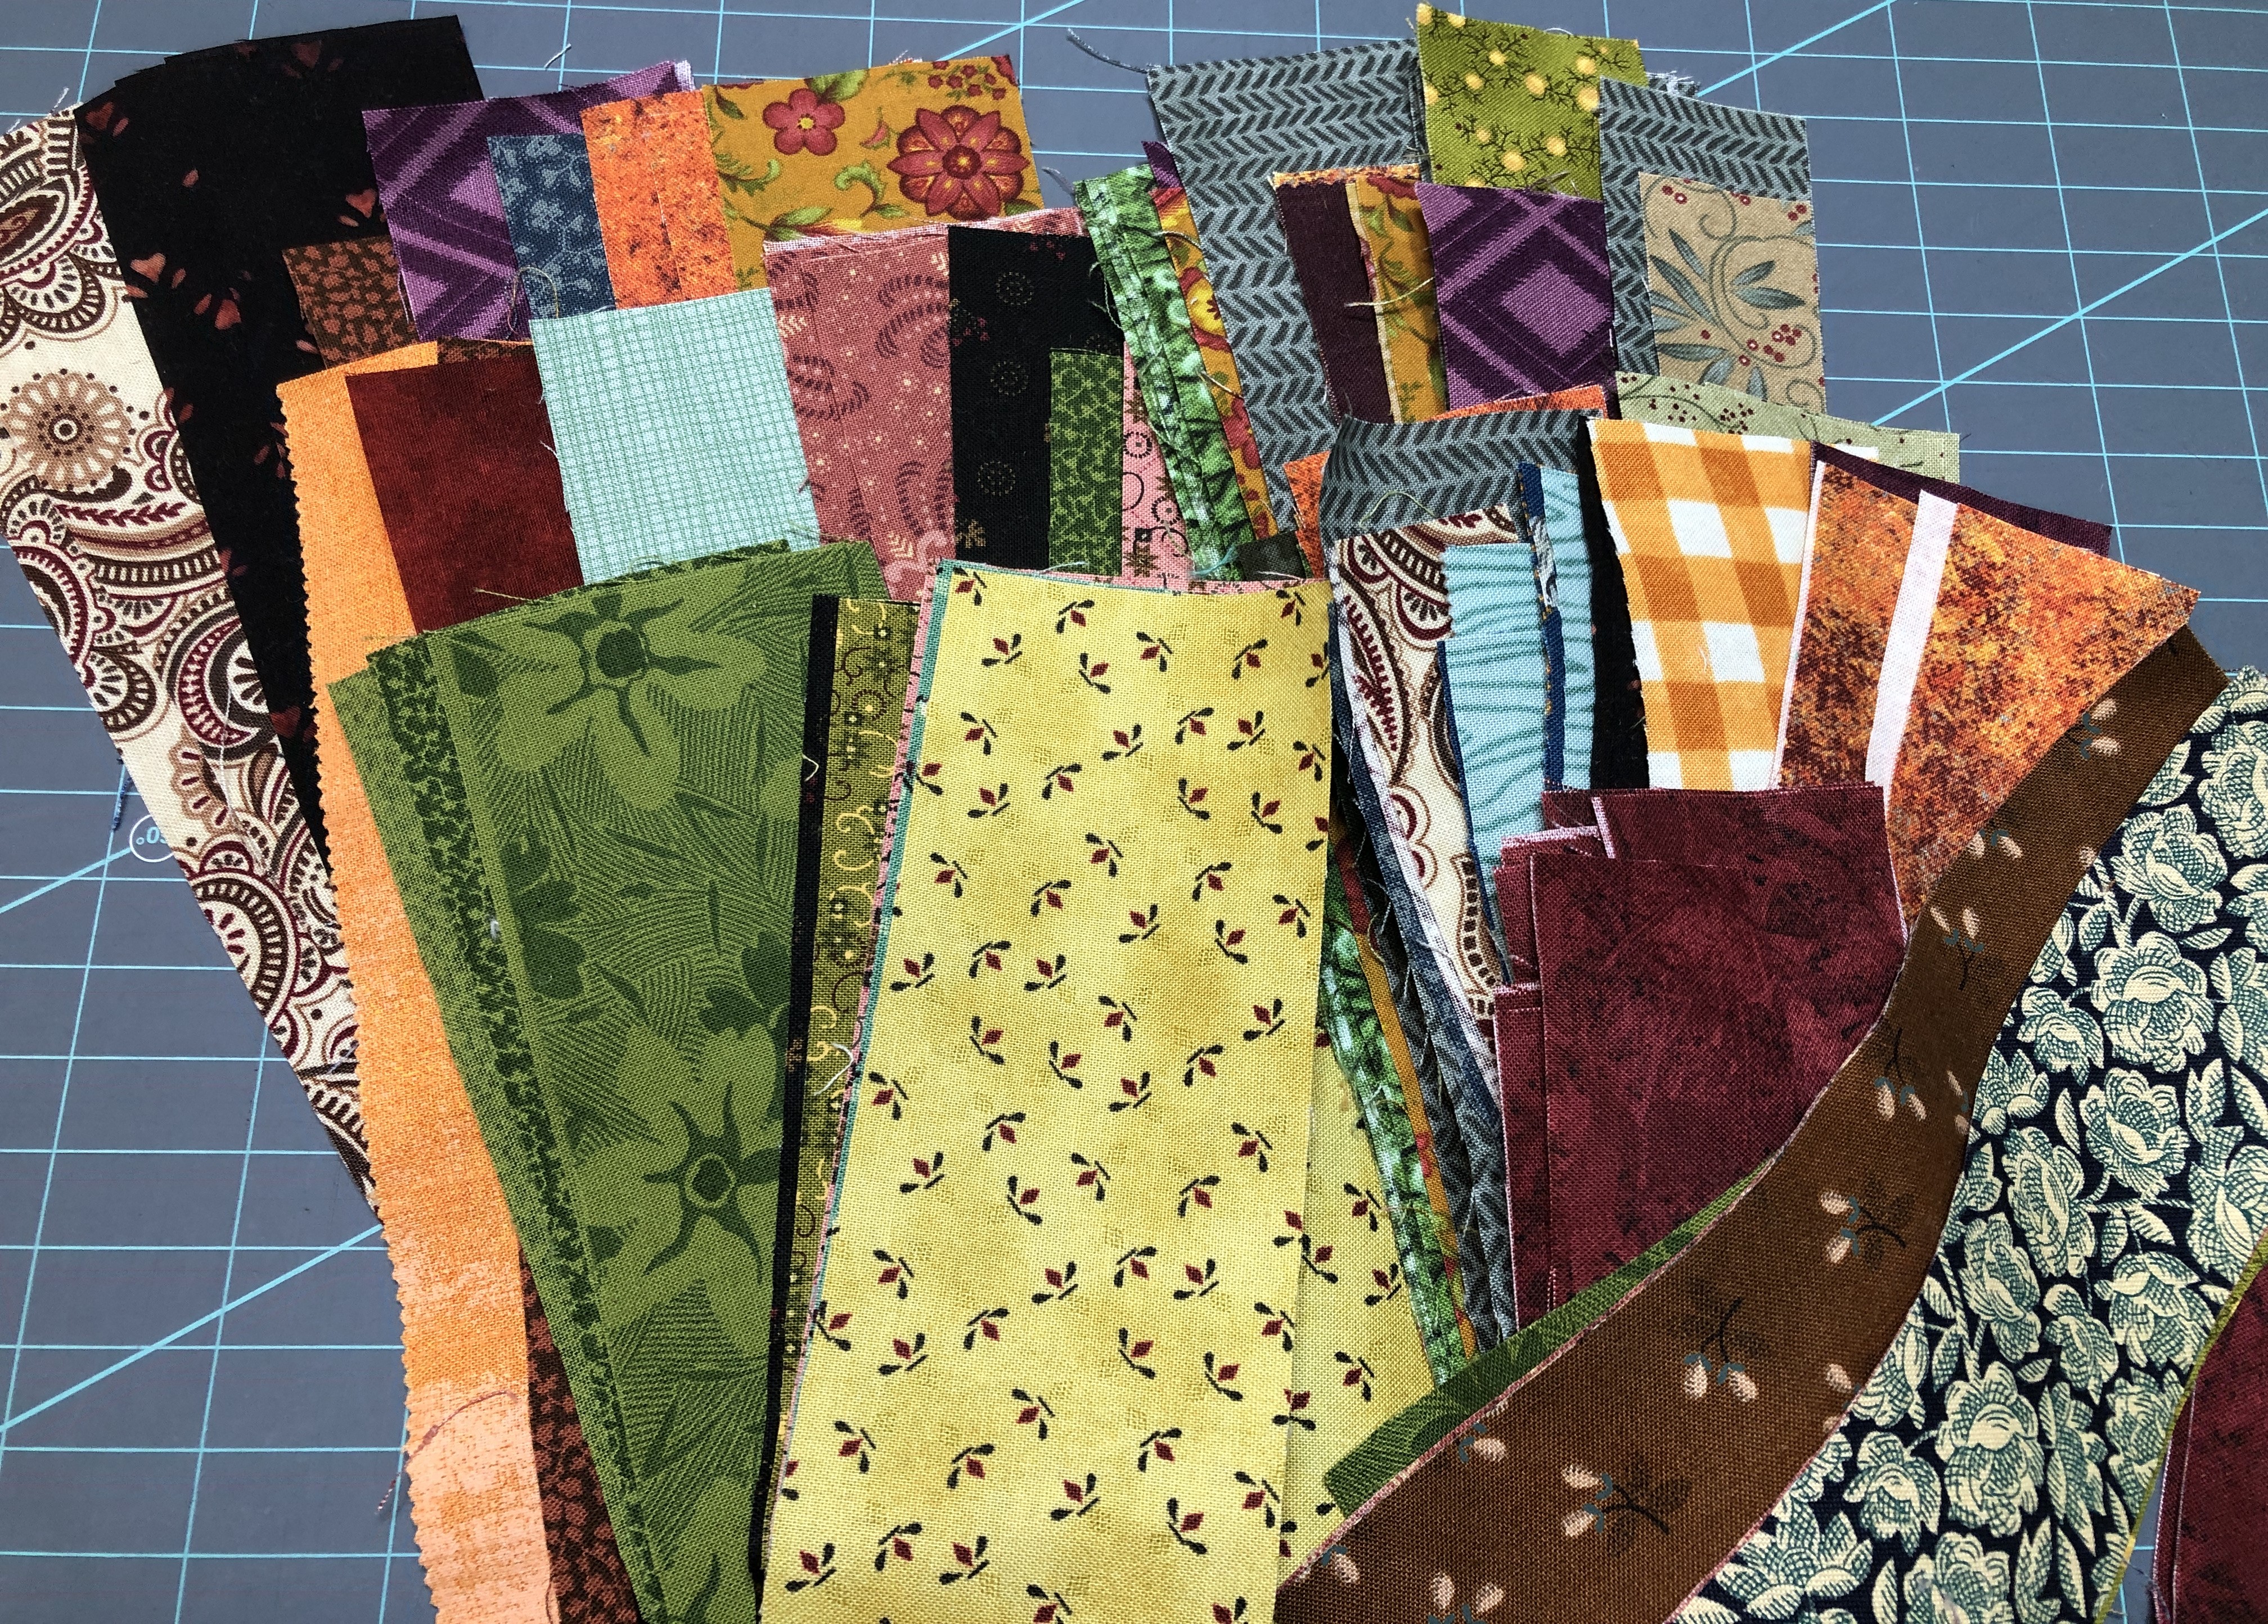
Cut fabric strips in various widths ranging from 1” to 2 ½”.
The strips need to be approximately 8” long.
Lay out strips and arrange them in an order that is pleasing to you. Using a ¼” seam allowance, sew the strips together. Continue sewing strips until you have a piece that measures at least 11” long. Press seams in one direction.
Sew at least 2 strip sets, using different fabrics, or fabrics placed in different locations in the strip set.


Sew the left and right leaf halves together and press seam open to reduce bulk. You will have 2 potholders ready to be quilted. The more strip sets you make, the more you can mix and match the sides and have a nice variety of “looks.”


One benefit of cutting strips a variety of widths is that you don’t need to worry about matching seams. Sometimes they will match up perfectly, while others will be more whimsical and will be playfully mismatched.


Layering the Potholder
*In
my house, the side of the potholder that will touch hot dishes is always the
backing. It is usually not pieced and the side that I don’t mind getting dirty
or even burned. The shiny side of the Insul-Bright faces the heat source so it
can reflect the energy back to its source. The cotton batting is next to the
top/pieced part of the potholder and provides a barrier to protect your hands.
Layer the potholder as described below:
Backing – right side DOWN
Insul-Bright
– shiny side down toward the Backing
Cotton
Batting
Leaf
Potholder – right side up.


The leaf is curved, so bias binding will make binding this much easier. I like to hand stitch binding, but you can sew it down by machine, if desired.
Trim the potholder around the leaf edges. I used 2" bias binding and used my favorite binding method of sewing to the front and then hand stitching it to the back.


Enjoy!!