Saturday, November 11, 2023

Veterans Day

A Veterans Day Prayer:

Father God, we ask You to pour out Your grace and renewed hope and strength to those who have so sacrificially protected and served our country. Provide and abundantly bless our Veterans and their families. Holy Spirit comfort, heal, and bring peace to the hearts and homes of all of these brave heroes as only You can. Amen.


I was honored to award 20 Quilts of Valor during the Veterans Day Program at Monroeville High School yesterday.  


This is the 8th years that the school has been involved with awarding the quilts. In recognition of the 20th anniversary of the Quilts of Valor Foundation, we set a goal of awarding 20 quilts at the program. I knew it would be challenging to get that done, but I had faith that it would happen. 

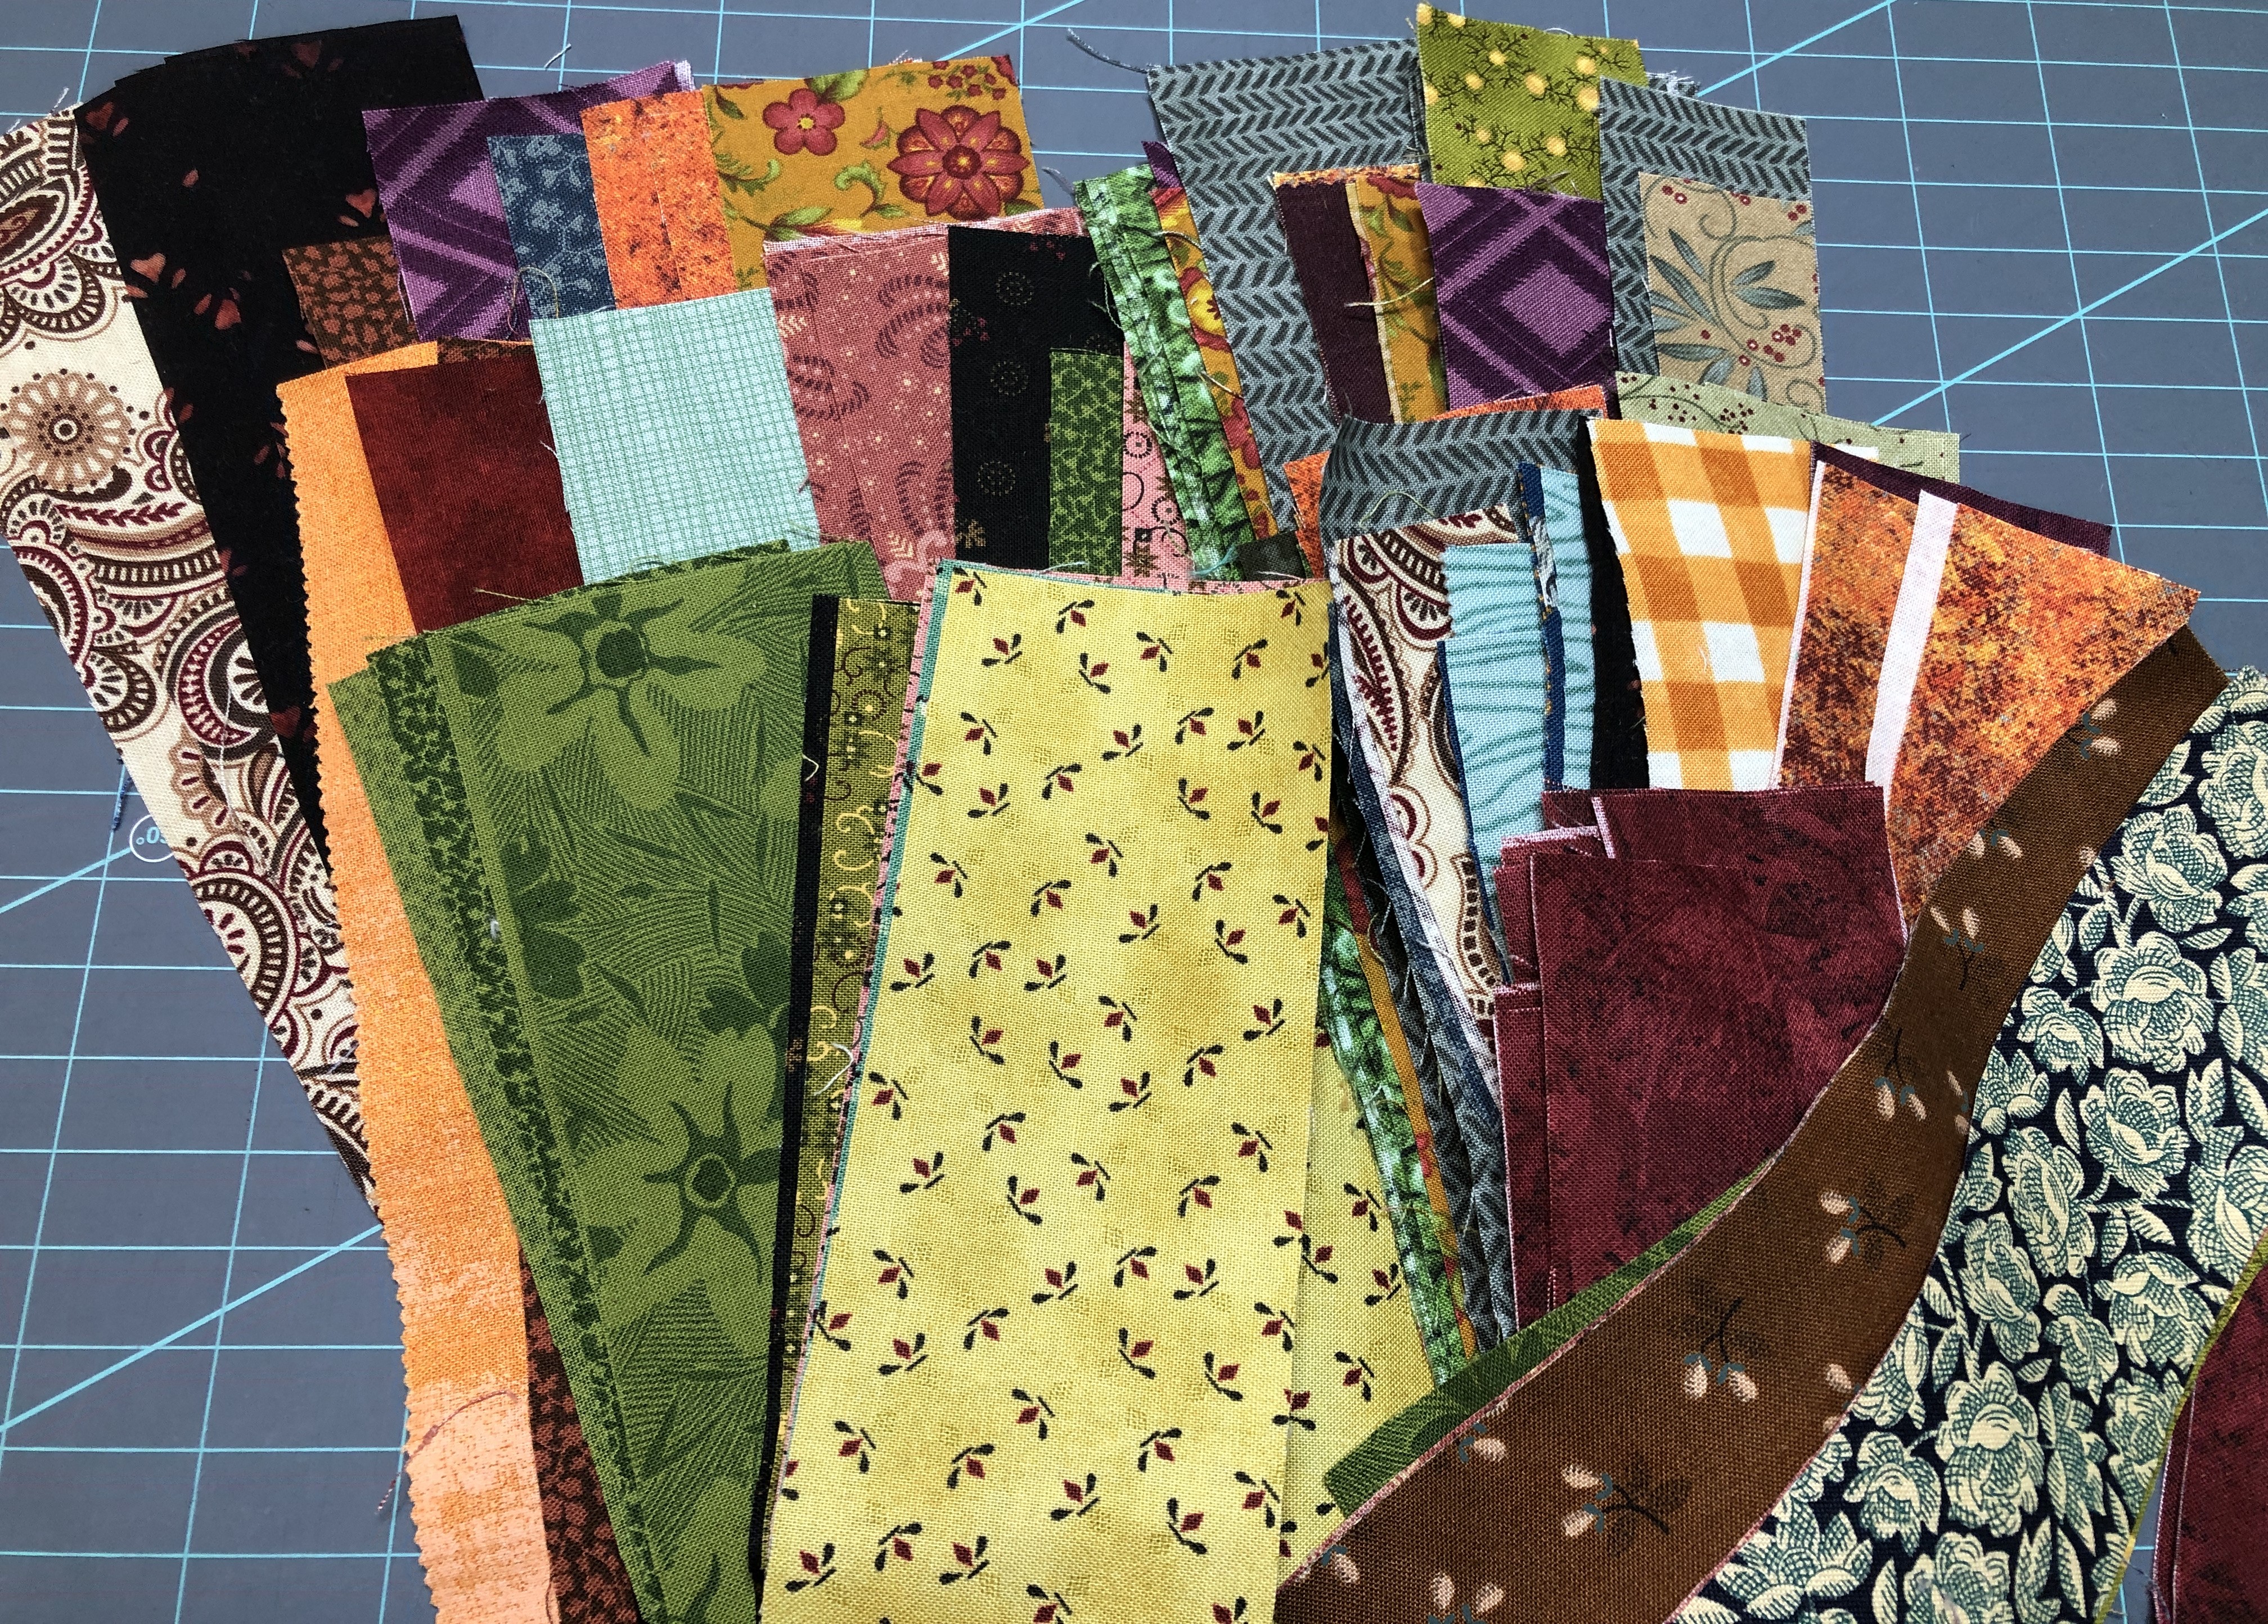
Earlier this year, I gave a program at my local guild's meeting with the agreement that I would waive my fee if they allowed me to have a "garage sale" afterwards to raise money for this project. Think about twenty quilts and the amount of fabric, batting, and backing that was going to be needed to make them. I needed money to pay for that, so I went through my stash of notions and fabric and sold them to raise money. I was thrilled with the results and was overwhelmed with gratitude when the guild also paid my fee. One member also handed me two quilts and a big bag of patriotic fabrics for me to use. I am blessed! 💗💗    

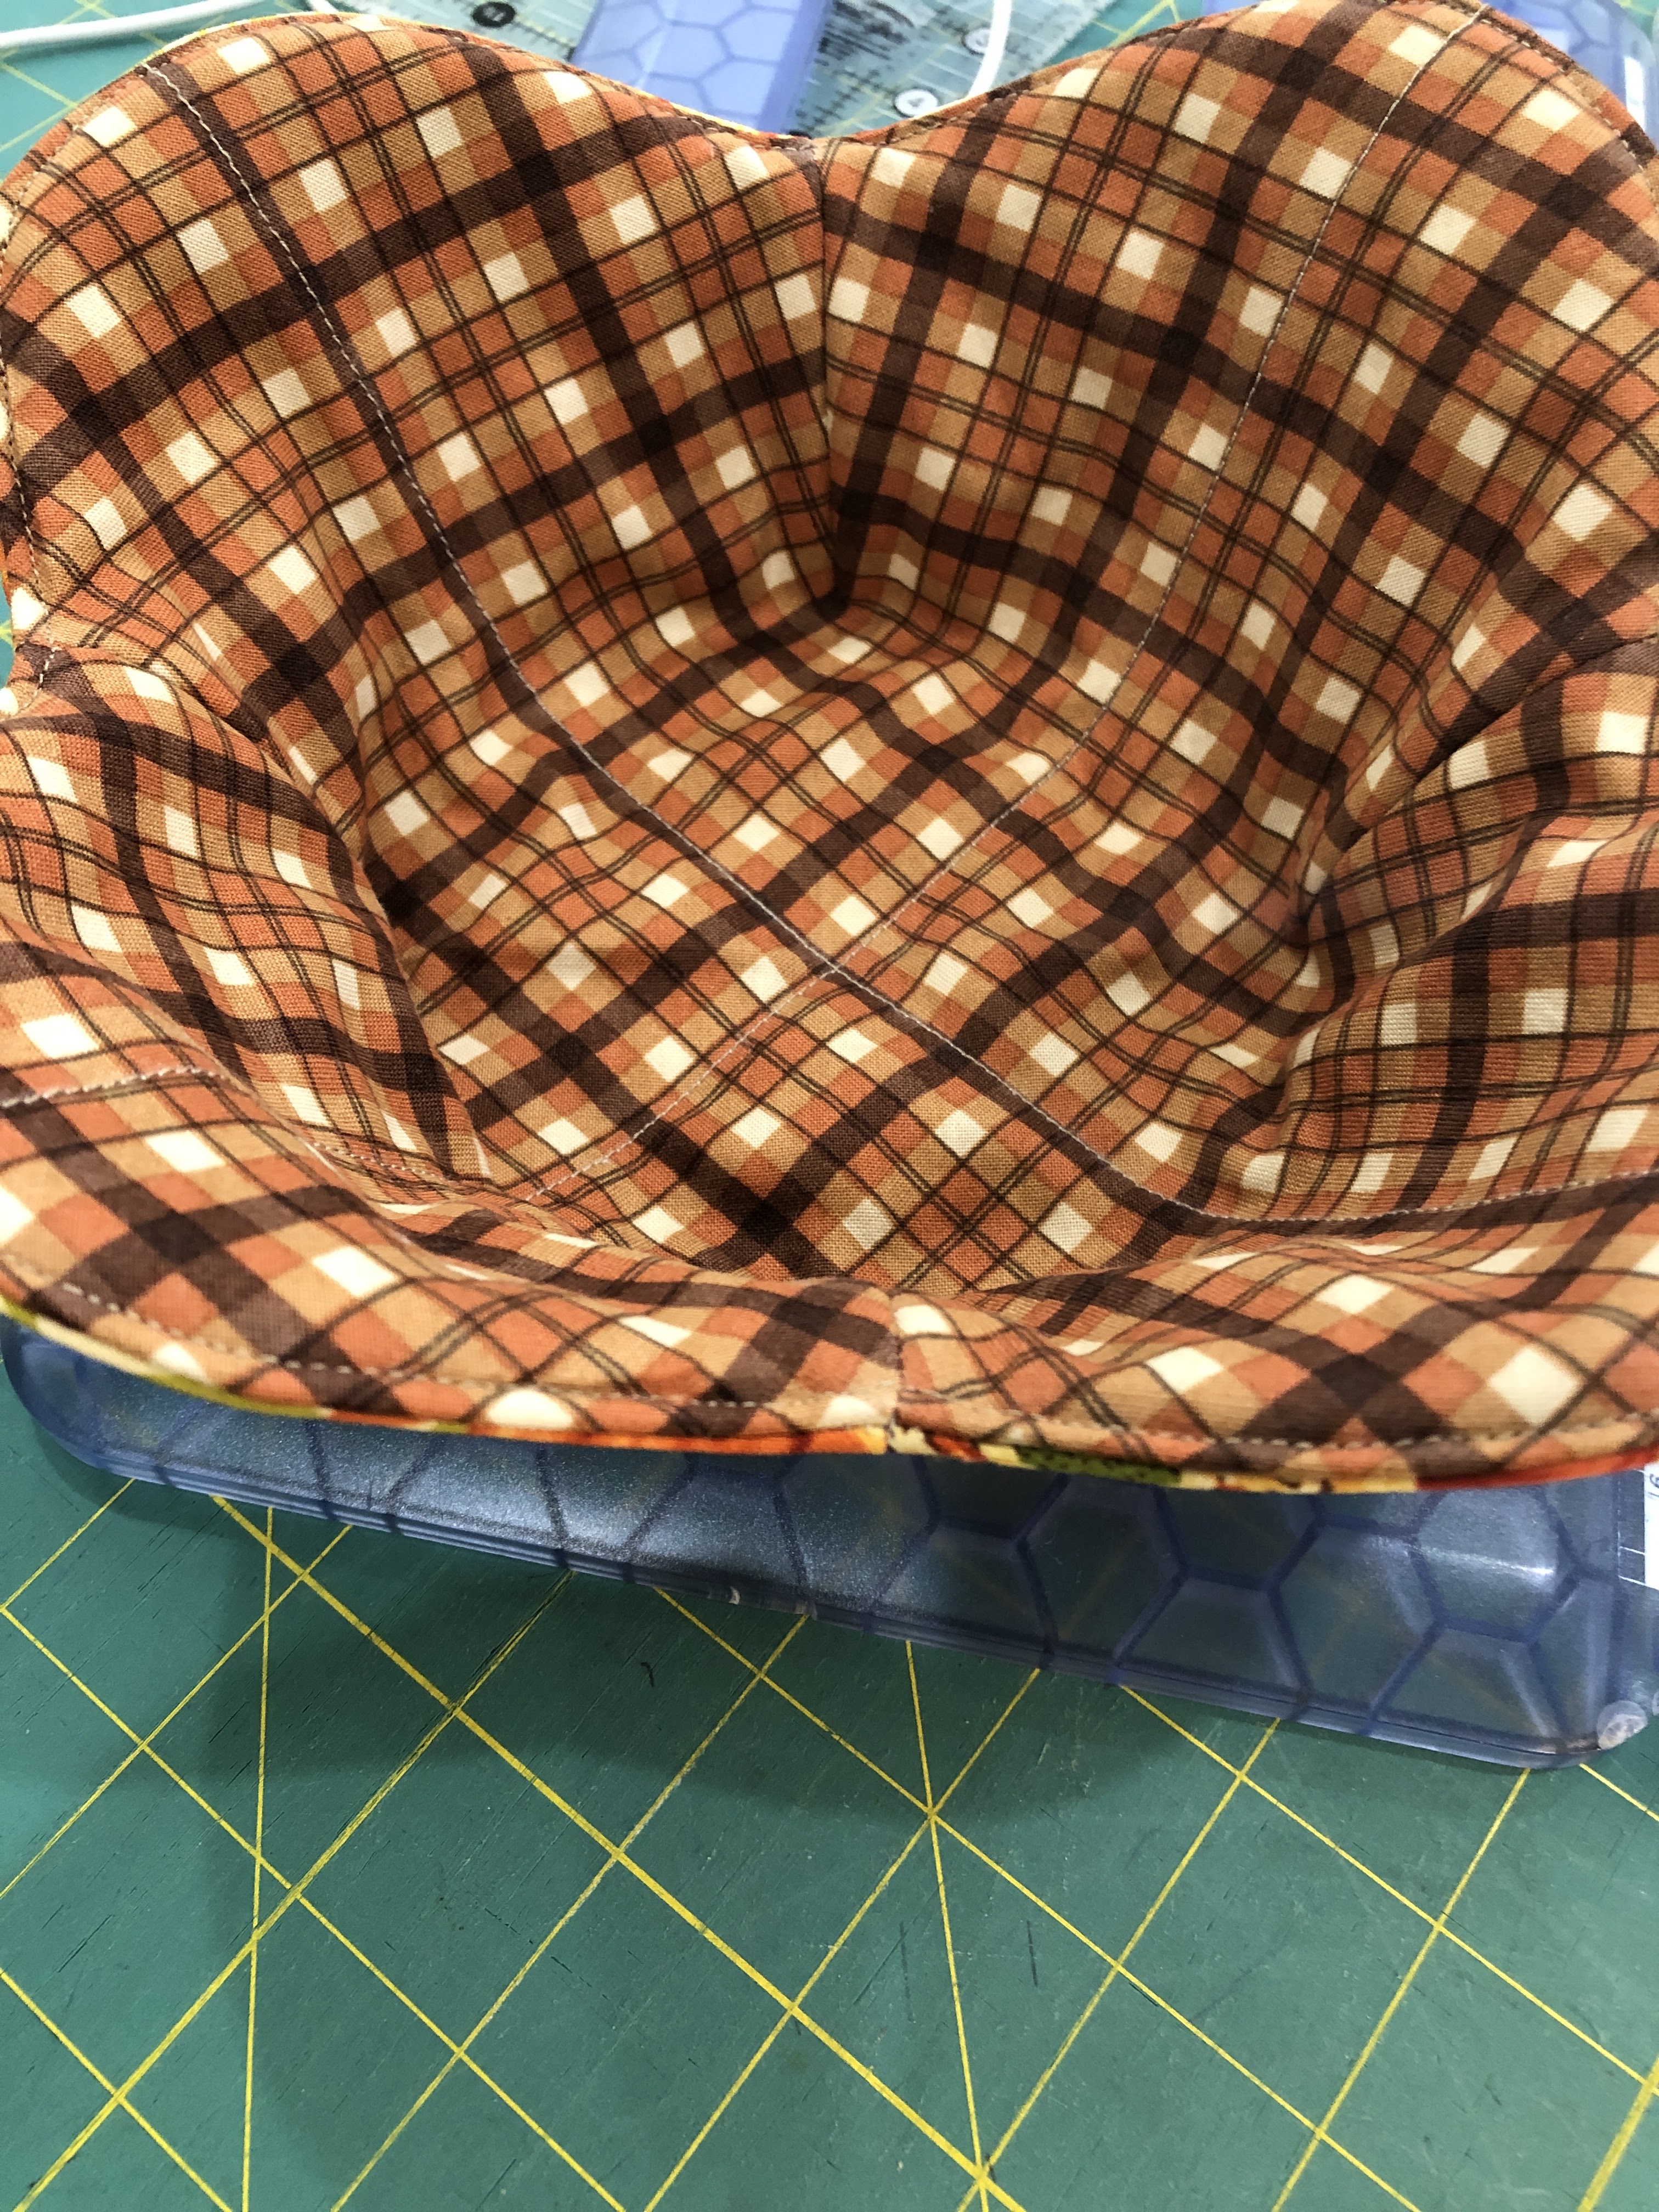
I spent months working on QOV projects as leaders and enders, pattern tests, and class samples. When I could, I quilted and bound these quilts. In August, I received a phone call from a friend who works at a local hospice, asking if I had three quilts that I could award to three veterans who had expressed the desire to receive quilts. I am sure you already know how I answered that question. I figured it was only August, so I had plenty of time and could certainly make three more quilts. 

Life got very busy here and about three weeks ago I knew I was going to need help. I reached out to a friend who is involved in a local QOV group. She put me in contact with her group leader and they provided me with three quilt tops. I would need to quilt and bind them (the binding was included), but that was not going to be a problem. To say I was relieved is an understatement! I also had a couple of friends who offered to help with binding or whatever else I needed, but I still felt that things were "doable" for me. (Ok, so maybe what I just described is really called being stubborn or obstinate. Maybe...LOL)   

Fast forward to two weeks ago when I woke up with sharp and constant pain in my back, side, and abdomen. I know that pain well and realized I had a kidney stone. Oh my goodness! I did not have time for this! We made a trip to the ER to verify and get some medication to help along the process. If you've ever experienced a kidney stone, you know that it is not fun and quilting just was not going to happen. It took nine days (and a second trip to the ER) for that stone to pass, but more importantly, I lost nine days of QOV sewing. I will admit that I may have started to panic. 

I took a deep breath, said a few prayers, and decided that I could do this. I HAD to do this! I am blessed with a husband who "gets" me and my somewhat insane ideas, and he stepped up and really helped me stay calm and on task. Thursday evening, while he was at rehearsal, I completed the final quilt. I am not ashamed to admit that I was quite emotional at that point. I was not emotional about how close I was to not getting these done; but rather, I was emotional about the reason I was making these quilts. 

THANK YOU VETERANS!

Friday, I was overcome with emotion a few times during the program, especially when the elementary choir was singing. Those children were so passionate and it gives me such hope for our future and the next generation. The program organizer Melissa, did a wonderful job incorporating student participation. Students were invited to enjoy breakfast with their veteran family members and it was so much fun to watch generations spending that time together. Students were also involved in the introductions of the veterans and the wrapping of them. It was wonderful! The school hallways were decorated with amazing artwork from all grade levels and I know the veterans enjoyed seeing it during their walk from the cafeteria to the athletic complex where the program was being held. Great job students!

I always get emotional when I hear the Armed Forces Medley and yesterday was no exception. The band sounded great and it was a wonderful tribute to all branches of the military!  Here is a YouTube link that is from this past Memorial Day program in Washington, DC. This medley includes the Space Force, and I think it is my new favorite version. Armed Forces Medley 

It's lesson time... (clinking on each link will take you to more detailed information) 

From Wikipedia:  The Armed Forces Medley, also known as the Armed Forces Salute is today recognized as a collection of the official marchpasts/songs of the 6 services of the United States Armed ForcesArmyMarine CorpsNavyAir ForceCoast Guard, and Space Force.[1] The medley is usually played in increasing order of precedence:[2]

Semper Paratus (US Coast Guard)

Semper Supra (US Space Force)

The U.S. Air Force (US Air Force)

Anchors Aweigh (US Navy)

Marines' Hymn (US Marine Corps)

The Army Goes Rolling Along (US Army)

Bottom line - all 20 quilts got made and awarded and the program went off with only a few minor hiccups. I am proud and honored to be a part of celebrating our veterans. I look forward to doing this again for many years to come. 

Thank you Veterans!

Wednesday, October 25, 2023

Tutorial - Scrappy Leaf Potholders

I completely forgot to share my Scrappy Leaf Potholder pictures and tutorial. Oh my...


I've recently been trying to use scraps and made bowl cozies. Those were fun and easy to make and l really liked how they turned out using scrappy strip sets. 


Since I made quite a few strips sets, some of which were kind of small, I decided to use the same concept for making potholders. These really are fun and easy to make. And...I love how they look!

Here's the process I used for making these fun and function potholders.


Supplies

Fabric Scraps - at least 8” in length and in widths ranging from                               1” – 2 ½”

Backing Fabric – at least 8” x 11 ½”

Bias Binding – approximately 2” x 30” per potholder

Cotton Batting – at least 8”x 11 ½”

Insul-Bright – at least 8” x 11 ½”

Leaf Template


Instructions

Download and print the leaf template

(I'm having trouble getting the download to work properly. If you want the leaf template, leave a comment and I'll send it as a pdf to you.)

Cut out the leaf and cut the leaf in half along the dotted center line.

Cut fabric strips in various widths ranging from 1” to 2 ½”. 

The strips need to be approximately 8” long.

Lay out strips and arrange them in an order that is pleasing to you. Using a ¼” seam allowance, sew the strips together. Continue sewing strips until you have a piece that measures at least 11” long. Press seams in one direction. 

Sew at least 2 strip sets, using different fabrics, or fabrics placed in different locations in the strip set.


Lay the right half of the leaf template on one strip set, tilting the tip to the right. 
Cut out the half leaf shape. 
Rotate the strip set and cut a second right half of the leaf template. 


With the other strip set, lay the left half of the leaf template, tilting the top to the left. Cut out the half leaf shape. Rotate the strip set and cut a second left half of the leaf template.


Sew the left and right leaf halves together and press seam open to reduce bulk. You will have 2 potholders ready to be quilted. The more strip sets you make, the more you can mix and match the sides and have a nice variety of “looks.” 

One benefit of cutting strips a variety of widths is that you don’t need to worry about matching seams. Sometimes they will match up perfectly, while others will be more whimsical and will be playfully mismatched.

Layering the Potholder

*In my house, the side of the potholder that will touch hot dishes is always the backing. It is usually not pieced and the side that I don’t mind getting dirty or even burned. The shiny side of the Insul-Bright faces the heat source so it can reflect the energy back to its source. The cotton batting is next to the top/pieced part of the potholder and provides a barrier to protect your hands.

Layer the potholder as described below:

Backing – right side DOWN

Insul-Bright – shiny side down toward the Backing

Cotton Batting

Leaf Potholder – right side up.


Quilt as desired.  


Binding

The leaf is curved, so bias binding will make binding this much easier. I like to hand stitch binding, but you can sew it down by machine, if desired. 

Trim the potholder around the leaf edges. I used 2" bias binding and used my favorite binding method of sewing to the front and then hand stitching it to the back. 

Enjoy!!

Wednesday, September 20, 2023

Scrap Sewing Continued

I am happy to say that I worked with the pile of scrappy strips that I shared yesterday. 

Last night I sewed a few strip sets.  


As you can see from the picture taken after they were pressed, the edges do not need to be even. The length of the sets needed to be approximately 12" for the long ones and 8" for the short ones.


The 12" strip sets also needed to measure at least 11" tall.


The 8" strip sets also needed to measure at least 11" tall. 


I decided to work with the long sets first. I am presenting some demos at an upcoming event at Chestnut Ridge Sewing, so I decided to "practice" one of my demos using scraps, rather than yardage. I'll have a sample of how I used these strip sets with me. If you are in that area Thursday or Friday, stop in and see me. I'll be in the classroom. :-)

I am sure many of you have made bowl cozies, but I will admit that I made my first ones this past summer and really enjoyed making them. Here are a couple of pictures of one that I made. 


I used the Creative Grids Bowl Cozy Template Set and love the fact that I can make two sizes with it. I like the scallop edges, and think it makes picking up the cozy really easy. Plus, I just like the way it looks. :-)


I decided to make a small cozy using scraps and I really like how it looks. (There is a a template available from The Gypsy Quilter for use with 2.5" strips, but I really wanted to mix and match strips widths.) I also used the pre-cut 100% cotton batting, which made this cozy go together very fast. (Taking pictures of this is NOT easy.  LOL)


Just because I can, I am going to share a few pictures showing my process and a few of the adjustments I've made from the original pattern. One of the reasons I had not made any of these prior to this summer was that quite honestly, I was never much impressed with them. I always felt that they kind of looked sloppy and I didn't like the "fullness" or "not fully quilted" look of the ones I've seen. I am a quilter and while I don't like overly dense quilting, I really don't like quilting that is spaced too far apart. (Yep! I'm picky.)

Ok...back to the process. As you can see from the strip sets below, there is no real rhyme or reason to my strip sets, other than that they should measure at least 11" high by 12" long. I do prefer to have a wider strip on the ends and not a really narrow one, like 1". I think that makes any needed trimming easier. 


I squared up the strip sets to 11" x 11", as per the instructions on the template set. (I've seen instructions that say to start with 10" - 10.5" squares, but that is too close for comfort for me.) 


Using the instructions on the template set, I folded and cut the strip set to end up with this odd looking piece. The cut out V sections are for the darts that will be sewn after the pieces is quilted. This, and the curved sections create the scallop look that I like so well. (I'm not going to show how to cut the template. It's pretty straight forward if you follow the instructions on the package. That, and the fact that I forgot to take pictures. LOL) 

Using a chalk marker, I drew the lines I wanted to quilt. This is more than usual, but as I said earlier, I like these cozies to be more heavily quilted. 


For this scrappy cozy, I also stitched in the ditch of all the seams. Here is a picture from the back, showing all of the lines of quilting that I added. It looks like a hot mess, doesn't it?  


Here is a picture of the back of the original cozies that I made. This shows that I sewed a few "extra" lines on those from what is suggested on the instructions. I really like adding the stitching that creates a square along what will be the bottom of the cozy. I feel like it helps them stand more upright. Honestly, you can quilt as much or as little as you like. It doesn't matter. You can even use decorative stitches, if you want. You are the decision maker here. :-)


So...here is my scrappy bowl cozy. I like it and have enough strip sets sewn to make at least two more. I am also going to make a couple of the large cozies. That strip set will measure approximately 17" x 17" and be trimmed to 16" square. I'll follow the same procedure, including using the large pre-cut batting.  


Now...off to work with the small strip sets. That project is a little different, but along the same lines. It will also be used in the kitchen. :-) 

Tuesday, September 19, 2023

Working with Scraps

As I've recently posted, I have been very busy with "work" type quilting and I really want to sew something that is "just because." I know that the project needs to be quick and mindless, yet fun. 

So...while trying to clean up and organize my sewing area, I started playing around with an idea on a way to use some of my "smallish" pieces of fabric. You know what fabrics I mean, right? Those pieces that are too big to throw away, but too small to put in the tub with yardage. I know that I could (and I have) cut them into small segments to have on hand for scrap piecing, etc. Bonnie Hunter calls it her Scrap User's System, and I've used that on occasion. But honestly, I want to sew something and not cut and organize my overwhelming pile. (Yep, I'm kind of being a baby right now!) 

I needed to simplify things and just do a little bit; so I pulled out a bunch of small pieces of fabric that remind me of Fall colors. I pressed what needed pressed and reviewed my project idea. I made some notes, decided what I needed and felt pretty good, knowing that I will soon be creating/sewing something.

I will be working on two projects at the same time (of course!) and decided that for one of the projects, my strips need to be 12" long and for the other project the strips need to be 8" long. (Those lengths may be adjusted after I figure out what I'm doing.  hahaha)

I cut what I could lengthwise and then cut a variety of widths of fabric ranging from 1" up to 2 1/2". I put the strips in a pile, based on the length size. 

Here's what I have. 


I'm not going to lie. It feels pretty darn good to have cut up a bunch of fabric! You might recognize some of these fabrics. There are Kim Diehl fabrics, pieces from recent projects, and even some very old Thimbleberries fabric. I have no more of these fabrics in any yardage or even large pieces, and that feels really good. I am feeling better already and I haven't even sewn a stitch yet. LOL

Next, I'll review my the notes I made for the projects and start sewing. I'm still finalizing my project details and process, but I'll sew a test later today and go from there. I may try to sketch out something in EQ, but I don't think I want to do that right now. I just want to sew...

I'll take pictures and share my progress over the next few days.