Thanks for joining me today for my contribution to Corrie's (from Quilt Taffy) and Mdm Samm's Dots on Dots Blog Hop. I hope you've been following along and enjoying yourself as much as I have.
Thanks Corrie and Mdm. Samm for all the work you put in to organizing and preparing this blog hop. You two are awesome!
Here's a list of other bloggers who are posting today. Be sure to check them out.
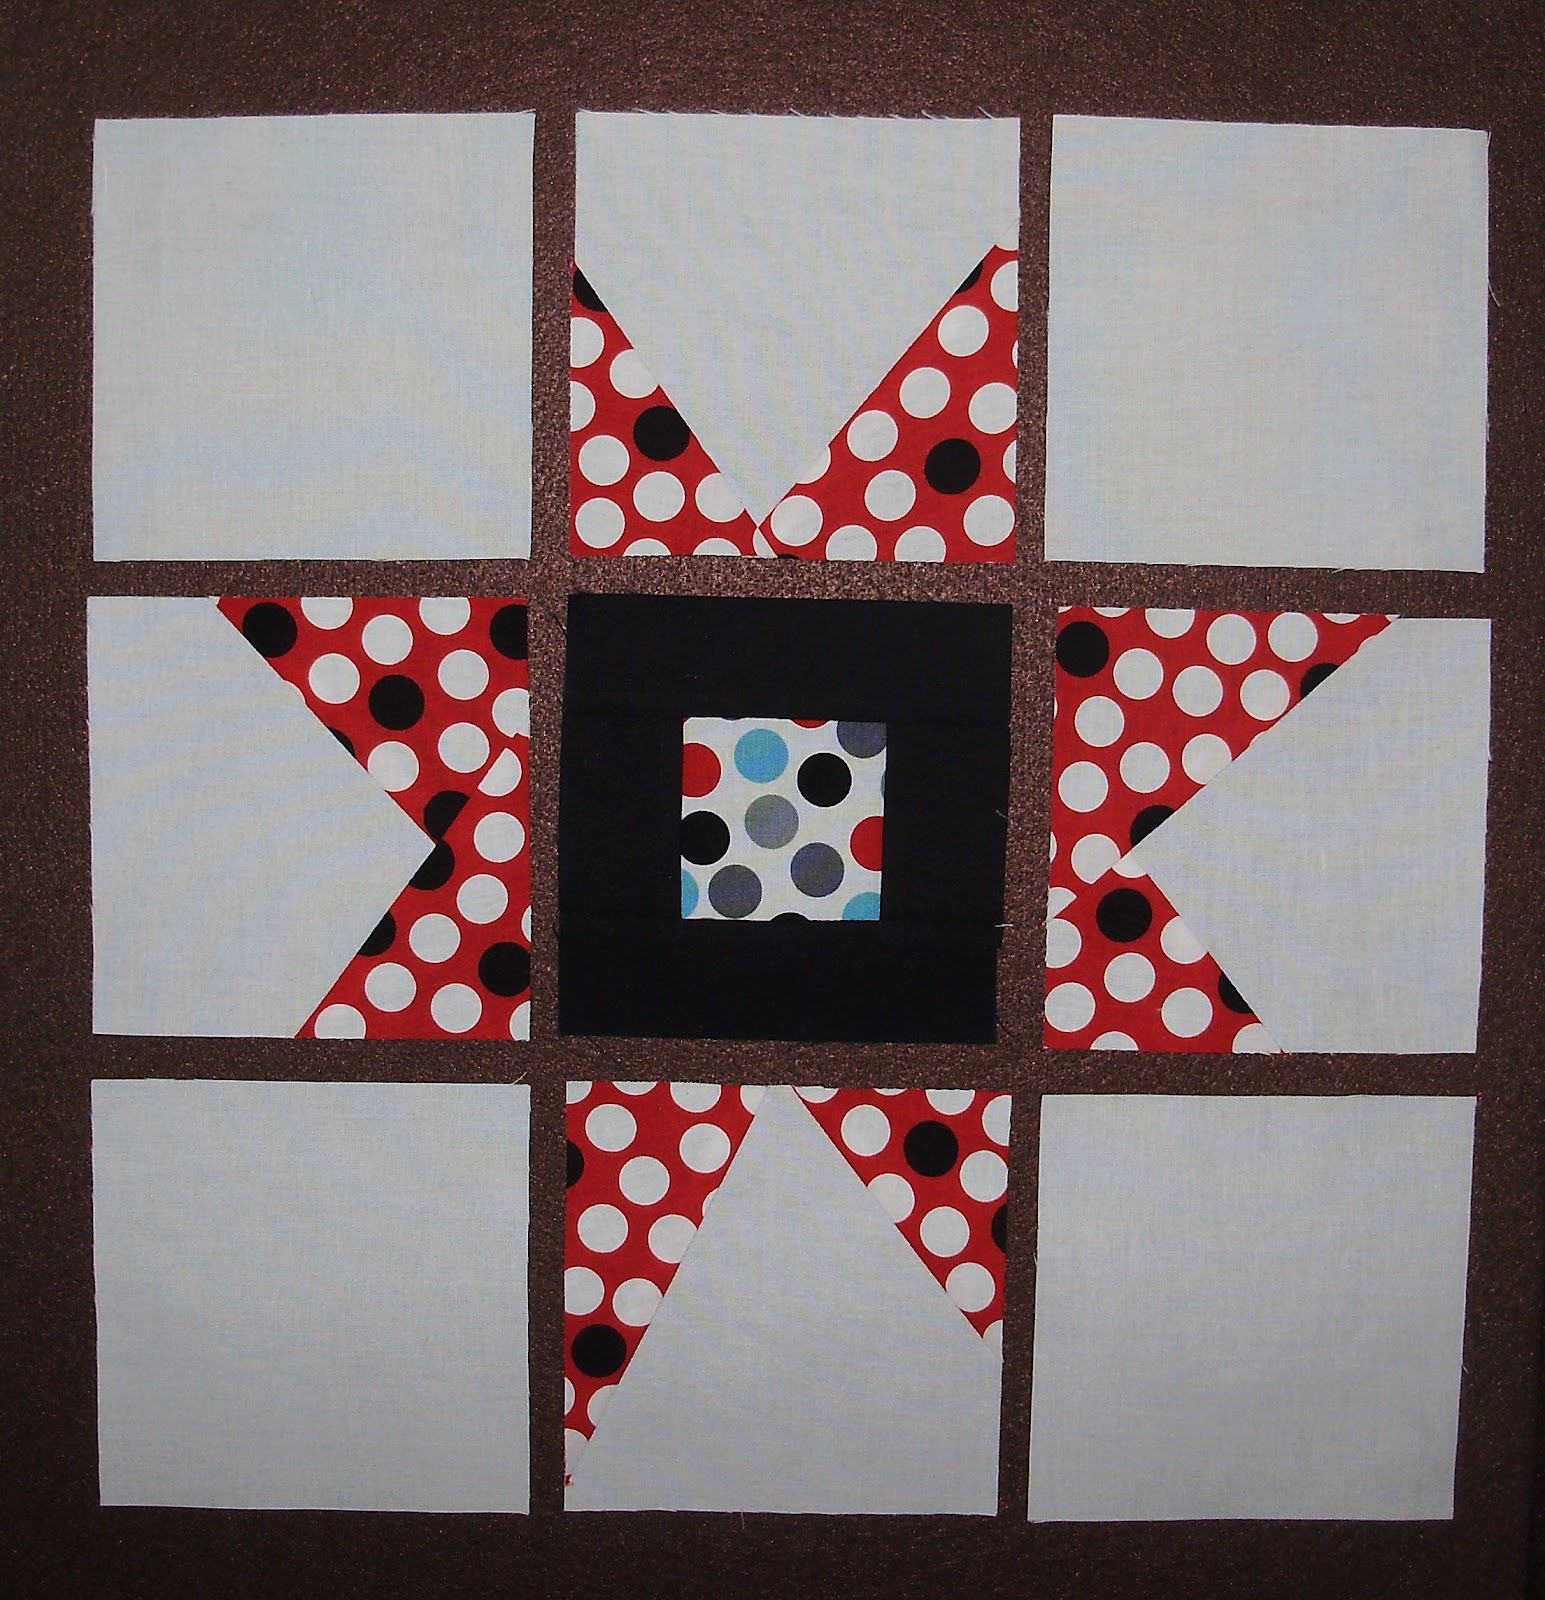
So without further adoo, here's my block. A Wonky Star!
I love this block and thought the dottie fabric would be perfect!
Have you ever made one? If not, here's a tutorial to help you create your own .
First I started with a 2 1/2" square and added 1 1/2" sashing strips.
Sew the sides on first and press to the sashing strip.
Next add your top and bottom sashings. I like to have the sashing strips on the bottom close to the feed dogs. This allows me to control the seam allowance in the first seams. (I really hate it when they get sewn in the wrong direction and cause bulky seams.) I've used red thread so you could see the stitching lines. Normally I would use something more neutral.
Press these toward the sashing strip as well and trim to 4 1/2", as needed.
It's time to create your wonky star points! Cut 8- 4 1/2" squares of your background fabric (white). Set aside 4 of these squares to use for the block corners. Also cut 4 - 4 1/2" squares of your star point fabric(dottie fabric).
Cut the star point squares one time on the diagonal to create 8 triangles.
Stitch one triangle to the right side of each of 4 background squares, at any angle you want, but.....(there's always a but, right?)
Make sure that when the triangle is flipped and ironed to the correct side, it extends past the edge of the background square. I cut a small piece of heavy duty template plastic and marked 1/4" lines on both of the long edges. I use this to "audition" my angle and make sure it extends past the edge.
Check out the picture below.You don't want this to happen to you. You will have to rip out the seam and resew it. After doing that a couple of times, I decided to use the template plastic. :-)
Much better!
Here are four triangles added at different angles. (Changing the angle of the triangles will help create the "wonkiness" of the star and make these really fun!)
Trim the excess background fabric, flip the star point to the right side and press the triangle out. The star points will extend past the edge of the background fabric and look pretty ragged.
Follow the same technique and add the second triangle, only this time add it to the left.
These 4 are ready for trimming!
Trim background pieces and press as before.
Trim this unit to 4 1/2" square. Here's the first cut.
And the last cut.
Now you have the necessary 4 star points. Don't they look fun?
Lay out your star as follows:
Sew the pieces together to create three rows.
Sew the rows to create your wonky star block. Trim to 12 1/2", as needed.
I made eight of these blocks and put them together to make this small quilt (about 49" x 49"). Isn't it fun?
Here's a close up of the quilting in the center. It's the only non-wonky star in the quilt.
Now for the giveaways!
I'm feeling quite generous right now so there are three giveaways!
I'm giving away two sets of fat quarters of some dottie fabrics. Aren't these fun?
Here's what you need to do to try and win.
1) Leave a comment, any comment.
2) For a second chance to win, become a follower and leave a comment telling me you have done so. If you are already a follower, leave a comment to tell me that.
Winners will be randomly selected Saturday evening, Sept. 22nd.
But wait...
One lucky winner will receive this block, quilted and bound.
To win this block (quilted and bound), you need to leave a comment with a name suggestion for the completed quilt. My husband usually names my quilts, but he suggested we let you do it.
He will pick the winner on Saturday evening, Sept. 22nd.
Thanks for looking and wading through all of these pictures.
Enjoy the hop and have a dottie day!