Tuesday, December 30, 2014

Tip Tuesday! Kitting Up Projects

"Tip Tuesday!" - Kitting Up Projects

I love learning new things and then sharing that knowledge with my quilting friends. So, every Tuesday I'll provide some tips, hints, tricks, tutorials, shortcuts, etc. that I've learned over the years and share them here on the blog. 

"Tip Tuesday" will be a collection of information about a wide variety of subjects garnered from a large variety of sources.  I am not an expert by any means and do not take credit for being the great wizard behind all of these hints and tips. I will gladly give due credit whenever possible.

These tips will be archived and accessible to you just by clicking on the "Tip Tuesday" tab above. 

Read, enjoy, and be inspired! 

Do you ever feel like you want to sew but you only have a few minutes and that's just not enough time to get everything out, set up and then actually sew something?

I found that happening a lot and although I tried to get myself organized, it seemed that I just wasn't very good at it. Fast forward to my introduction to Judy Niemeyer quilts by certified instructor Sue Wilson and project kitting took on a whole new meaning for me.

While taking the Glacier Star class from Sue, we spent the first day just cutting papers, putting them in zip lock bags, pulling them out to cut fabric and then putting them back into the bags. In retrospect, it was a bit daunting (there were soooooo many pieces!), but I understood why we were doing it and I happily stayed on task. It really was nice to have all of the fabric cut and the pieces bagged up and ready to sew at a moment's notice.

That is when that proverbial light went off in my head! DUHHHHHH (I never said I was quick!) 

From that point on, I have always had at least one project kit up and ready to sew. It is surprising how much you can get done when you do this. Taking advantage of those ten minutes of "free" sewing time, or using pieces from a kit to sew on a leader/ender project really add up. And when I do have a good chunk of time to sew, the project is already started and often many of the units are already completed!

This Christmas, I made rag quilts for all four of my grandchildren and they were all kitted up and ready to sew whenever I could steal a few minutes. Here are a few pictures of how I had them kit up and ready to sew. I even put the thread that I wanted to use in the kit. Can you see that some of the blocks have already been partially sewn?

Rag Quilt - All kit up and ready to sew

I'm taking advantage of the few minutes here to sew blocks.

Rag Quilt - Chain Piecing

As I was sewing, I put the blocks in row order. That made short work of putting this quilt together.

Rag Quilt - Chain Piecing

As you can see, I got all four rag quilt sewn and it didn't really take much time.

Rag Quilts

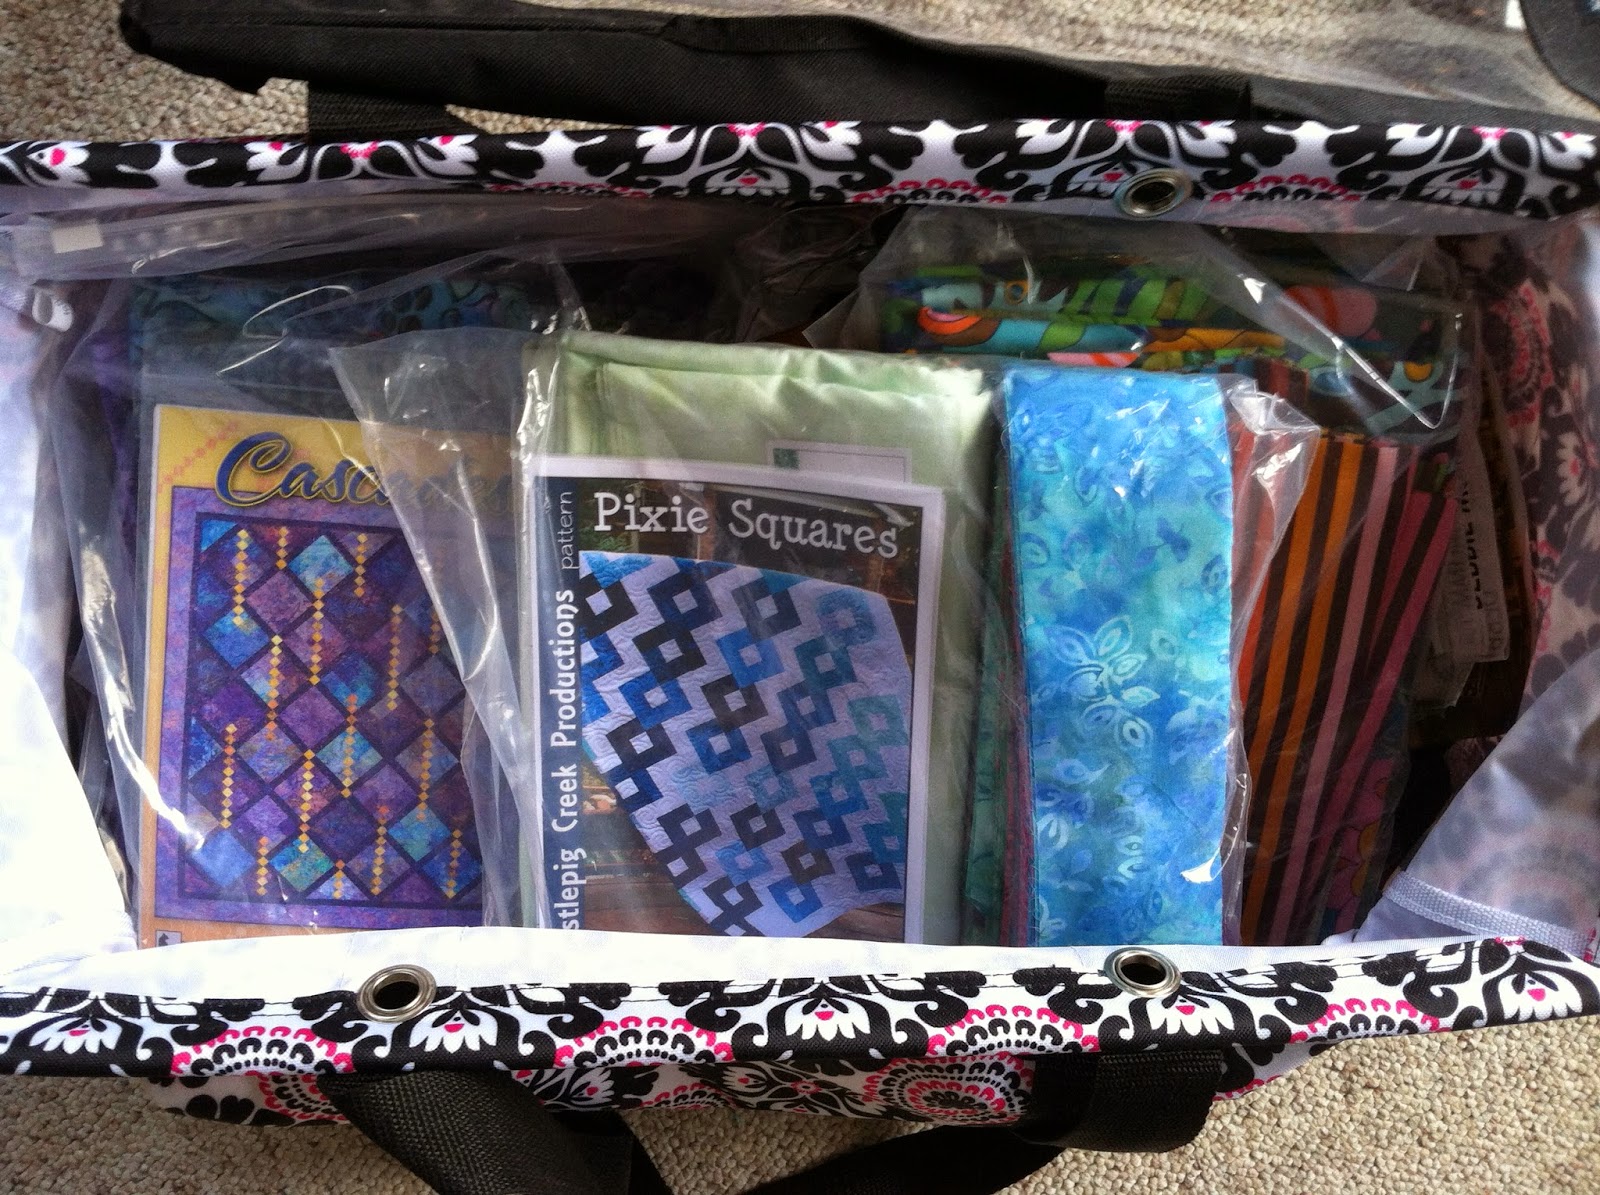
I've got a few other projects kitted up and ready to go. (This is not all of them, but the ones that have been moved near the top of the "to do" list.) Some have the fabric cut, while others just have the pattern and fabrics bagged together. That of course prevents me from using that fabric for another project. Something I'm sure NONE of you have ever done.  :-)

Quilt Projects - Kit Up and Ready to Sew
Do you kit projects like this or do you have another method? Please share! We all want to be more productive and love to hear from other quilters.

Monday, December 29, 2014

Design Wall Monday

Remember this picture from my last Design Wall Monday post?


Jelly Roll Quilt - I love the colorwash effect these strips create

I told you that this would probably be the same until after Christmas and I was correct. I did spend a little time yesterday at the sewing machine and got the chance to add the additional strips that were hanging next to the quilt in the picture above. 


Jelly Roll Quilt - I love the colorwash effect these strips create

Since I want to make this larger, I have an additional 20 strips that I'm going to add. Well, I'm going to add strips until I'm happy with the look and size. 

Plus, I promise to post a much better picture when this quilt top is done. :-)

What's on your design wall?

Check out what other quilts are working on today!


Thursday, December 25, 2014

Merry Christmas!

Merry Christmas,


and may your New Year be blessed with 
health, happiness and prosperity!


Wednesday, December 24, 2014

Trees and More

Oops! Yesterday was Tip Tuesday! and I forgot to schedule a post.
I've decided to let it be and skip this week.
Think that was a sign that I was a bit too busy to think straight? 

**************************************************

The other day, I was lamenting the fact that I had yet to put up Christmas decorations, including the Christmas tree. The very next day I put up a couple of "trees" in hopes that it would make me feel better. 

I've always enjoyed this wall hanging and know exactly when I made it. The year that Jack turned 70, we had a party for him and I made this a couple of days before his party. I was pretty well set with party stuff and knew I wasn't putting the tree up until the day after the party, but I still wanted a holiday feeling. This fit the bill!  


Whimsical Christmas Tree Wall Hanging - Fun and simple way to decorate for Christmas

I don't remember when I made this, but it was a very long time ago. I think it was soon after I started quilting. It is small and simple! The "tree" and "star" were made out of gold metallic bias tape and there was no right or wrong way to do this. Over the years, this little wall hanging has seen double duty as a winding road for mini cars. That's the reason it's not on a wall right now. :-)


I like the wall hangings, but they didn't fill the void of an actual tree.

I finally gave in and put up the small skinny tree. It's pretty minimal and my intention was to have the kids help with the final decorations while they were waiting for the family party to begin. I figured it would keep them occupied while the adults were finishing up the food and other things.


No additional ornaments were added, but a bunch of gifts were.  :-)

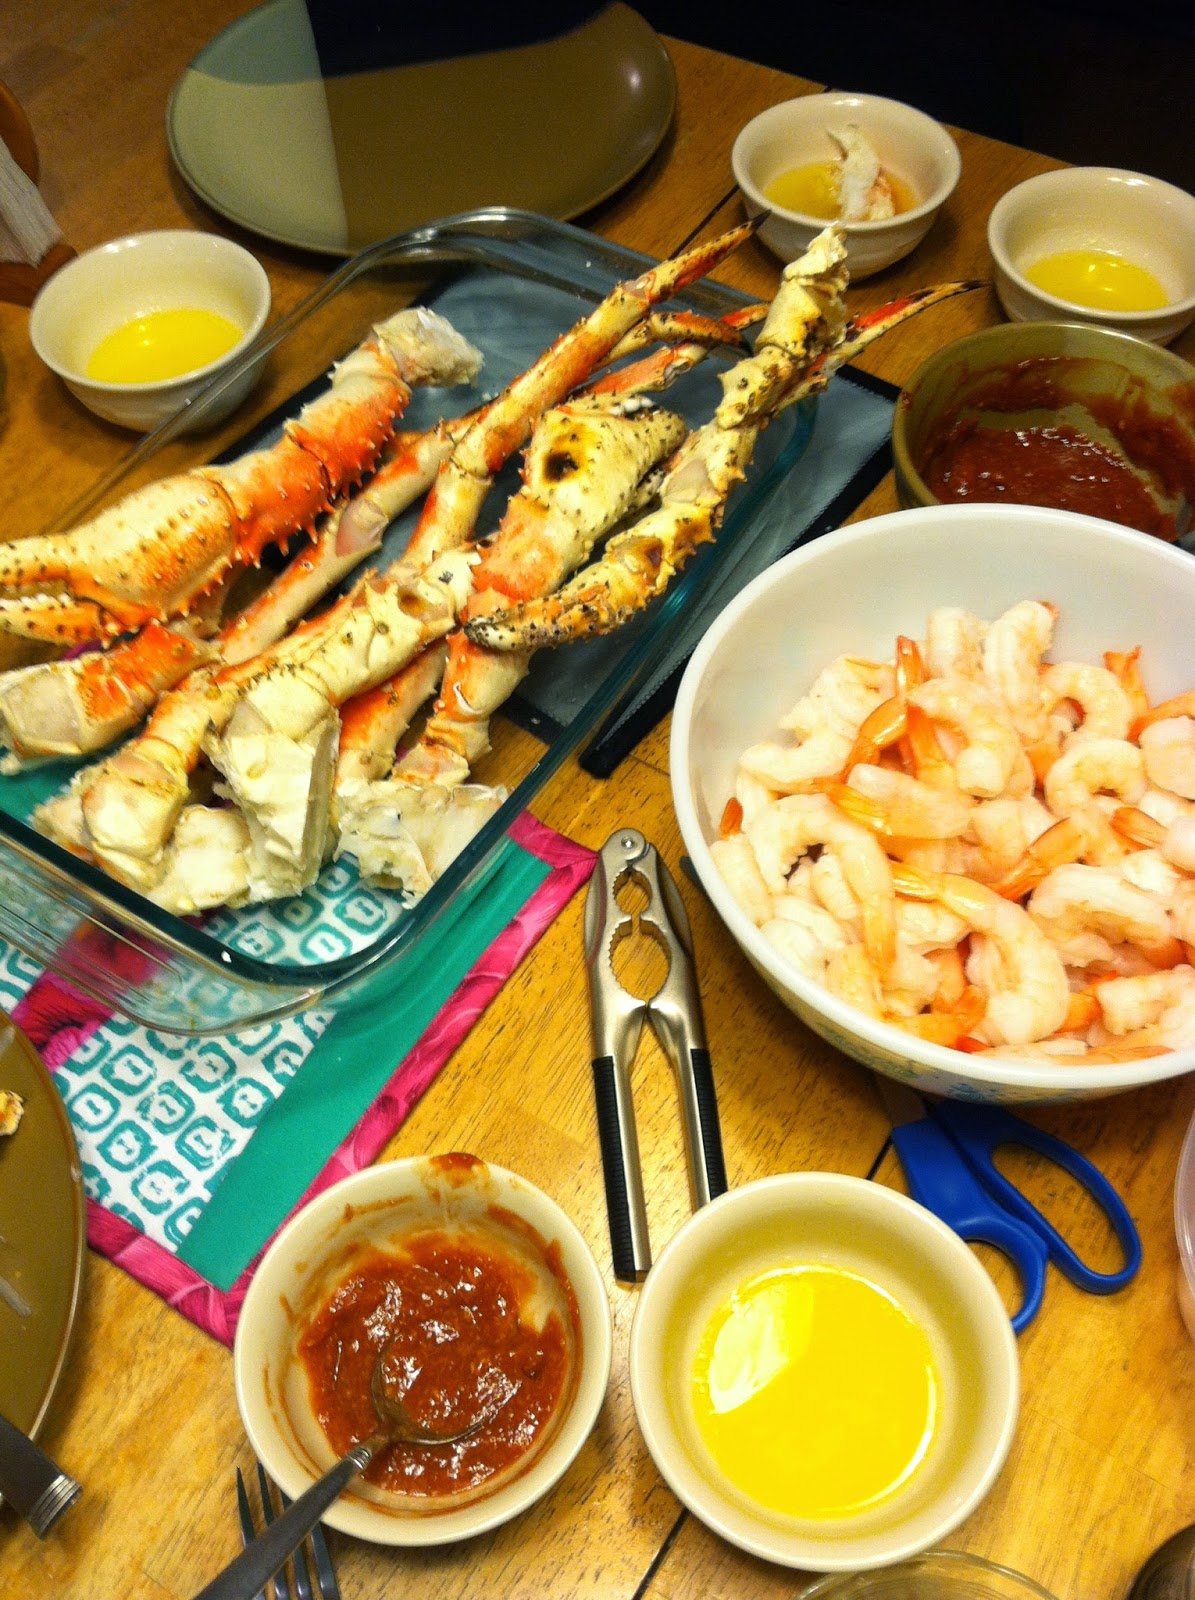
Yesterday was our annual crab leg dinner/gift exchange and it was wonderful.

The food was delicious and the company divine!


I made a conscious decision to NOT take pictures so I could enjoy watching everyone open their gifts, chat and interact.  I like having the pictures, but I really wanted to be able to see and hear their reactions. So.....no "real" Christmas pictures this year and I'm perfectly ok with that.

Everyone had a good time and was quite happy. (I six quilts as gifts and I'll post pictures soon.) 

I stopped over to Nikki's house this morning to drop off something and this is what I saw upon my arrival. 


All three kids playing with the puzzles that Ronan got yesterday. They sure were having fun!

Friday, December 19, 2014

Christmas Decorating

I know it's December 19th and most of you have probably had your Christmas tree and other decorations up for weeks. 

Not me. I've been quite busy and just have not gotten around to doing it. Besides, tomorrow is Jack's birthday and I think it's nice to not decorate before his birthday so it doesn't "get lost" in the holiday confusion. (Ok, so maybe that would have been an excuse when he was a child, but since he'll be 77 tomorrow, I'm kind of stretching that one.)

Also, we leave our decorations up until January 6th, the Day of the Kings, so it's not like they're only up for a week. (Again, that's my story and I'm sticking to it!) 

I did put the Christmas quilt on our bed almost two weeks ago so I'm counting that has having done some decorating. Gee, I almost feel better about being a lazy decorator.  Almost!


Scrappy Christmas Quilt - I love the "controlled scrappiness" of this quilt.

If anyone is free and wants to stop over to put up the tree and hang quilts, I'll provide the coffee and Mannheim Steamroller music. I may have some extra cookies too. They won't be the pretty ones, though. They'll be the ones left over after the orders are filled.  :-)

Any takers?

Tuesday, December 16, 2014

Tip Tuesday! Phone Apps

"Tip Tuesday!" - Phone Apps

I love learning new things and then sharing that knowledge with my quilting friends. So, every Tuesday I'll provide some tips, hints, tricks, tutorials, shortcuts, etc. that I've learned over the years and share them here on the blog. 

"Tip Tuesday" will be a collection of information about a wide variety of subjects garnered from a large variety of sources.  I am not an expert by any means and do not take credit for being the great wizard behind all of these hints and tips. I will gladly give due credit whenever possible.

These tips will be archived and accessible to you just by clicking on the "Tip Tuesday" tab above. 

Read, enjoy, and be inspired! 


Do you have a smart phone? 


I hate to admit it, but I joined the smart phone group rather late and with much trepidation. I really didn't want to get one but I was "forced" to do so because of work. If I wanted to get sub jobs, I had to be able to get e-mail quickly and get on-line to accept assignments. 

I finally caved and bought a phone from a friend (Thanks Allan and Denise!) about 1 1/2 years ago. 
I have to say that I really do enjoy it and use it quite a lot, and not just for getting sub jobs.:-) 

I know that I don't even come close to using the phone to its potential, nor do I have the latest updates. I'm ok with what I have and what it can do for me. Too much more, might just be too much in general. 

So what does my phone do for me? 

With this phone, I can do a lot of things, including getting some quilting information! There are some really cool quilting apps that you really need to take a look at and see if you can use it.


Apps for Quilters | Right Sides Together

Rather than re-invent the wheel, check out Rhonda Jordan's blog post about finding and using various quilting apps. 


Do you use your phone for quilting? 
Please share with us! Inquiring minds want to know.  :-)

If you want to leave a message and the word verificationrequest shows up please don't leave without your leaving your comment. There is a glitch in blogger right now.I have turned off the word verification button, but recent updates have overridden that. Sorry! I sure hope it gets fixed soon! 

Monday, December 15, 2014

Design Wall Monday

This is on my wall and will probably be there until after Christmas or maybe even the new year. 


Jelly Roll Quilt - I love the colorwash effect these strips provide


This is from Hunter's Design Studio and part of the Big Block Jelly Logs pattern. This particular pattern is called Radiant Jelly Log

The strips to the left of the top are what is yet to be added to make the top as instructed (40 - 2 1/2" strips). Of course I have pulled another 20 to increase the size of the quilt. :-)

Remember this?


Jelly Roll Strips - Wonderful gradation of color!

Those are all 60 strips that I plan to use. In reality, depending on the size as I continue to add strips, I may use a few less or a few more. I guess we'll have to wait to see. And as I said, that probably won't happen until the new year. Drat!


Check out what other quilters have on their design walls today.

Go to Judy L's Patchwork Times!


If you want to leave a message and the word verification request shows up please don't leave without your leaving your comment. There is a glitch in blogger right now.I have turned off the word verification button, but recent updates have overridden that. Sorry! I sure hope it gets fixed soon! 

Friday, December 12, 2014

Happy!

I like this and think I want to work on making it a reality EVERY DAY!

Be Happy! - You could be the inspiration for someone else to be happy.

Wednesday, December 10, 2014

We Support You Blog Hop - Openings

Last week I told you that I signed up for the 


We Support You Blog Hop


Well, I just received an e-mail from Pat saying that there's room for a few more bloggers to participate. Why not take a few minutes to read about the hop and see if it will fit into your schedule to join us? 


Mdm Samm of Sew We Quilt!  has completed the awesome pattern we'll be using, and Pat from Scrapatches will be our cheerleader. (Because of their leadership and involvement, you know it'll be wonderful, don't you?)

I hope you'll join us in showing your support!

Tuesday, December 9, 2014

Tip Tuesday! A Hot Thready Mess

"Tip Tuesday!" - A Hot Thready Mess

I love learning new things and then sharing that knowledge with my quilting friends. So, every Tuesday I'll provide some tips, hints, tricks, tutorials, shortcuts, etc. that I've learned over the years and share them here on the blog. 

"Tip Tuesday" will be a collection of information about a wide variety of subjects garnered from a large variety of sources.  I am not an expert by any means and do not take credit for being the great wizard behind all of these hints and tips. I will gladly give due credit whenever possible.

These tips will be archived and accessible to you just by clicking on the "Tip Tuesday" tab above. 

Read, enjoy, and be inspired! 


With permission from the quilt maker (I'll call her Susie Quilt Maker), I am going to show you a few pictures that can only be described as a hot mess - a Hot Thready Mess! 

I did promise to only show the back side of the quilt because Susie Quilt Maker knows that some of her friends read my blog and she's afraid that they'll recognize the quilt and her identity will be revealed. :-)

Recently, I was asked to quilt a large wall hanging for an acquaintance. I had the time and knew that she didn't want anything fancy so I agreed. When Susie Quilt Maker came to my house to drop off the quilt, I laid it out to get some measurements, discuss the quilting, etc. I noticed a fair amount of thread poking through to the top of the quilt and clipped a few. The more I looked, the more thread I found. It was poking out at the seam intersections, all along the outside edges of the quilt, and also randomly throughout the entire quilt.

I gave Susie Quilt Maker a pair of snips and said, "Let's get rid of these threads because they'll get caught in the machine and cause a problem." (I was also thinking that these threads were multiplying right in front of my eyes. Plus I didn't want to have to clip these myself. I hate to clip threads once a project is sewn. It is soooooo time consuming!)

We spent the next 15 minutes snipping threads. 15 minutes! 

While we were snipping, Susie Quilt Maker told me that she ALWAYS has threads poking through or showing on her projects and she really didn't know why. I asked her if she trimmed her threads while sewing and she said, "Sometimes, but not always."

Well, this is what you get when you don't trim threads. 


Messy Threads - Avoid this thread mess by clipping threads as you sew.

That first picture does't look too bad, does it? It's not a lot, but it still is a mess and can cause a variety of problems like thread getting caught in the seam, thread bunching up and getting caught on the needle. 


Can you see the grey and red threads below? Some of those red threads were showing through the front of the quilt in the light fabric areas.


Messy Threads - Avoid this thread mess by clipping threads as you sew.

Notice the pressing in this next picture. I asked Susie Quilt Maker why she pressed some of the seams away from the light fabric and some towards the light fabric. (I had a pretty good idea why but wanted to know if she did.)

Messy Threads - Avoid this thread mess by clipping threads as you sew.

Susie Quilt Maker told me she pressed the way that was the easiest and that for some reason, the fabric "wanted" to go in different directions. Once we looked closely from both sides, we saw that there were threads caught in the seams. We also noticed that in many cases, the threads had gotten tangled up at the beginning of a seam which caused the fabrics to get flipped in various directions, thus making pressing a challenge.

Check this out. What a mess! 

Messy Threads - Avoid this thread mess by clipping threads as you sew.

Trimming these threads took a lot of time. If Susie Quilt Maker had simply trimmed threads as she sewed, it would have been much easier.

So, why do I think trimming is important? 
Here are my top five reasons.

1.  No loose threads to poke their way to the quilt top and look bad.

2.  No loose threads to get caught in the machine when I'm quilting. (If threads get caught in the hopping foot while a quilt is being quilted on a longarm machine, that can cause a serious problem like a tear.) 

3.  No thread showing through light fabric.

4.  Reduces the chance of threads getting caught in the machine foot or needle, thus causing a problem or mess as you sew.

5.  Loose threads just get in my way and I hate to be slowed down messing with them.


Do you trim your threads as you sew? Why or why not?

Thursday, December 4, 2014

We Support You Blog Hop Info

I've signed up for the 


which will take place Jan. 29th - Feb. 11th. 


Why did I sign up? 
I signed up because I've known a number of people who've been touched by cancer and I want them to know that I support them. Whether they are battling cancer now or have battled it in the past, I want these people and their families to know that they are not alone in this fight. I support YOU!

If you are a frequent reader of this blog, you know that I've been involved in a number of breast cancer campaigns including Bras for a Cause. As a matter of fact, we just held our sixth annual Bras for a Cause/Girls Night Out event and you can find pictures of the bras HERE and HERE.
HERE is another old post you might enjoy that includes some Bras for a Cause pictures.

I've also participated in a number of Susan G. Komen 3-Day, 60 Miles Walks. My daughter Lynn and walked in Cleveland three times and Jack and I walked in Dallas once. The year Jack and I walked in Dallas, the three of us worked in Cleveland.

Although I'll admit that the fundraising ($2300 per participant each year!), the training, and actual walking was very challenging for me, what I went through doesn't compare at all to what cancer patients go through every day. Every single day! They can never escape the fact that they are fighting for their lives.

I continue to be in awe of the people I've met over the years. Their courage and drive to survive has truly been an inspiration to me. It grounds me and helps me put my "problems" in perspective! 

When I saw the announcement for this hop, I knew that I wanted to participate! Let me correct that. I knew I NEEDED to participate!


Mdm Samm of Sew We Quilt!  has completed the awesome pattern we'll be using and Pat from Scrapatches will be our cheerleader. (Because of their leadership and involvement, you know it'll be wonderful, don't you?)


I've been playing around with ideas and have narrowed my design down to two choices. I'll make the final decision this weekend and get started. Of course I've fondled stash fabric already and have pulled some to be used, no matter which design I choose.  :-)

I hope you'll join us in showing your support!

For more information, check out the link below.

ttp://www.sewwequilt.com/2014/11/we-support-you-blog-hop-sign-up-begins.html

Bras for a Cause Part II

Here are the rest of the Bras for a Cause pictures.

Click HERE for Part I

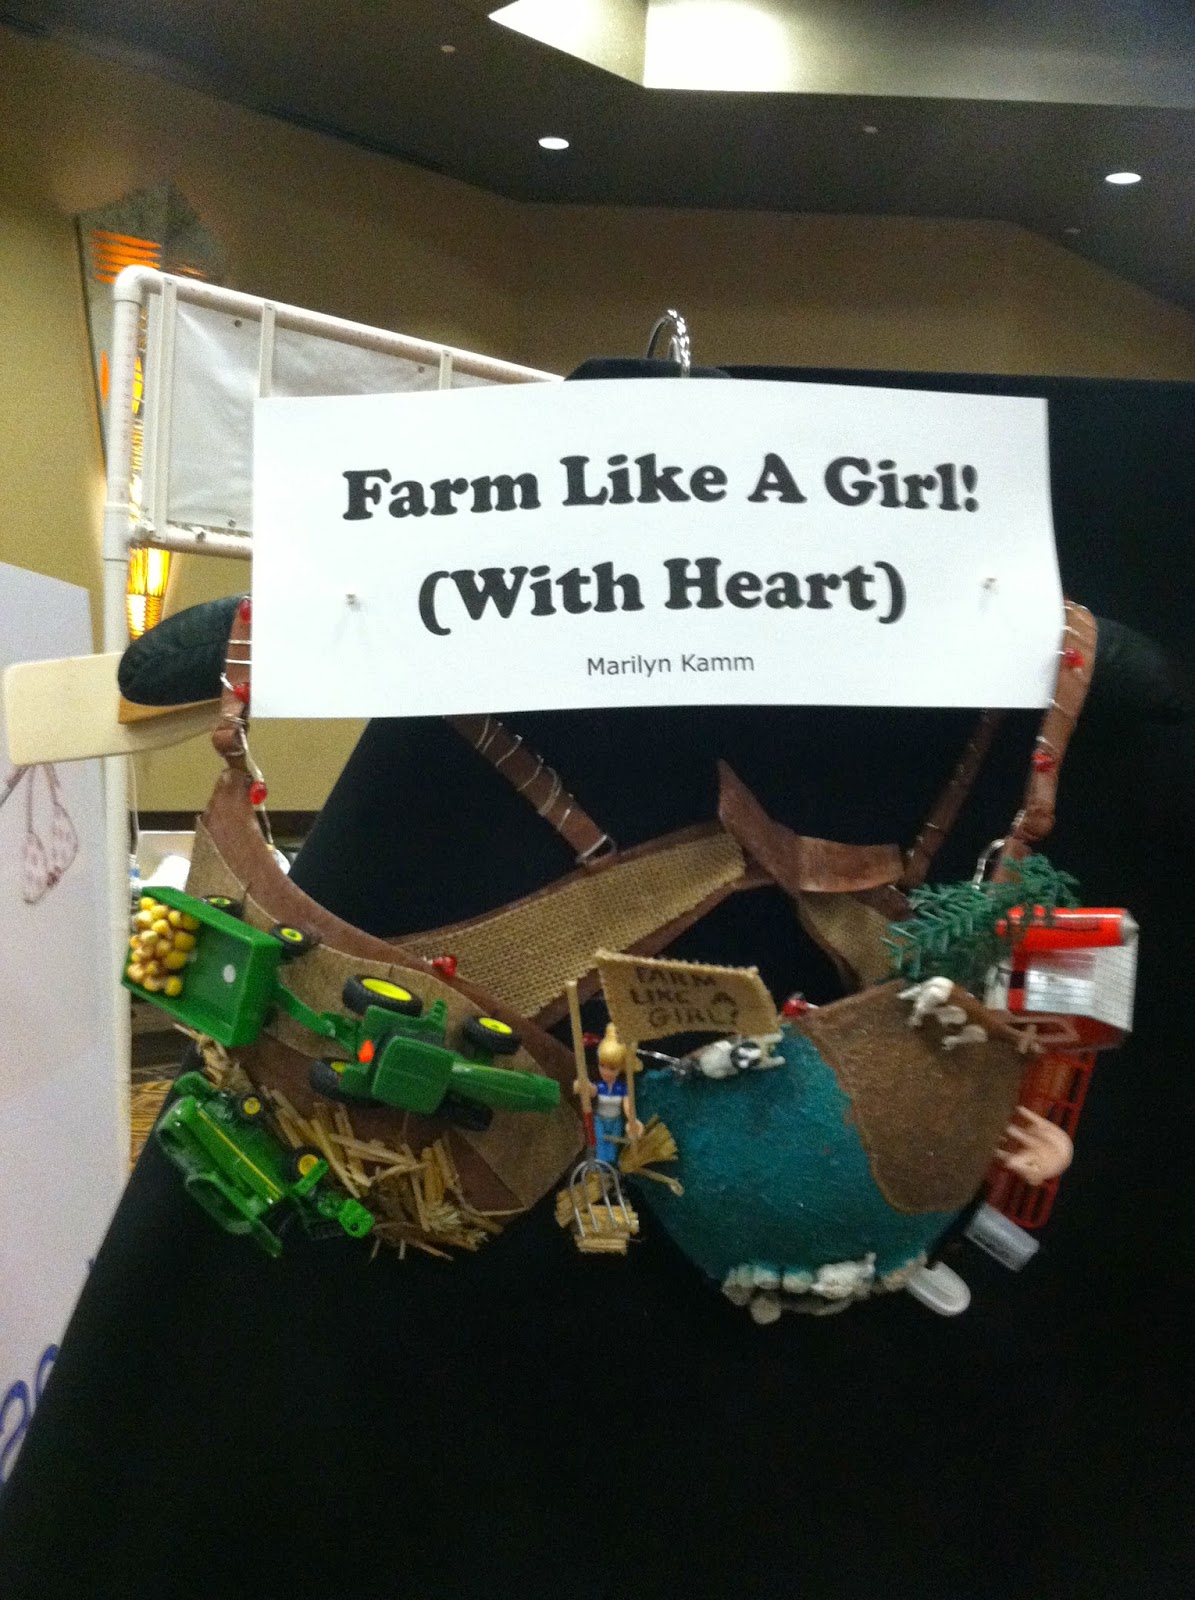
This bra was simply adorable and had a lot of people chuckling. I was happy when it was purchased by a bakery to be displayed in the shop. 

Bras for a Cause

This bra is beautiful and could easily be the top of a gorgeous dress!


I love any bra that has to do with baseball and the fact that is it red, white and blue and has lots of stars makes it even more fun.


This beautiful bra was a prize winner and was beautiful.


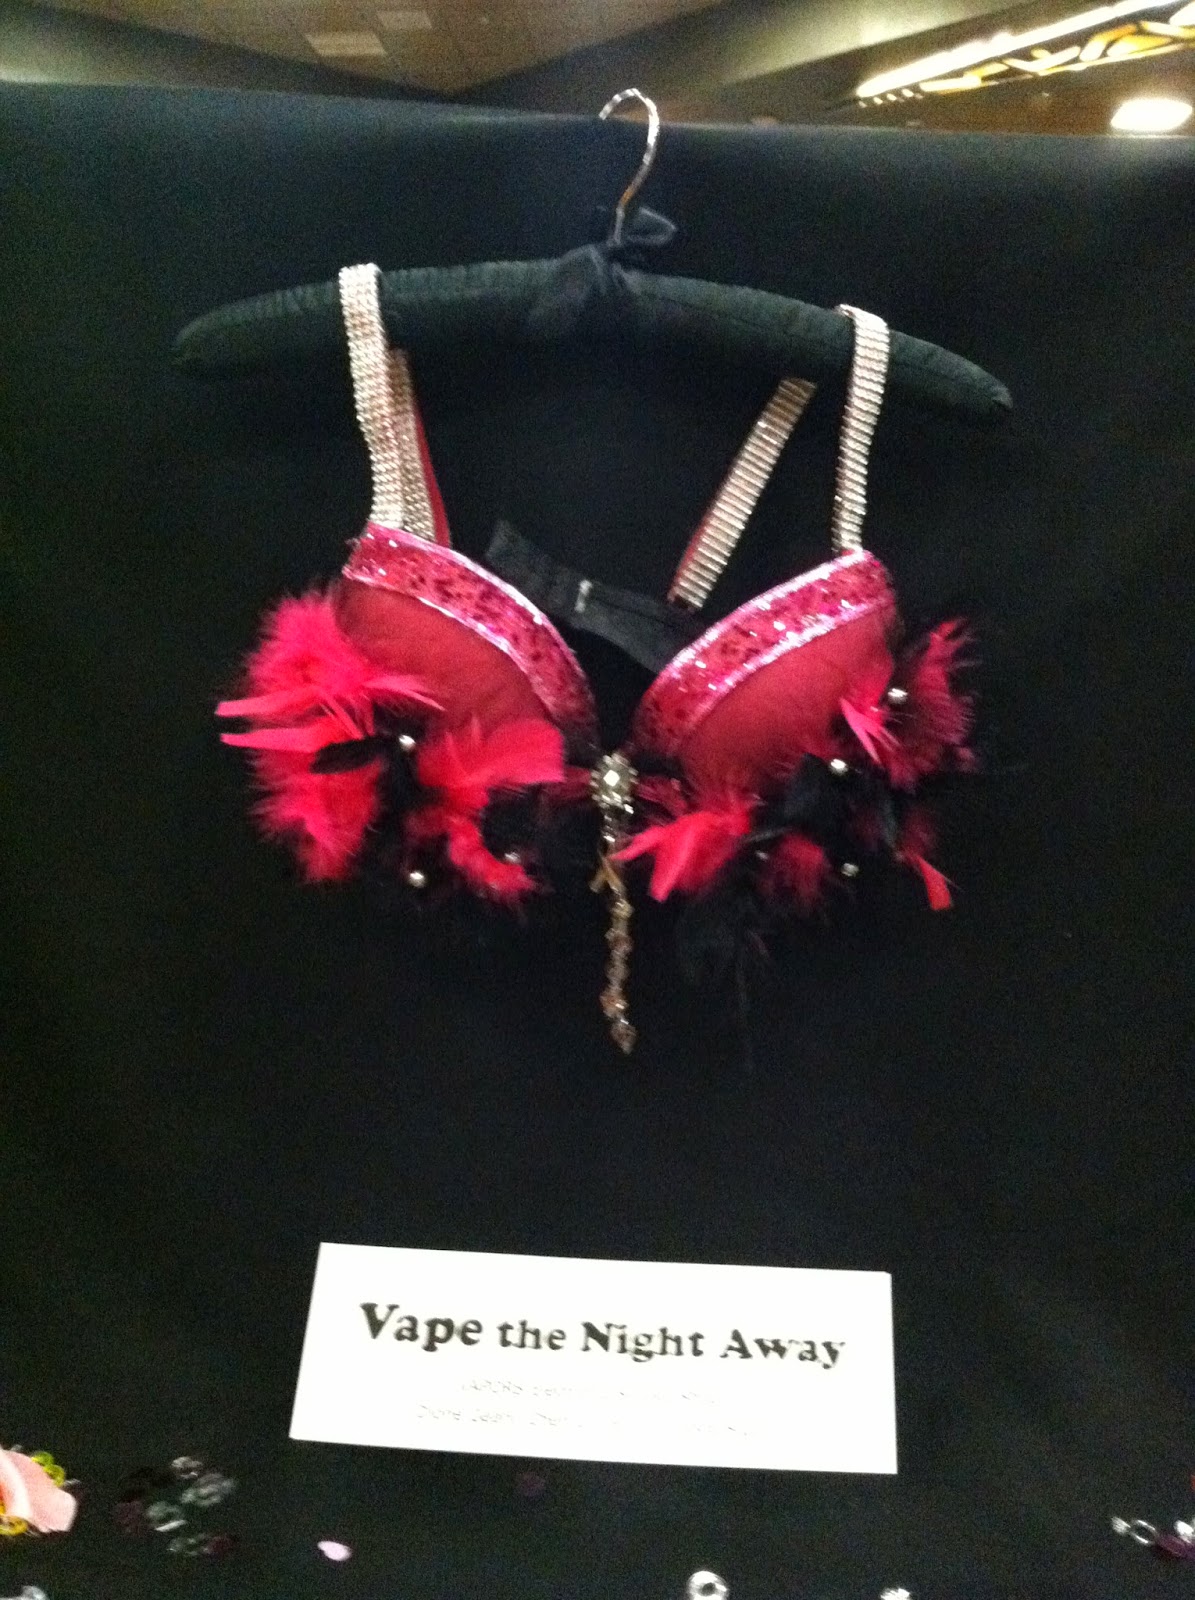
This bra sure had a lot of people laughing. It lit up and was wonderful. Now I'm thirsty.  :-)


I love this bra. It is simple, but fun.


What a fun bra. Someone tool a lot of time to make this beauty.


The idea for this bra came to the designer during a meeting where popcorn was being consumed. You should have heard the ideas flying that night. :-)


This bra is beautiful and once again, I am lucky t have spoken with the designer and learned the back story. This was not for sale as it was going to be given to a woman who is fighting breast cancer.


Here's another winning bra. This group, Angels in the Outfield have made bras every year that we've had the event and their creations NEVER disappoint. 


I am proud to be involved in this event and thank everyone who participates, whether it's by creating a bra, buying one of the entries, or voting for the winners. We CAN make a difference! 

Wednesday, December 3, 2014

Bras for a Cause Pictures Part I

I'm still trying to play catch up from the last couple of weeks. Between subbing, Bras for a Cause/Girls' Night Out, and Thanksgiving, blogging took a back seat and was pretty much ignored. :-(  

So, here's my apology for no Design Wall Monday or Tip Tuesday! this week. Part I of the Bras for a Cause pictures. I will post the balance of the pictures later tonight or tomorrow.

There are some really talented and creative people. All of the bras turned out great and we had a very successful event. As a matter of fact, preliminary figures show that $50,000+ was raised that night. AWESOME!!  

**************************************************

This bra is absolutely beautiful and I'm positive that it took a long time to make. The picture does not do it justice!


Gee, can you guess why I was attracted to this entry? I was the silent auction winner of this entry. YEAH!


This bra sure had a lot of attention. It's challenging to really see it since it is navy blue on a black background. Trust me, it was really well made and looked great.


I really love how this one turned out. It makes me want a beer!


This was a really cute entry!


Nothing like a gentle reminder that Christmas is just around the corner and I have yet to do most of my shopping.


This bra was really cool and garnered a bunch of attention and conversation.


This bra was absolutely adorable and fun. I know the "back story" and it wonderful that these friends created this for their friend. I was excited when this entry won $200!


Simple but effective entry! Now I want come chocolate. 


This entry was really wonderful and the picture does not do it justice. 


This certainly started a lot of conversation, especially since it lit up. Again, the picture does not do it justice. 


Click HERE for Part II of the Bras for a Cause pictures.