Showing posts with label Rachel Rossi. Show all posts

Monday, August 12, 2019

Project Catch Up Time

I've been quite bad at posting lately, but in my defense, I have been very busy.

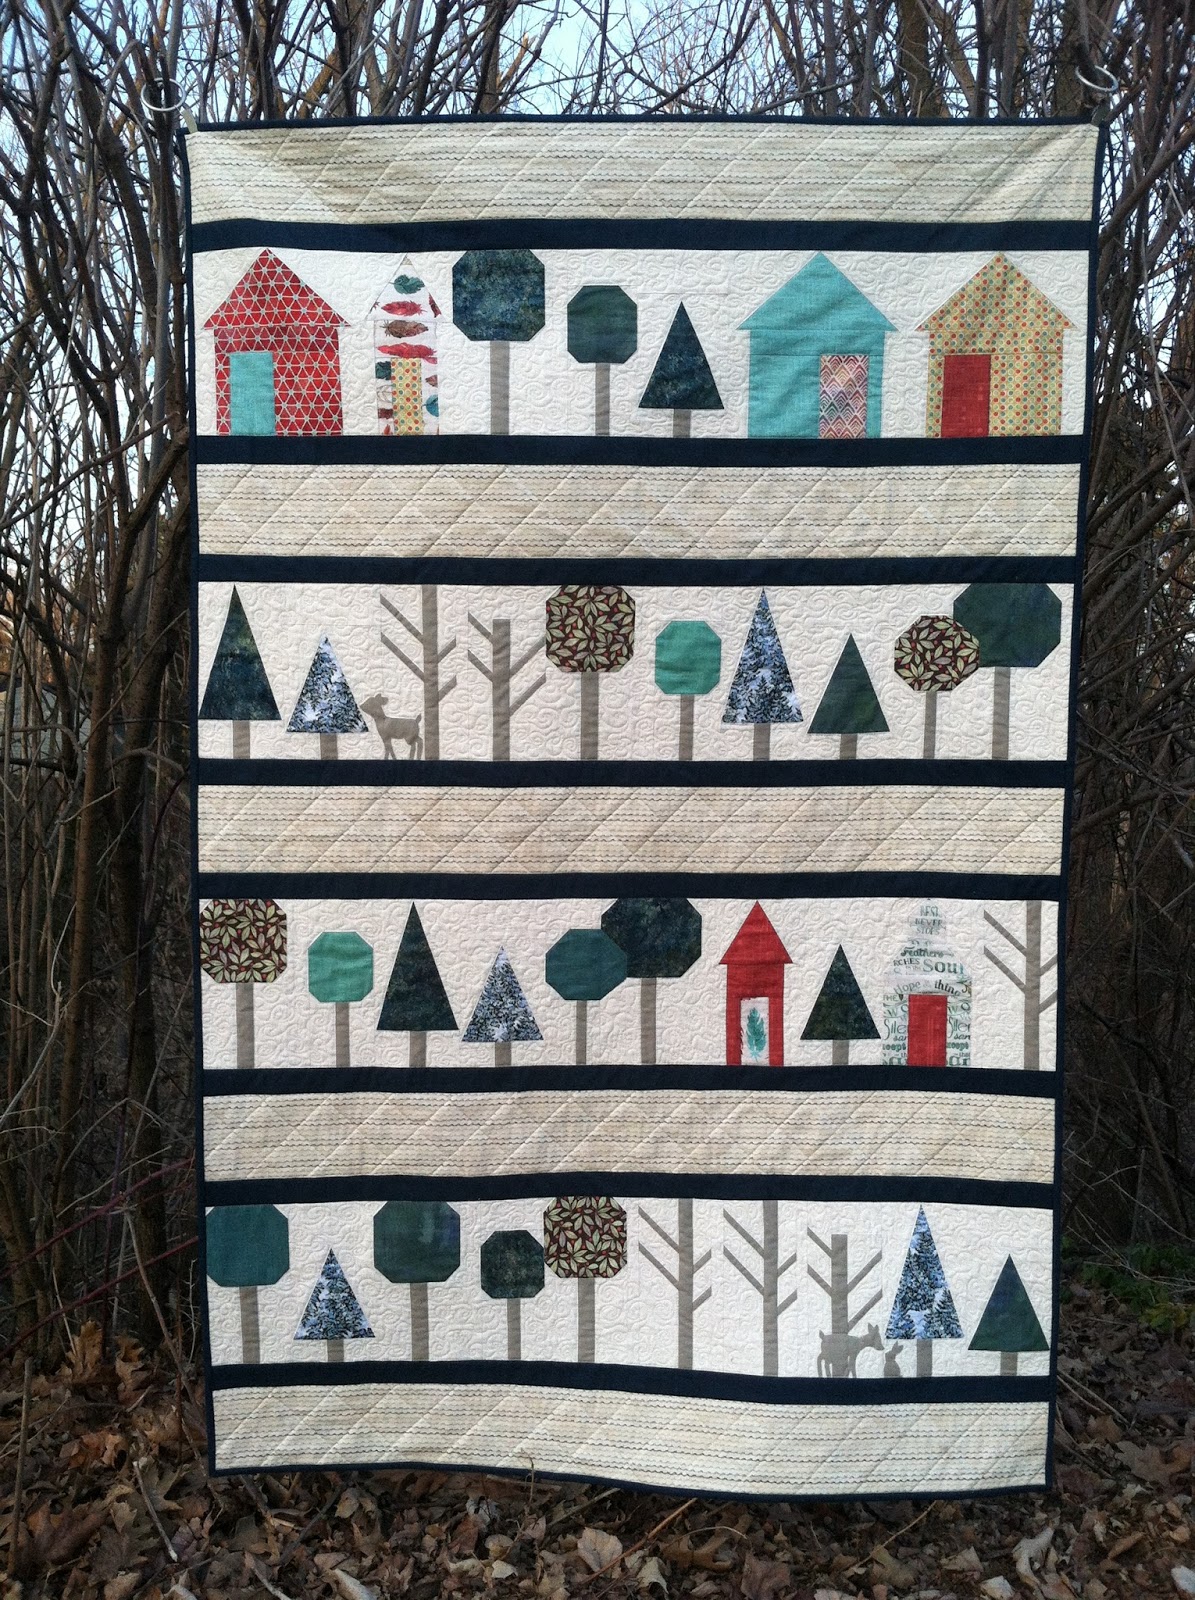
In my last post, I shared some sneak peeks of a secret sewing project that I was quilting. It's all done and I can now share it.


I think this is such a unique quilt and was thrilled when I saw the invite to test the pattern. As with most of her patterns, Rachel has provided multiple size options with the pattern; but based on my schedule, I knew that making the baby size was the best choice for me.  


There are a multitude of different layout options with this quilt and I played quite a while before deciding on this one. 

There are special templates used to make this quilt and they are wonderful!

The Shorthand Templates are available in Rachel's shop. (There is a free pattern to go along with the templates and I think it's really neat!)


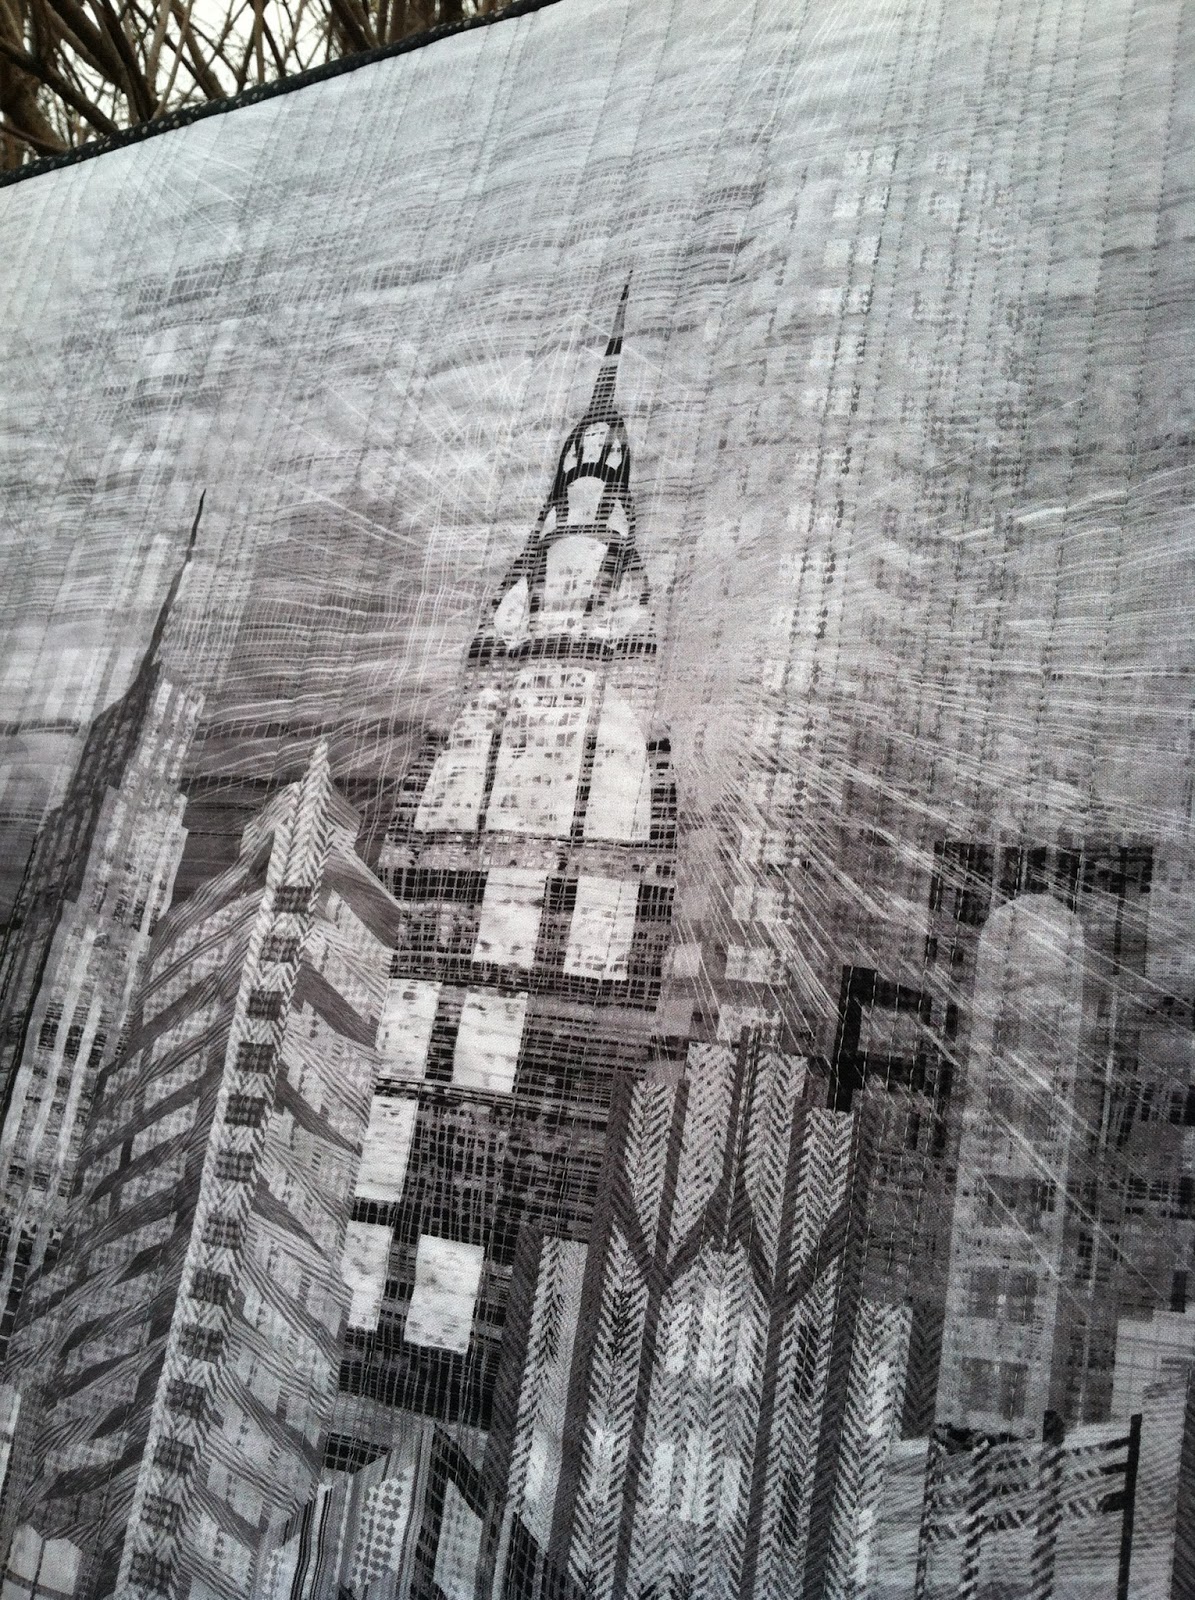
I love taking photos from a side angle! I think it often shows the quilting so much better, as well as the overall design.


While taking these pictures, my granddaughter thought that the top right looks like a turtle. I didn't see it until after I pulled up the pictures on the computer. 


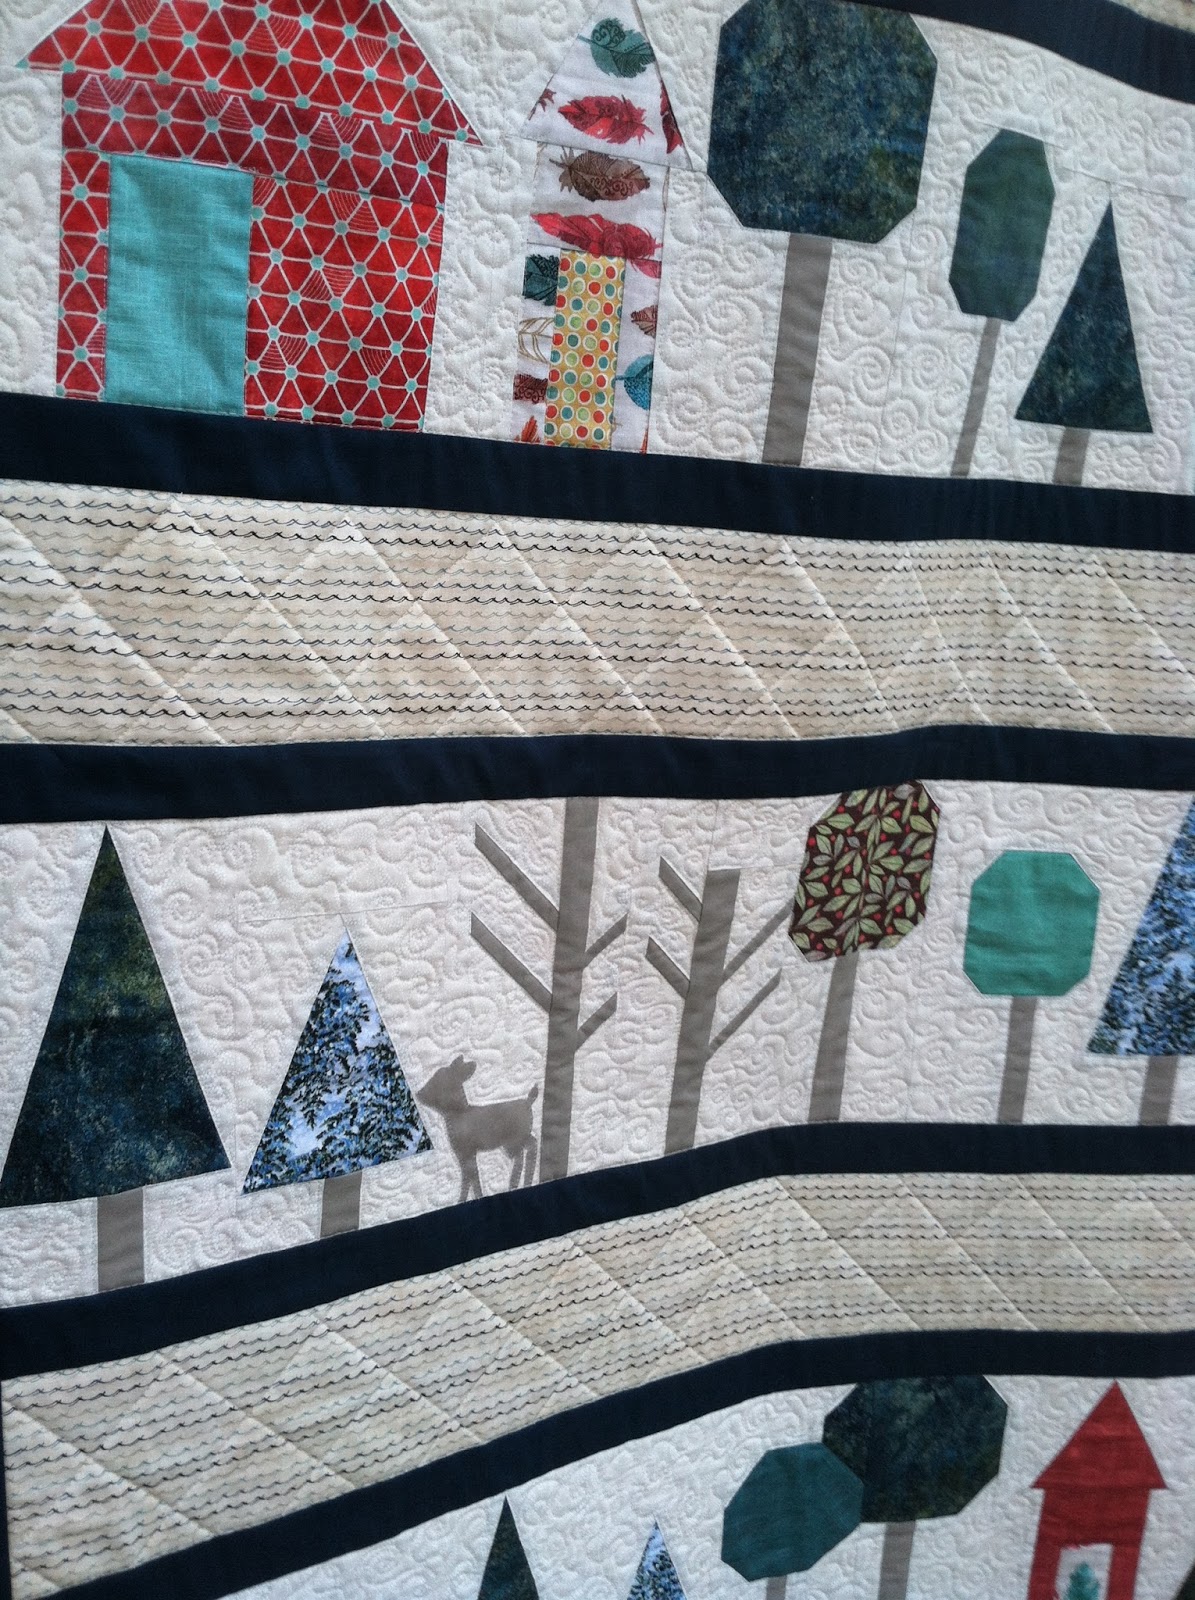
The quilting design was pretty simple and straight forward. 


Another pattern tester used the templates to create her quilting design and as much as I tried, I couldn't come up with anything that I liked better. :-) This isn't the greatest pictures, but I think you can see the quilting pretty well. 


I wasn't sure about my fabric choices during the early stages of constructing this quilt. I was worried that there wasn't enough contrast, but I stayed with it and am glad I did. 

During the time I worried about my fabric choices, I decided that I needed a Plan B, just in case the original fabrics didn't work. I played with some fabric scraps that I had from making a t-shirt quilt and liked how they looked, so I made a bunch more. (After making a few more of the original blocks, I decided that the fabrics would be ok, so I stuck with those for the test.) I have a nice pile of Plan B blocks waiting to be put together. :-)


While I was making the Plan B blocks, I got to thinking that it would look really cool to add a small flange to the inside of the blocks. 


I really liked the result so after I finished the original quilt, I started making these as a leader/ender project. (Yes, the blocks without the flange got set aside, but I will do something with them soon.)

Using all the fabric I had left, I was able to make a decent size wall hanging with the flanged blocks. It's already quilted; and I've machine stitched the binding down and am ready to flip it to the back and stitch it down. I'll take pictures when that's done and share them here. :-) 

Thursday, April 26, 2018

Breezy - A Rachel Rossi Design

Last week I showed you my versions of Rachel Rossi's Breezy pattern and told you how much I enjoyed testing the pattern and that I really like this quilt.


I liked it so much that I not only made the king version above, but I also made two baby size quilts using a panel.


I'm thrilled to announce that Rachel has released the pattern for sale and I strongly urge all of you to hop over there and snatch up your own copy. The pattern includes instructions for three sizes: Baby, Throw, and King.

Here's Rachel's blog post about the pattern. Not only does she talk about the pattern, but she provides some absolutely wonderful pictures too. It's amazing how different and amazing each of these quilts looks! There are some fabric choices that I would never have considered, only to find them stunning. I'm already thinking that I just might have to make another one (or more) of these quilts.  😀

This pattern is very well-written and the quilt was such a pleasure to make! Please do not let the many half square triangles (HST) scare. Rachel includes extremely clear and straight forward instructions on all aspects of this quilt, but especially for the HST and pinwheels. I know that you will love the magic eight method of making the HST and all the tips she provides. Yes, it can get tedious to trim all those HST, but it is so worth it!


I devised a system where I did all the sewing first and then separated the huge pile into smaller stacks for trimming. I will admit that I was so excited to see how the pinwheels were going to look that I did sew, immediately trim, and then sew the pinwheels together for the first couple rows of one quadrant. Once I knew that I was going to love it and the fabrics were going to work, I took a few minutes to collect my thoughts and make a plan. The "break it up" plan worked great for me and was much less daunting than seeing a huge stack of HST that needed trimmed. Another advantage to doing this is that it provided a built in timetable to take a quick break to grab a drink or stretch my legs. 


Not only does the pattern include overall great instructions, it provides a wonderful explanation on the magic 8 method of HST, AND some awesome tips and techniques to make sure your points are perfect and that the pinwheels lay perfectly flat. That alone is worth the price of the pattern! If you don't believe me, ask any longarm quilter.  😊

I enjoyed making this quilt and know you will too. You can purchase this pattern, as well as Rachel's other patterns HERE. I know you won't be sorry!

Sunday, April 15, 2018

Breezy Quilts - Original and Two Variations

As promised, here are pictures of the Breezy quilt completed. You can see the story about this quilt HERE and HERE

I really like this quilt! 


The quilting was done by my friend Judy and she did an awesome job. I think this pantograph, Zephyr, is perfect. 


I was worried about the low-contrast part of the pinwheel, but I like it now. 


I did change the border from the original one in the pattern; but I believe that this border option will be written into the final pattern, which will be released later this month.

I knew that I wanted to make a baby size version of this quilt and when I saw one of the other pattern testers use a panel, I decided to use my Skylines panel by Hoffman Fabrics. Of course I also had to make two quilts, because what else would I do with the other half of the panel?

I made a few modifications to the pinwheel sides of these quilts. On one of the quilts, I added a barrier strip of fabric between the two halves because I was running low on the pinwheel fabrics. 


I used a single fabric for most of the pinwheels, but then added a few pinwheels made from musical notes fabric. (I may have to call this "Whistle While You Work."


The panel side is quilted in random vertical lines with grey thread, while the pinwheel side is quilted in the ditch of the pinwheels with the same grey thread.


The second quilt was made using a variety of background and pinwheel fabrics and it "moves" from a racing flag fabric in the bottom right up through the stages of a busy day in the city all the way to the colorful and fun nightlife.


I quilted the panel side with a variety of thread colors in random vertical lines, and the pinwheel side is quilted with meandering stitches in thread to match the background fabrics.  


I love this colorful gradation binding!


I wanted to see what it looked like with the quilts together, as I was originally playing with the idea of combining them into one larger quilt, but decided against it.


I had so much fun with these two quilts and can't decide if I like them better than the king version.

Tuesday, April 10, 2018

Breezy - A Few More Pictures

As I said in my last post (where I initially misspelled the word peek - YIKES!), I'll be reviewing Rachel Rossi's Breezy pattern when it is released later this month. In the mean time, I'm providing a few sneak peeks. 

Jack liked the pattern from the get-go and was happy that I was making the large version. He picked the fabrics and initially, I just was not sold on his choices. He said to trust him; and since the quilt was for him, I did and I'm glad! (I'm really not sure why I doubt his choices. He is just about always right.)

This picture shows all the fabrics used in the quilt. I was worried about the one section in which there is not much contrast; but in the overall quilt, it looks great and provides an interesting feature. (You'll see what I mean in a couple of days.)


Here's the center of the quilt. This also provides a close up of some of the quilting done my by friend Judy. (At 100" square, this quilt is too large for my frame.) The quilting design is called Zephyr, by Lorien Quilting and I think it's perfect.


I had to find a resting spot for the quilt while I was moving things around. As you can tell, it's been kind of wet, windy, and rainy here. After days of rain and a busy schedule that required me to be away from home, I finally just gave in and took pictures while it was drizzling. I was happy that it was not a full out rain and actually like the dark sky in the background. 


Tuesday, February 27, 2018

Secret Sewing Reveal

I'm finally able to show some of the secret sewing that I've done recently. Here are a few pictures of Through the Woods, a pattern test that I did for Rachel Rossi.


They have become this quilt...


I struggled getting good pictures of this quilt. It was windy and the lighting was not great. Here are a couple of close up views. I quilted this on my domestic machine and am pleased with the results.


See what I mean about the wind?


The wind stopped, but the lighting was not good.


I like how the quilting looks on the back.


The backing fabric is perfect!


I decided to try to get some pictures by the ravine.


You can't see it well, but I had a visitor when I started to hang the quilt. The deer started running away before I could snap a good picture. It would have been sweet to have been able to see it in a picture with the quilt. Maybe next time. 


I'm thrilled with how the quilt looks and am pleased to have been part of the testing group. I'm working on another test pattern for Rachel and should have more to show later this week. FYI - The pattern has a bunch of half square triangles and a really quilt way to make them. Stay tuned for more.