Even though our temperatures have been in the 90's all week,
we are celebrating Christmas in July
with a continuation of the
12 Days of Christmas in July Blog Hop
Thanks to Sarah - Confessions of a Fabric Addict - for organizing this hop.
And in case you haven't see it already, Sarah is hosting a Christmas Quilt Along.
If you sew for just one hour a day, for twelve days, you'll end up with a really neat quilt that measure 76" x 76".
What a deal.
Sarah, you are awesome!
*******************************
Joining me today and providing a tutorial for a machine applique pillow cover with a string of Christmas lights is
Like me, Paige is offering a giveaway so be sure to check out her site.
*******************************
In case you missed a day or two of the hop,
here's a complete list of the participants.
July 14th: Sharon Vrooman @ Vrooman’s Quilts
July 24th: Carolyn Jones @ …by CJ
*******************************
Like my blog title says, I believe that
Everyone Deserves a Quilt
and I think that
Everyone Deserves a Christmas quilt too.
This quilt will finish approximately 57" x 75", but it can easily be adapted to be larger or smaller.
There are two repeating blocks for this quilt, and each one finishes 9". You will be making 18 star blocks and 17 chain blocks.
When I saw these fabrics, I knew that they were just screaming to be made into a lap quilt. Since I didn't have a real definite plan when I was buying the fabric, I had to do some quick estimations and keep my fingers crossed that I guess correctly.
As soon as I got home, I started sketching and it wasn't long before I knew exactly what I wanted to do. And thankfully, I had bought enough of every fabric. YAY!
So what do you need to make your very own quilt?
Star Background Fabric - 1 3/8 yards
Star Center - 5/8 yards
Star Points - 1 yard
Chain Block Center and Corners - 1 yard
Chain Rectangles - 7/8 yard
Border 1 - 1/2 yard
Border 2 - 1 1/4 yards
Binding - 2/3 yard
Star Blocks (Make 18)
Cutting
Star Centers
*Cut 3 strips, 5" x WOF (width of fabric) and sub-cut into 18 - 5" x 5" squares.
Each strip will yield 8 squares, so you will only need to cut 2 squares from the last strip.
Star Background Fabric
*Cut 5 strips - 5" x WOF. Sub-cut into 70 - 2 3/4" x 5" rectangles. Each strip will yield 14 rectangles.
*Cut 6 strips - 2 3/4" x WOF
From 1 strip, cut 2 - 2 3/4" x 5" rectangles AND 12 - 2 3/4" x 2 3/4" squares
From the remaining 5 strips, cut 60 - 2 3/4" x 2 3/4" squares
Star Points Fabric
*Cut 11 strips - 2 3/4" x WOF. Sub-cut into 144 - 2 3/4" x 2 3/4" squares.
Each strip will yield 14 squares.
Assembly
Draw a
diagonal line on the wrong side of the star points squares. Lay a star point square right sides together on a star background rectangle. Be careful of the orientation of the drawn line. You may find it helpful to place a pin in the corner, as shown in the picture below.
Sew along the drawn line. Trim 1/4" from the sewn line.
Press to the corner (star point).
Each star block will have four of these units, so you will need to make a total of 72 of these.
Now we are going to do the same thing to the other side. Remember to watch the orientation of the drawn line. It doesn't matter which direction you sew, Do whatever feels the most natural or creates the best results.
Trim and press as before.
Oops! I forgot the picture of the finished flying geese unit!
Once you've completed all 72 flying geese units, you are ready to sew the star block together. YAY!!
Lay out the block as shown below. Each star consists of one center square, four flying geese units, and four corner squares. Isn't this pretty?
All we have to do now is sew each row and then sew the rows together!
I'd like to share a few tips that will help you sew and keep those points we all so desperately love in star blocks.
When sewing, sew with the flying geese unit on top and the solid piece close to the feed dogs. Not only will this allow you to watch the seam allowance direction so it doesn't get flipped over, it will also ensure that you get nice sharp points.
In the picture below, you are sewing the flying geese unit to the star center square. Can you see the X that is created from your previous seams? Use this as a guide to know exactly where to sew to maintain the points.
I also find it helpful to add a few extra pins so there is no shifting when I'm sew the units together. I especially like to place a pin near the end of the seam I'm sewing as well as along the perpendicular edge. I know it's extra time, but I think the results are well worth the time and effort.
Back to the block construction...
Press the top and bottom row to the small corner squares and press the center unit to the large center square. In other words, press away from all of the flying geese units.
Once all of the rows are sewn, sew them together. Follow the same procedure for hitting the X to keep those points sharp.
WooHoo! Make 18 of these beauties.
Are you still here? Great!
Just a little bit more and then the fun begins.
Don't forget that once we've got the quilt top together, there is a giveaway. :-)
Chain Blocks (Make 17 )
Cutting
Chain Centers and Corners
*Cut 3 strips, 5" x WOF (width of fabric) and sub-cut into 17 - 5" x 5" squares.
Each strip will yield 8 squares, so you will only need to cut 1 square from the last strip.
*Trim the remainder of the last strip to 2 3/4" x WOF (approximately 35").
Sub-cut the strip into 12 - 2 3/4" x 2 3/4" squares.
*Cut 4 strips - 2 3/4" x WOF and sub-cut into 56 - 2 3/4" x 2 3/4" squares. Each strip will yield 14
squares. A total of 68 squares is needed.
Chain Rectangles
*Cut 5 strips - 5" x WOF. Sub-cut into 68 - 2 3/4" x 5" rectangles. Each strip will yield 14 rectangles.
Assembly
(I promise that this block is very easy and will go together much quicker than the star blocks!)
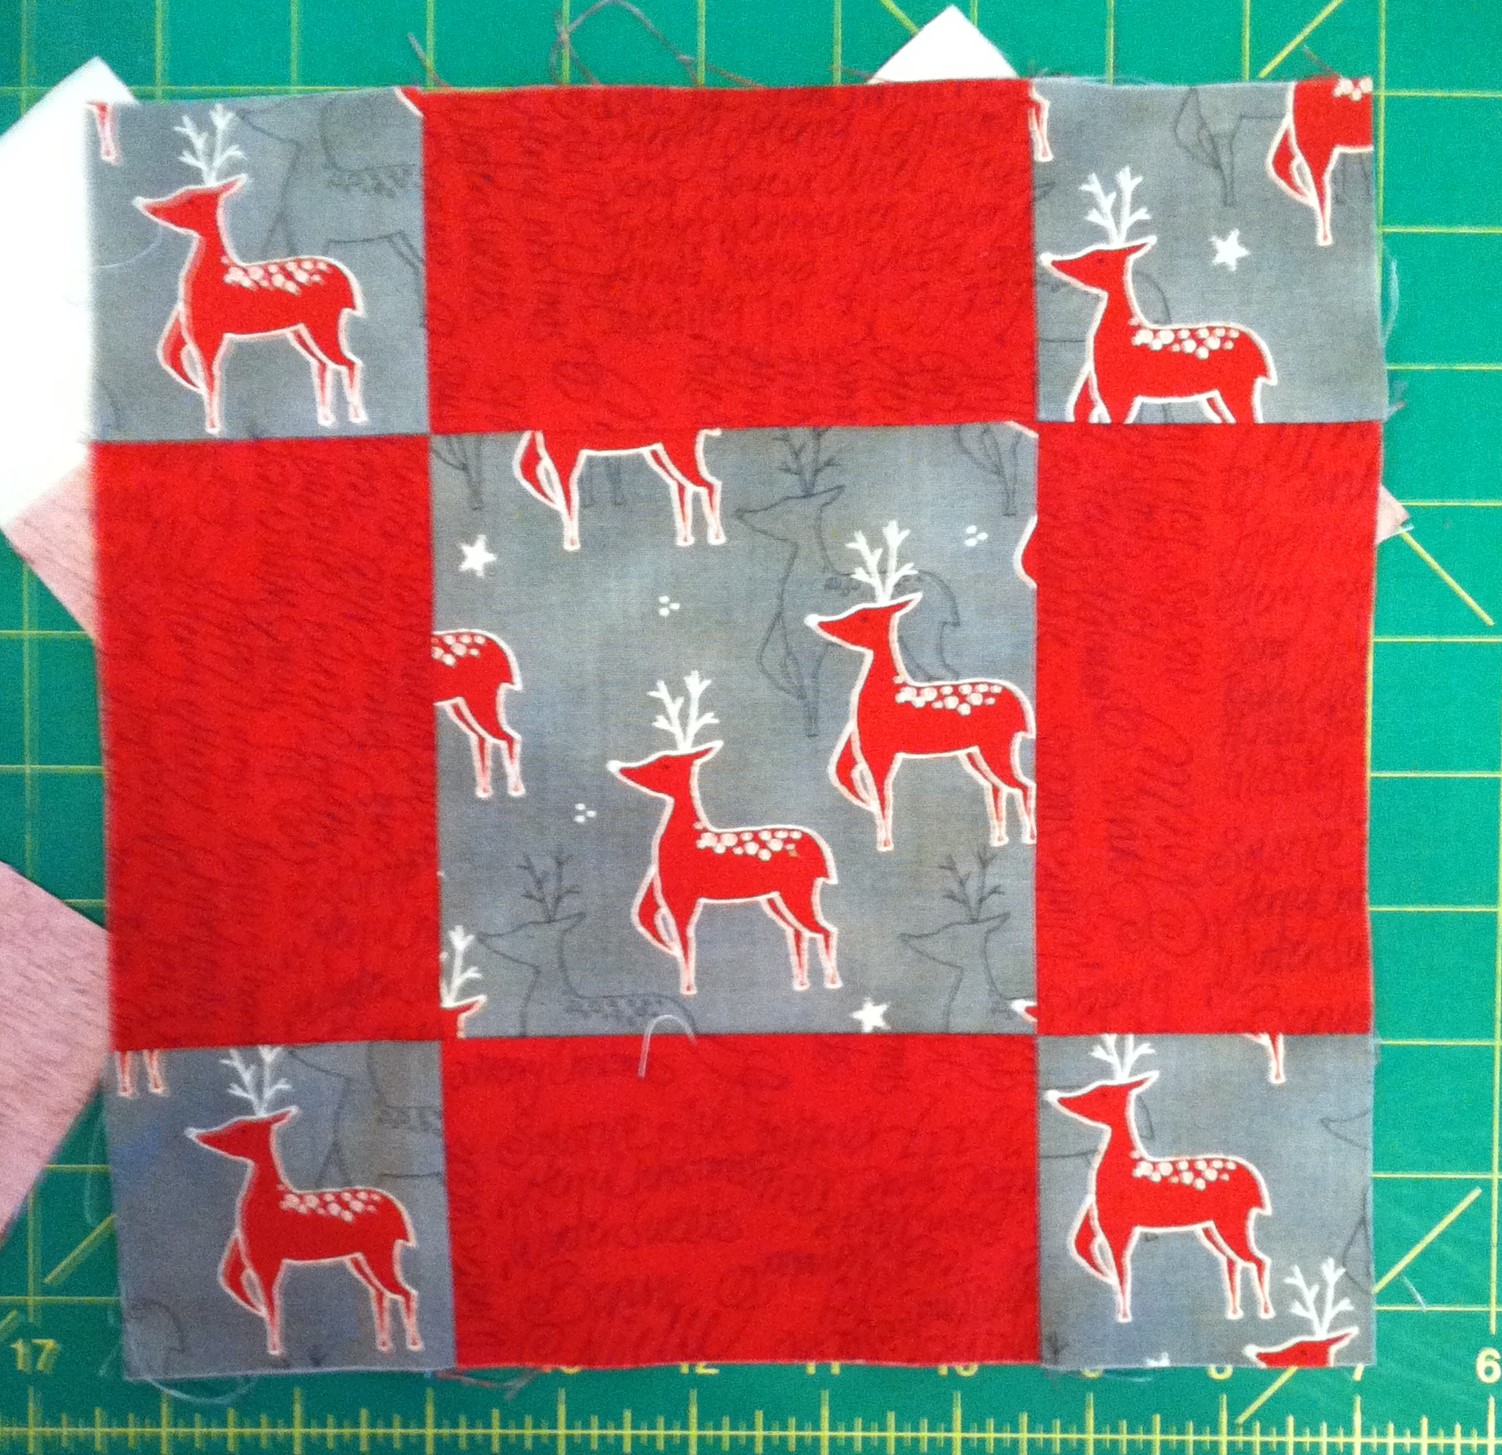
Lay out the block as shown below. Be careful if you are using a directional fabric like I did.
Just like with the star blocks, sew the units into rows and them we'll sew the rows together.
Press towards the rectangles.
Now sew the rows together to finish the block. (See, I told you this was much faster than the star blocks!)
Quilt Top Assembly
Lay out the blocks following the picture below. You will have seven rows of five blocks each. Rows 1, 3, 5, and 7 will begin and end with stars and rows 2, 4, and 6 will begin and end with chain blocks. Again, be careful if you have used a directional fabric.
With the star blocks always on top, carefully sew rows together. Because the star blocks will be on top, you will be able to see the X and maintain those perfect points.
Remember when I told you that I like to take the time and add extra pins? Now would be a really good time to do that!
Press towards to chain blocks, which will help reduce the bulk that is created at the intersections.
Press all of the rows in one direction. Out of habit, I press up. The quilt top should measure approximately 45 1/2" x 63 1/2".
Yay! It's time for borders and then the giveaway!
Border 1
Cut 6 strips - 2" x WOF. Diagonally piece all of the strips together. Trim and press seams open. Measure the length of the quilt and cut 2 pieces that length.
Sew these to the sides and press to the borders.
Measure the width of the quilt, including the newly added side borders. Cut 2 pieces that measurement and sew them tot he top and bottom of the quilt top. Press to the border. The quilt should measure approximately 48 1/2" x 66 1/2".
Border 2
Cut 7 strips 5" x WOF. Diagonally pieces the strips together, trim and press seams open. Following the same procedure as before, add the border to the sides first and then the top and bottom of the quilt top. Press to the borders.
And there's your completed quilt top!
This was as close to a winter/Christmas picture as I could get. The firewood reminds me of the cold and I can't wait to snuggle under this beauty while sitting by the fireplace.
I'd love to see quilts made using this tutorial!
***The Giveaway is CLOSED***
And now for the long-awaited giveaway...
Do you send out Christmas cards?
Here's your chance to win 20 beautiful cards
and the stamps to go with them.
On Sunday, July 31st, I'll randomly select a winner from the comments left here on my blog.