Monday, April 30, 2018

Design Wall Monday

I taught six straight days last week (Monday thru Saturday - 2 umbrella classes, 3 jelly roll rug classes, and a stacking pop up class), so yesterday was a catch up day at home. I was pretty successful at taking care of the household stuff, but by 8:30pm I was ready to sit at my own sewing machine and do some mindless sewing. 

Since I have more Jelly Roll Rug classes coming up, including one tomorrow, I decided that I should make another sample. I went to the container where I had previously put some of my packages of 2.5" strips (potential rugs) and pulled out one that I thought would be fun to work with.   


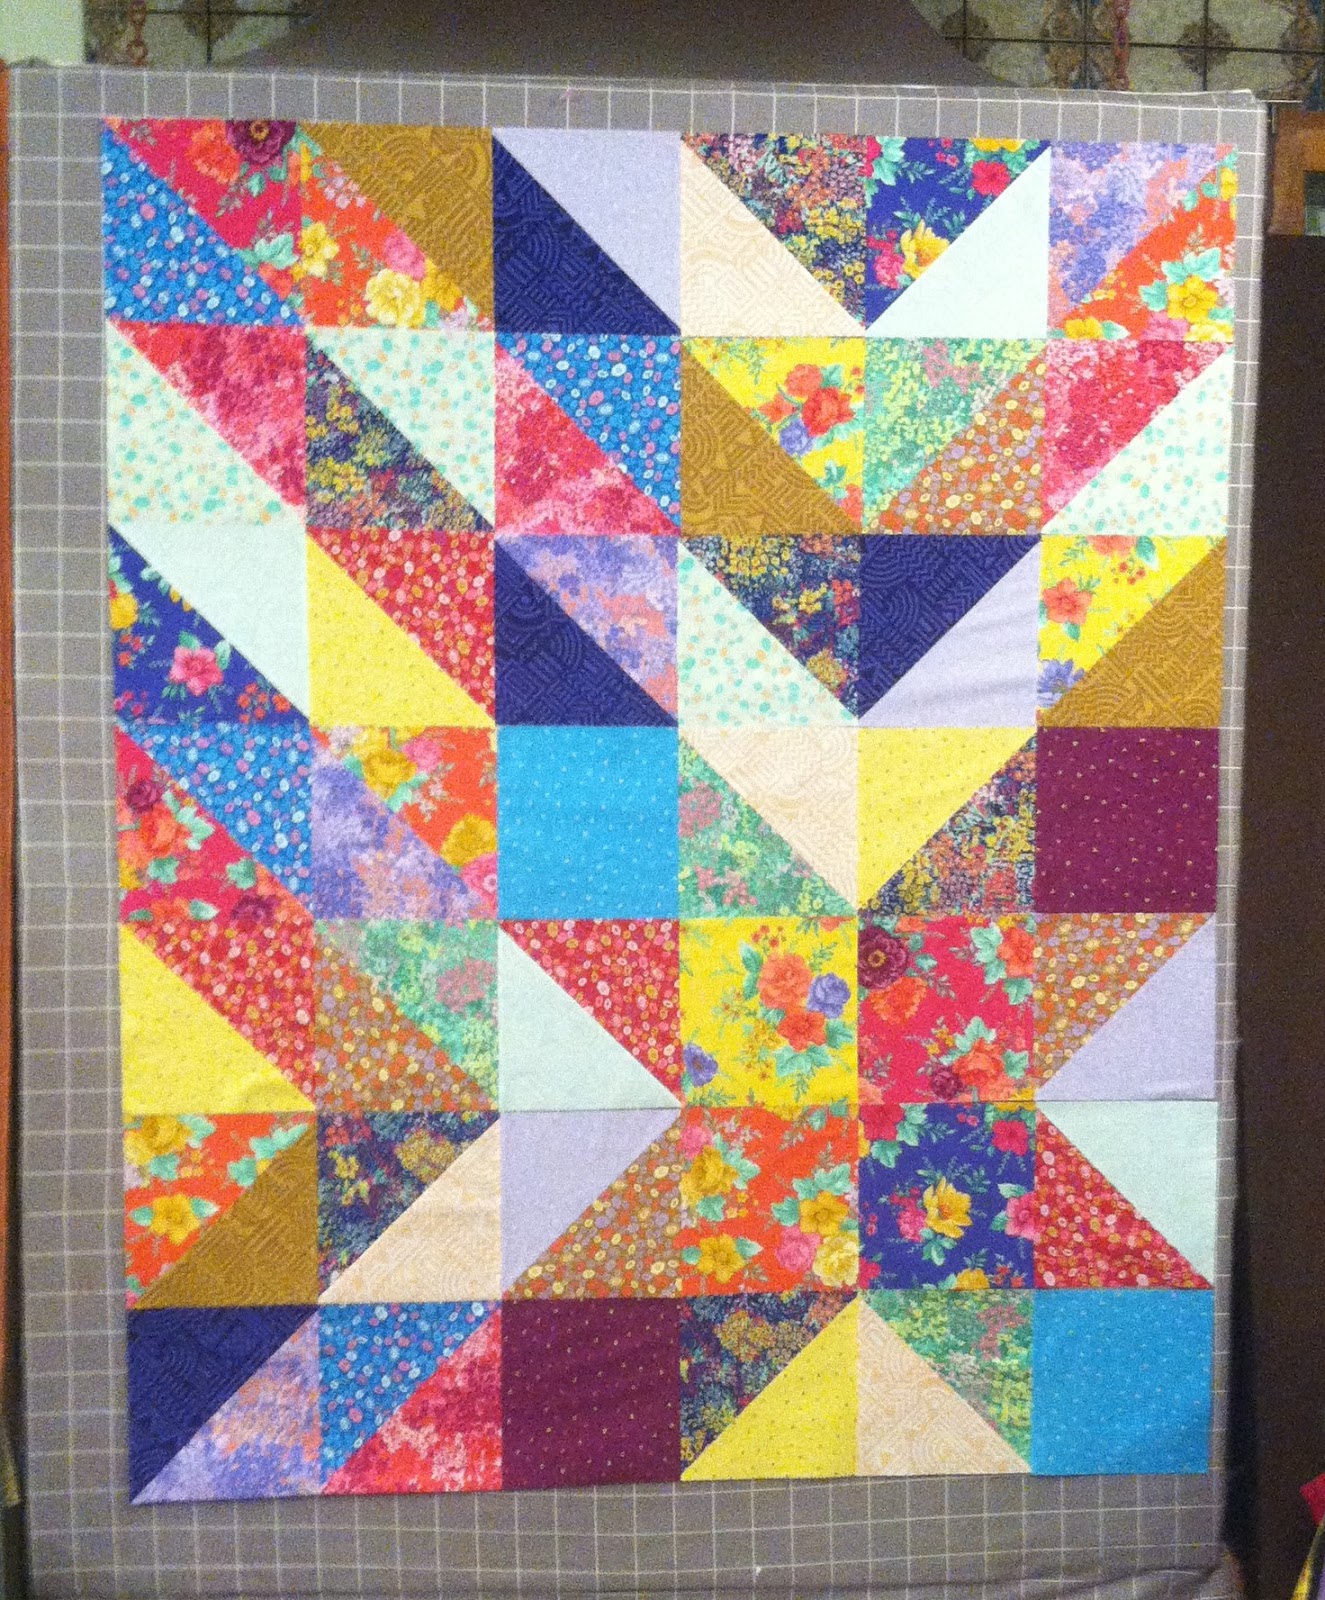
This is a very pretty collection of fabrics, but I didn't notice until after I had sewn them all together and was actually making the rug, that some of the fabrics are repeated four times. I basically just pulled the fabrics from one side, sewed them together, and just started over and added the next side. I kind of wish I had played a little with the placements,

I am almost done with the rug but am not sure that I want to use the final strip of dark fabric.


If I continue and finish sewing the strip, a little over half of the rug will have two rows of the dark fabric and I think that might make it look lopsided. 

I decided to leave it as is overnight and make my decision later this morning. 

See, this really is pretty fabric. I'm just not sure that I love it as a rug. I'll finish it and I'm sure it will grow on me.


What are you working on today?

Check out the quilting eye candy at 


Thursday, April 26, 2018

Breezy - A Rachel Rossi Design

Last week I showed you my versions of Rachel Rossi's Breezy pattern and told you how much I enjoyed testing the pattern and that I really like this quilt.


I liked it so much that I not only made the king version above, but I also made two baby size quilts using a panel.


I'm thrilled to announce that Rachel has released the pattern for sale and I strongly urge all of you to hop over there and snatch up your own copy. The pattern includes instructions for three sizes: Baby, Throw, and King.

Here's Rachel's blog post about the pattern. Not only does she talk about the pattern, but she provides some absolutely wonderful pictures too. It's amazing how different and amazing each of these quilts looks! There are some fabric choices that I would never have considered, only to find them stunning. I'm already thinking that I just might have to make another one (or more) of these quilts.  😀

This pattern is very well-written and the quilt was such a pleasure to make! Please do not let the many half square triangles (HST) scare. Rachel includes extremely clear and straight forward instructions on all aspects of this quilt, but especially for the HST and pinwheels. I know that you will love the magic eight method of making the HST and all the tips she provides. Yes, it can get tedious to trim all those HST, but it is so worth it!


I devised a system where I did all the sewing first and then separated the huge pile into smaller stacks for trimming. I will admit that I was so excited to see how the pinwheels were going to look that I did sew, immediately trim, and then sew the pinwheels together for the first couple rows of one quadrant. Once I knew that I was going to love it and the fabrics were going to work, I took a few minutes to collect my thoughts and make a plan. The "break it up" plan worked great for me and was much less daunting than seeing a huge stack of HST that needed trimmed. Another advantage to doing this is that it provided a built in timetable to take a quick break to grab a drink or stretch my legs. 


Not only does the pattern include overall great instructions, it provides a wonderful explanation on the magic 8 method of HST, AND some awesome tips and techniques to make sure your points are perfect and that the pinwheels lay perfectly flat. That alone is worth the price of the pattern! If you don't believe me, ask any longarm quilter.  😊

I enjoyed making this quilt and know you will too. You can purchase this pattern, as well as Rachel's other patterns HERE. I know you won't be sorry!

Sunday, April 15, 2018

Breezy Quilts - Original and Two Variations

As promised, here are pictures of the Breezy quilt completed. You can see the story about this quilt HERE and HERE

I really like this quilt! 


The quilting was done by my friend Judy and she did an awesome job. I think this pantograph, Zephyr, is perfect. 


I was worried about the low-contrast part of the pinwheel, but I like it now. 


I did change the border from the original one in the pattern; but I believe that this border option will be written into the final pattern, which will be released later this month.

I knew that I wanted to make a baby size version of this quilt and when I saw one of the other pattern testers use a panel, I decided to use my Skylines panel by Hoffman Fabrics. Of course I also had to make two quilts, because what else would I do with the other half of the panel?

I made a few modifications to the pinwheel sides of these quilts. On one of the quilts, I added a barrier strip of fabric between the two halves because I was running low on the pinwheel fabrics. 


I used a single fabric for most of the pinwheels, but then added a few pinwheels made from musical notes fabric. (I may have to call this "Whistle While You Work."


The panel side is quilted in random vertical lines with grey thread, while the pinwheel side is quilted in the ditch of the pinwheels with the same grey thread.


The second quilt was made using a variety of background and pinwheel fabrics and it "moves" from a racing flag fabric in the bottom right up through the stages of a busy day in the city all the way to the colorful and fun nightlife.


I quilted the panel side with a variety of thread colors in random vertical lines, and the pinwheel side is quilted with meandering stitches in thread to match the background fabrics.  


I love this colorful gradation binding!


I wanted to see what it looked like with the quilts together, as I was originally playing with the idea of combining them into one larger quilt, but decided against it.


I had so much fun with these two quilts and can't decide if I like them better than the king version.

Tuesday, April 10, 2018

Breezy - A Few More Pictures

As I said in my last post (where I initially misspelled the word peek - YIKES!), I'll be reviewing Rachel Rossi's Breezy pattern when it is released later this month. In the mean time, I'm providing a few sneak peeks. 

Jack liked the pattern from the get-go and was happy that I was making the large version. He picked the fabrics and initially, I just was not sold on his choices. He said to trust him; and since the quilt was for him, I did and I'm glad! (I'm really not sure why I doubt his choices. He is just about always right.)

This picture shows all the fabrics used in the quilt. I was worried about the one section in which there is not much contrast; but in the overall quilt, it looks great and provides an interesting feature. (You'll see what I mean in a couple of days.)


Here's the center of the quilt. This also provides a close up of some of the quilting done my by friend Judy. (At 100" square, this quilt is too large for my frame.) The quilting design is called Zephyr, by Lorien Quilting and I think it's perfect.


I had to find a resting spot for the quilt while I was moving things around. As you can tell, it's been kind of wet, windy, and rainy here. After days of rain and a busy schedule that required me to be away from home, I finally just gave in and took pictures while it was drizzling. I was happy that it was not a full out rain and actually like the dark sky in the background. 


Sunday, April 8, 2018

Sneak Peek

As I mentioned the other day, Jack helped me take pictures of a couple quilts last week. Because I'm still editing pictures and writing a pattern review, I'm just going to give a sneak peak at the king Breezy quilt I made for Rachel Rossi.

Jack's prepping the quilt for me. I don't enjoy heights at all, so even looking at this picture makes my heart race.
In retrospect, I don't think the heart racing is because of the height. I think it's Jack.  😍


I draped this over a tree, hoping to stage it a little, but the rain started to really come down so I had to abandon the picture taking. Even so, I like this picture!


As I mentioned yesterday, changes are coming to the blog. They will be somewhat slow in arriving, but I'm just excited and had to share.

Have a great week!

Saturday, April 7, 2018

Changes

Just like in quilting, I find that my tastes change over time so I'll be making some changes to the appearance of my blog in the upcoming weeks. I'll keep the links, pages, etc., but will be updating the overall look and feel of it and I'm really excited about it.

I've been thinking about this for quite some time but just haven't taken the plunge. It's time! My daughter Nikki is quite adept at computer and design work and she'll be guiding and helping me through the process. Stay tuned for updates and changes. 


Friday, April 6, 2018

Quilt Finishes

I was able to finish the Star Light Star Bright quilt that I showed on Monday and am happy with the results. My quilt has quite a different layout than the one shown on the pattern, but I don't mind at all. While I know that it's usually the picture on a pattern that draws people to a particular quilt, I really like to see the finished product take on the personality of the quilt maker. I'm not a quiet or shy person by any means and this bolder layout is more fitting for me. 


I chose a fun backing that I had on hand and think it adds a nice feel to the quilt. It's much more subdued than the bright fabrics on the front.


I only have two pictures of this quilt because it was raining and although I don't mind taking pictures during a light rain, it started to rain harder and the raindrops were getting on my lens. I want to get more later and will share when I do.

Before the rain chased us inside, Jack and I were able to get a few pictures of my Sonoma quilt. This one was taken out back by the ravine where I took the Star Light Star Bright pictures. I love the backdrop and try to get pictures here often. 


Before we headed to the back for pictures, we spent some time in the front of the house and used the balcony to hang quilts. For large quilts, our balcony works well I needed some pictures of Breezy, a quilt I made to test an upcoming pattern by Rachel Rossi. I made the king size version of the quilt and posted about it HERE, before the borders were added. It was too big for me to quilt on my own, so my friend Judy quilted it and I love how it looks. I'll post those pictures in the next couple of days.  

Because he was already up there and it wasn't raining too much, we hung Sonoma out there too. I'm glad we did because we had fun with these pictures! This is what I saw when I came around the corner of the house. Jack was just hanging around waiting for me. 


He looks kind of bored, doesn't he?


I take a few close up pictures first... 


and then look up to see Jack in this pose. He said that he's "looking out at his realm." I asked what he sees and he says "many, many quilts!"


I think the quilt hangs nicely from the balcony.


I am so lucky that Jack supports and even encourages my quilting. I'm not sure how many husbands would go to the lengths he does with helping me get pictures. He even keeps a list of locations he thinks would be good for quilt pictures. 

Stop back tomorrow for an announcement about some changes that will be coming the Everyone Deserves a Quilt. I'm excited, but a bit nervous too. 

Monday, April 2, 2018

Design Wall Monday

After a really busy week and some computer issues, I'm back and even have another project on the design wall. (Sorry if I didn't respond to your comments last week. I will get to those later today as well as new ones.)


This was a kit from Craftsy called Star Light Star Bright using the Madison Park fabric from Lily & Loom. A friend, who is a new quilter, fell in love with the picture on the Craftsy website and I agreed to let her buy one for me and in return I'd work with and teach her along the way. It was on sale and it really was a great deal.  😊  We got the kits in early December of last year and had hopes of getting the quilts made by the end of the year or beginning of January. 

The kit consisted of a pack of 42 - of 10" squares, binding fabric (a very generous amount), and the pattern. While the fabrics are beautiful and fun, the instructions were a bit lacking. It really wasn't difficult to figure out, but for a new quilter, it was a challenge and I rewrote the instructions for my friend. We were able to work on her quilt in early January and she did an awesome job. I didn't work on mine at the same time, but instead chose to concentrate on hers. She's thrilled with her quilt and already using it.

As I said, I didn't make mine with her, but decided that since I've had it out for almost four months now, I might as well sew it rather than pack it up and put it in a tub. Plus, since it uses 10" squares, I can use this as a sample for my "Using Pre-Cuts Demonstrations." Yay! I started making the HSTs as a leader/ender project and before I knew it, my blocks were ready to put on the wall. 


My fabric placement and layout is quite different from the picture on the website, but I'm happy with my choices. Here's the picture from the Craftsy site. I'm sure you can understand why my friend fell in love with this quilt!  


My blocks are sewn into rows and I just have to sew the rows together and quilt this puppy. My goal is to do this week, but we'll see.

The Totally Tulips quilt that was on the wall last week is done and I'm in the middle of quilting it. I didn't get a picture of the completed top, but I will get one and posted when it's quilted. 

What are you working on today?

Check out some quilting eye candy at


and