Tuesday, December 31, 2019

January Monthly Color Challenge

Happy New Year!

It's the new year and the first month of the 
2020 Monthly Color Challenge!


For this month's pattern and instructions, 

*******************************

January - Finch (Yellow)


This is such a pretty bird! 

The Goldfinch is the state bird of New Jersey, Iowa, and Washington, and it is common at feeders that offer sunflower and nyjer seeds. It is the Spring male (the Breeding Male Goldfinch) that is such a brilliant yellow with shiny black and bits of white. The females are a bit more dull yellow and actually look olive in color. It too is a beautiful bird!


Goldfinches are usually easy to find around much of North America, and it's their "po-ta-to-chip" flight call draws attention to them in open areas. 

Click HERE to listen to the beautiful sounds of these birds.

If you want to attract Goldfinches, plant native thistles and milkweed, as well as other composite plants. These beautiful birds are attracted to almost any kind of feeders, including hoppers, platforms, and hangers. They are also happy to feed off of the ground, so sprinkling seeds is just as good for them.

There are many thoughts regarding the symbolism of Goldfinches. 
They are considered to be a sign of exuberance, liveliness, and enthusiasm; and their arrival is meant to remind us to enjoy life and savor every moment and not waste time or energy on negative thoughts. What a beautiful idea! 

Speaking of beautiful, yellow is a wonderful color to use in quilts. I used to be afraid to use yellow because I was afraid that too much of it would be distracting, and too little would look out of place. 
I don't feel that way any more and enjoy adding pops of yellow to a number of my projects. I think it works perfectly in these quilts.


***********************************
So let's take a look at this month's color challenge block. 
Here are my fabrics. 
(Remember that I am making two blocks - 
one with a black background and one with a white background; and I am using batiks for my colored prints.)


Isn't this yellow wonderful? I purchased it, along with all my batiks at Once Upon a Quilt Shop in Ft. Lauderdale when I was there back in December. 

FYI 
Once Upon A Quilt opened in 1998 and features the full line of Bernina machines, a 1500 square foot Event Center, a machine service center, longarm quilting services, and 2500+ bolts of the finest 100% cotton fabric - just like the batiks I bought for this project. :-)

The steps to making this block are very simple and straightforward. 
Go to Jen's Blog for cut sizes and the instructions.


Be sure to press well, so as to avoid any misshaped strips.


I chose to match up the strips before cutting them so they would be ready to sew in the next step.


And they are ready to sew!


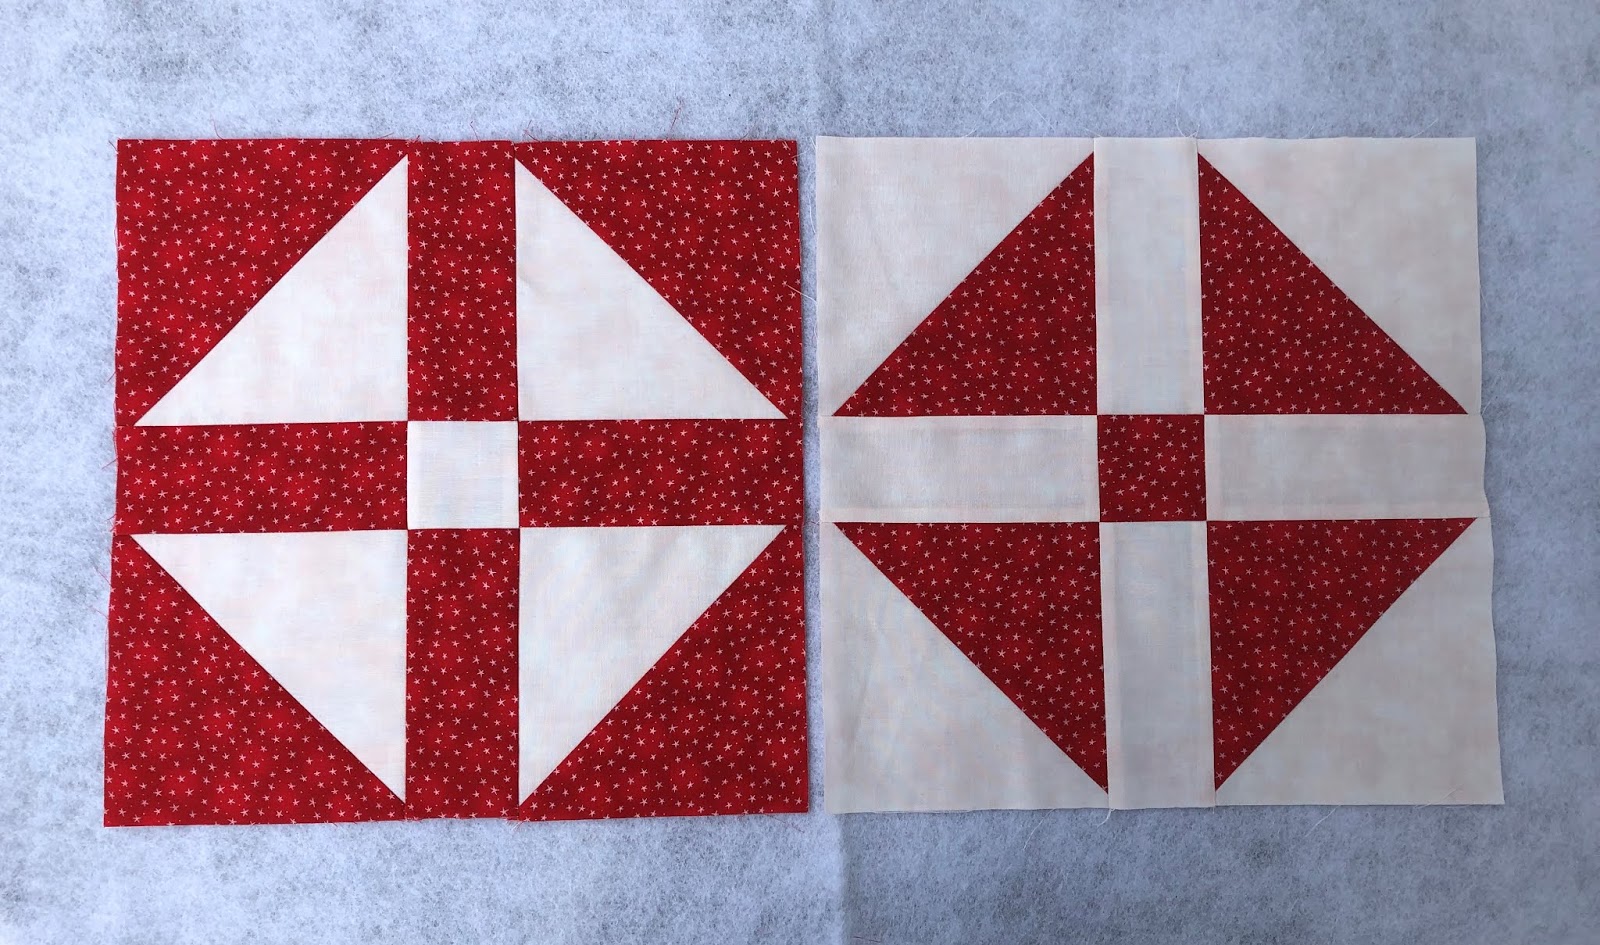
Nice looking four patches!


I did the "twist and spin" thing for pressing to help my blocks lay nice and flat.


I love these blocks! The batik yellow looks like it is a solid, but it's really not.  


Check out the other bloggers who are making this block. I just love how the change of fabric makes that blocks look totally different. 


****************************

Don't forget to join the link up party to be entered into 
First Quarter Prize Drawing
 Oh, how we all love prizes!

Thanks to our sponsors!


Monday, December 30, 2019

Reveal - 2019 Color Challenge Quilts

I've been teasing you lately with pictures of my completed 2019 Color Challenge quilt blocks and bindings (even more so on social media!), but I'm ready to share the quilts today.


As I have said before, I made two full sets of blocks and just reversed the fabric placement. See THIS post to see what I mean. Even though I toyed with the idea of making one large quilt, I ultimately decided to make two separate quilts, and I'm very happy with my choice.  :-)


I used Jen's awesome Checkered Rainbow setting for the original blocks, and I love how it looks. I loved the look of a black and white border, but I also knew that I didn't want to use a solid black and white. What was a girl to do?  I was thrilled when I found this Wilmington Prints fabric - Bubble Up. 


Isn't it perfect? I paired it with this Zen Chic Spotted Black fabric.


Success!


And just because I love a good side view of a quilt...


Do you see what I mean about how beautifully that Bubble Up fabric works?  


I used the Spotted Black for my backing and while it's difficult to see in pictures, I like how the quilting design shows up on it. 

Jen has great instructions on the Checkered Rainbow option on her blog. Be sure to check it out. I did add an additional small black border (1.5" finished) so I could sew a flange binding and not lose any of my points. 

The Checkered Rainbow border and sashing was somewhat time consuming and labor intensive - but so well worth it! I decided that my second quilt was going to have a very simple border and sashing offering. 

I chose two fabrics - the Spotted Black (can you tell that I really liked this fabric and bought a bunch of it? lol) and Grey Rustic Weave by Moda to frame the blocks. The grey looks slightly brown in this picture, but it is grey.


I framed the blocks, alternating the fabrics with a 1.5" finished frame. Technically, that made the finished block size 15". I then laid out the blocks in the same order as the first quilt. I played around with borders and decided that I needed/wanted to use the Bubble Up fabric because it had so many of the block colors in it. After sewing on that 2" finished border, I decided that I couldn't end with that fabric, so I added a 3" finished border of the Spotted Black. I was still a bit underwhelmed when the top was together, but while I was picking up fabrics to put away, I decided that a scrappy binding made from all the Starlet fabrics (Blank Quilting) that I used for the blocks just might solve the "boring" problem. I think I made the right decision.


Of course, here are the obligatory side view pictures. 


Because these quilts are so colorful (I guess the challenge worked!), I thought it would be fun to photograph them in a park or playground. We are fortunate to have one very close to us, so Jack and I took advantage of the surprisingly good weather and headed to the park. 


Jack actually took most of the pictures this time because he is nursing a sore leg and I didn't want him up on a step stool (which you can see in some of the pictures, but I don't care). When he takes pictures, this is some of what you get.  😄  I guess he hasn't figured out how to delete pictures before handing them over to me.  hahahaha


We had a good time and laughed through much of the picture taking. We tried a lot of different shots, trying to be creative like those other quilters out there. We succeeded in some cases, but failed miserably in others.  lol

We really wanted some good pictures of the two quilts together, just haphazardly hanging side by side. We had good intentions...


And then we thought that we should get some pictures of the bindings and maybe some of the quilting...


Like the Spotted Black, I bought a lot of the Grey Rustic Weave, so I used that for the backing of the second quilt. It shows off the random free motion quilting that I did.  


After we got home, I realized that we didn't get any of the flange binding by itself. Oh well... We did however, get these pictures of the binding. I really like the first picture!


 Even though it doesn't look like it, both quilts measure approximately 60" x 70". I just folded them differently when I was trying to show off the binding.

I am very pleased with these quilts and am looking forward to the 2020 Challenge. Check back tomorrow, because Jen is releasing the first block a day early - December 31st, and I'm blogging about it. Yay!

Friday, December 27, 2019

Bindings

If you've been reading my blog for any real length of time, you know that I really like to do bindings - so much so that I offer to do them for friends. It's really not just because it means that the quilt is almost done (yes, that feels good too!), but it's because I love how a binding can make a so-so quilt look awesome.

I participated in the 2019 Color Challenge hosted by Jen over at Patterns by Jen  What's kind of funny to me is that I don't really like sampler quilts, and that is exactly what this is. So what did I do? I made two blocks each month. I made the original block provided by Jen; and in the second one, I reversed the fabric placement. Here are a few examples...     


Even though we didn't have to sign up to finish and blog about our completed quilt, I decided to do so simply to give me the push to get them done. It really would be easy for me to set the blocks aside and then have them get shoved into the UFO abyss - AKA the "tub of shame." 

Both quilts are done and I'm happy with the results. I have to get some pictures, but that won't happen today. Instead, I'm going to give you a sneak peek at the bindings.  :-)

One of the quilts has a scrappy binding that is sew the traditional way - sewn to the front by machine and hand stitched to the back.


I used a flange binding (machine sewn to the back and then machine sewn to the front) for the second one. 


I can't decide which quilt/binding I like best!  :-)