It's a new month, which means it's a new color challenge reveal.
This month we are using
Brown
and we are featuring
Potatoes
Potatoes are a root vegetable, native to the Americas. It was believed that the potato was originally domesticated by various Native Americans in multiple locations, but genetic testing of a variety of species trace a single origin in what is present-day southern Peru and northwestern Bolivia somewhere between 7000 and 10,000 years ago.
Potatoes were introduced to Europe from the Americas in the second half of the 16th century by the Spanish. Today, there are over 5000 different types of potatoes and they are considered a staple food in many parts of the world. In 2014 potatoes were the world's fourth-largest food crop. Only corn, wheat and rice surpassed them.
So, just how healthy are potatoes?
Potatoes are a nutritious vegetable, packed with essential vitamins and minerals that help support the body, boost the immune system and improve energy levels. Potatoes are heart healthy too because they are rich in potassium which helps lower systolic blood pressure and helps reduce the risk of heart disease and stroke. They are also rich in vitamin C and fiber, both of which lower blood pressure and bad cholesterol. The fiber found in potatoes helps satiate hunger and support "gut" health. Potatoes also contain Vitamin B6, calcium, magnesium, and iron. They are gluten free, fat free, sodium free, and cholesterol free.
Potatoes can be healthy, but it is important to consider how they are prepared when considering the overall health benefits. Studies show that there is a direct correlation between eating certain types of potatoes and potato products and an increase in waist circumference and weight gain. (Really?? Who would have guessed that?) So, instead of eating potato chips or fried potatoes, choosing healthier preparation options such as roasted, boiled, grilled, or steamed is the way to go.
******************************
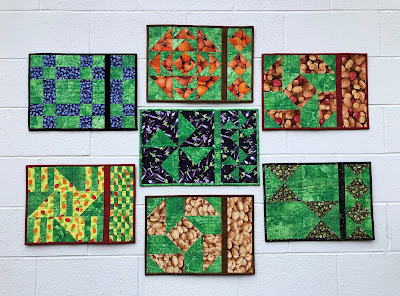
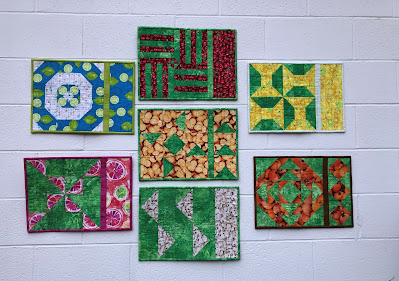
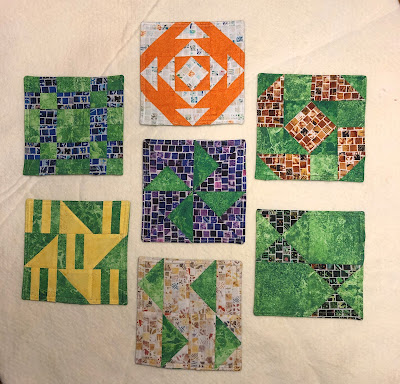
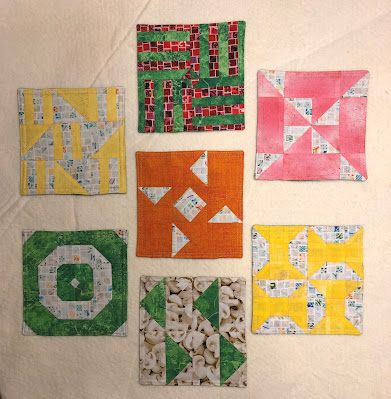
Let's take a look at this month's block
I had the perfect mosaic fabric for the 6" version of this month's block, but I couldn't decide which fabric I wanted to use for the 12" block. I finally decided to stop fretting over it and just make two blocks. Problem Solved!!
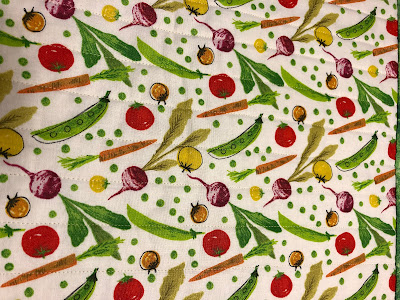
These potatoes are the basic potatoes that I grew up eating. They are tasty and I have always enjoyed eating them.

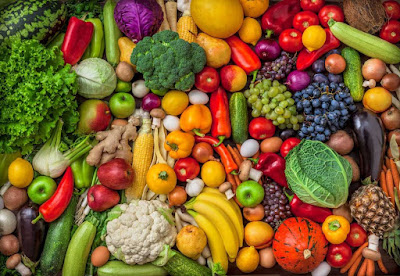
The potatoes in the fabric above are just plain fun. I love all the colors! There is a difference in taste, which provide a nice pleasant variety to many dishes.
See what I mean about the mosaic fabric for the 6" block? Perfect!
I enjoy this picture of all three blocks. I like the fabrics and I like the block pattern.
******************************
For this month's block instructions, head over to
******************************
Thank you to the Second Quarter Sponsors!
Let's show them our appreciation and check out their products.
Jen has a complete list of the sponsor HERE.
******************************
It's recipe time and I think you'll like this one!
Roasted Spanish Potatoes
AKA Patatas Bravas
These potatoes are a delicious side dish that can be served with just about anything. If you like a little spice in the morning, they are wonderful with scrambled eggs!
Ingredients
2 pounds Yukon Gold Potatoes - peeled or unpeeled - your choice, cut into 1" chunks
5 Tablespoons Extra Virgin Olive Oil (divided)
1 teaspoon salt
1/2 medium yellow onion, chopped
3 cloves garlic, finely chopped
1/2 cup chicken broth or white wine
2 Tablespoons tomato paste
14 ounce can of crushed tomatoes
2 or 3 teaspoons hot sauce (Tabasco)
1 teaspoon smoked paprika
1 teaspoon salt
1 teaspoon sugar
Fresh Parsley, if desired for garnish
Instructions
1. Preheat oven to 375 degrees. Toss potatoes with 3 Tablespoons of olive oil and 1 teaspoon salt.
2. Arrange in one layer in a casserole pan or on a rimmed baking tray. Roast until browned, about 50 minutes.
3. While potatoes are roasting, heat 2 Tablespoons olive oil in a medium pan over medium/high heat. Add onions and saute 4-5 minutes or until they begin to brown on the edges.
4. Add garlic and saute another 2 minutes.
5. Add the chicken broth or white wine and turn heat to high. Boil on high until the liquid is reduced by half. Add tomato paste and stir until combined.
6. Add tomatoes, hot sauce, salt, sugar, and paprika. Stir well and reduce heat to simmer. Let sauce cook slowly for 40 - 50 minutes.
7. When potatoes are well browned, toss them with the sauce and return the pan to the oven until the sauce dries out a bit and the potatoes caramelize, about 10 minutes. Sprinkle with fresh parsley, if desired. Serve warm.
******************************You'll have some time to kill while the potatoes roast so you might consider gathering up friends and family to play the
Potato Game That sure looks like fun!
******************************
Speaking of fun, these blocks were fun to make and I like how they looks.
Check out the May Bloggers to see what fabrics they chose to use for their blocks.
I'm also looking forward to some delicious recipes to try.