Showing posts with label Scrap Sewing. Show all posts

Wednesday, October 25, 2023

Tutorial - Scrappy Leaf Potholders

I completely forgot to share my Scrappy Leaf Potholder pictures and tutorial. Oh my...


I've recently been trying to use scraps and made bowl cozies. Those were fun and easy to make and l really liked how they turned out using scrappy strip sets. 


Since I made quite a few strips sets, some of which were kind of small, I decided to use the same concept for making potholders. These really are fun and easy to make. And...I love how they look!

Here's the process I used for making these fun and function potholders.


Supplies

Fabric Scraps - at least 8” in length and in widths ranging from                               1” – 2 ½”

Backing Fabric – at least 8” x 11 ½”

Bias Binding – approximately 2” x 30” per potholder

Cotton Batting – at least 8”x 11 ½”

Insul-Bright – at least 8” x 11 ½”

Leaf Template


Instructions

Download and print the leaf template

(I'm having trouble getting the download to work properly. If you want the leaf template, leave a comment and I'll send it as a pdf to you.)

Cut out the leaf and cut the leaf in half along the dotted center line.

Cut fabric strips in various widths ranging from 1” to 2 ½”. 

The strips need to be approximately 8” long.
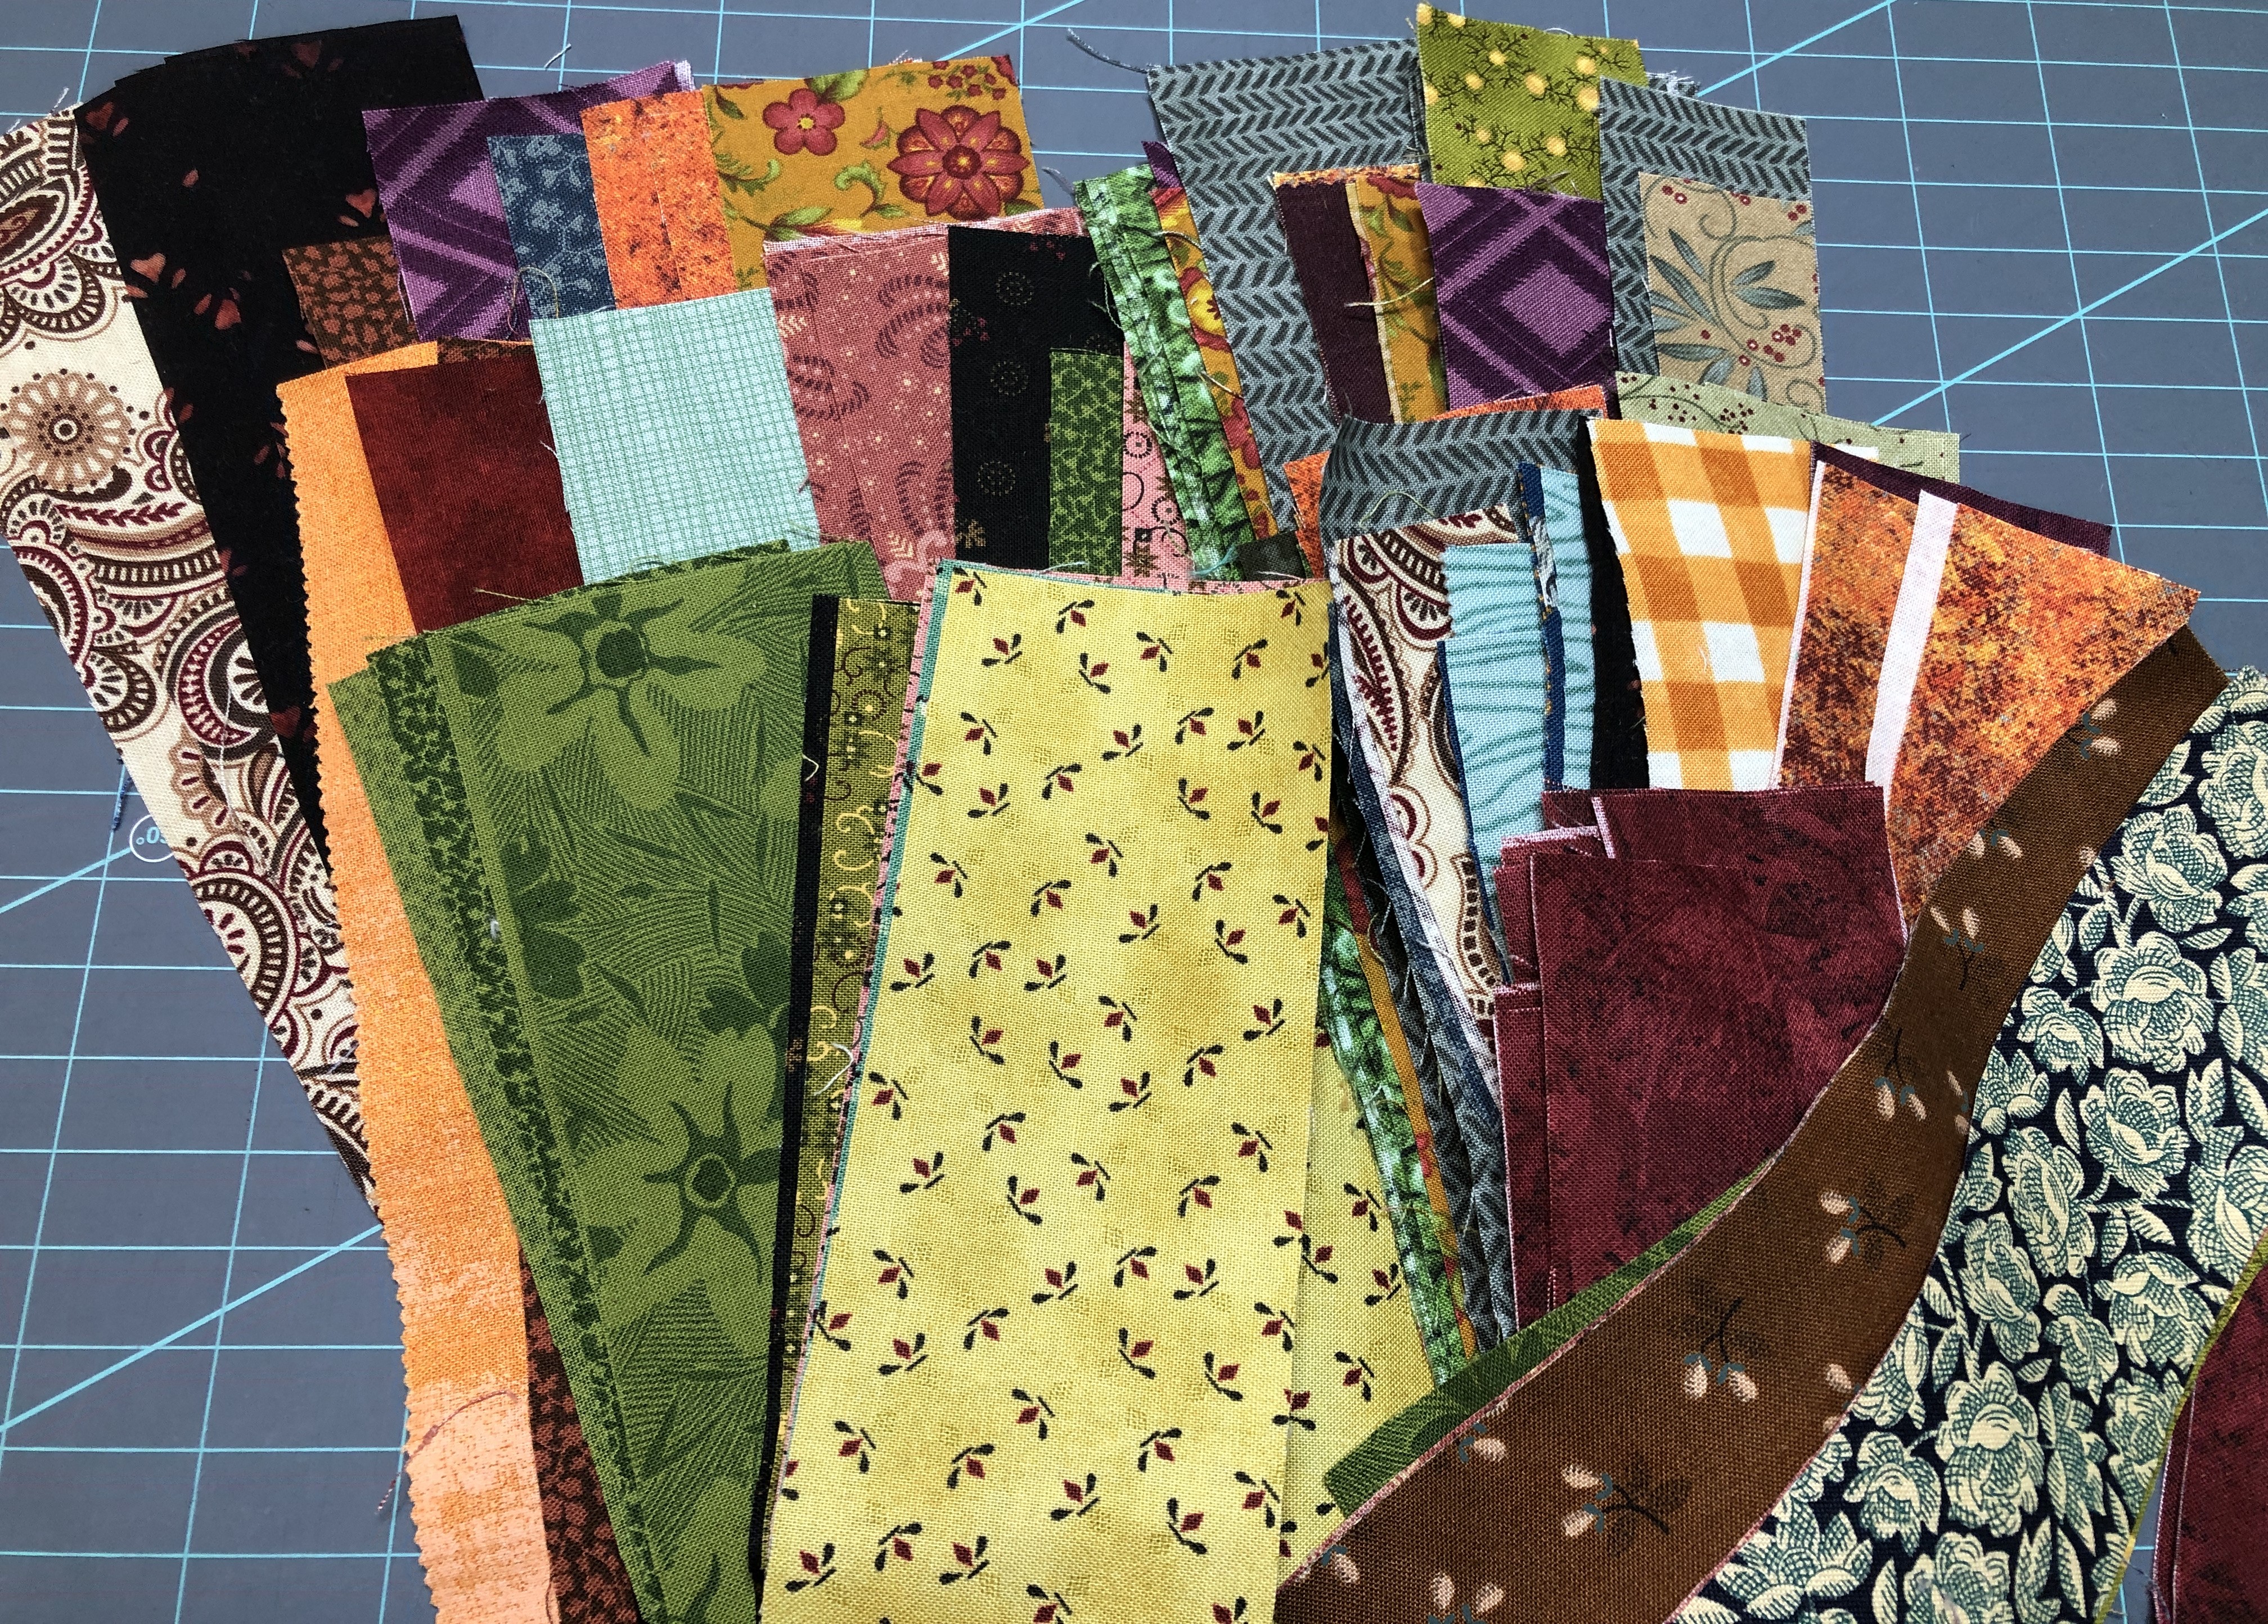
Lay out strips and arrange them in an order that is pleasing to you. Using a ¼” seam allowance, sew the strips together. Continue sewing strips until you have a piece that measures at least 11” long. Press seams in one direction. 

Sew at least 2 strip sets, using different fabrics, or fabrics placed in different locations in the strip set.


Lay the right half of the leaf template on one strip set, tilting the tip to the right. 
Cut out the half leaf shape. 
Rotate the strip set and cut a second right half of the leaf template. 


With the other strip set, lay the left half of the leaf template, tilting the top to the left. Cut out the half leaf shape. Rotate the strip set and cut a second left half of the leaf template.


Sew the left and right leaf halves together and press seam open to reduce bulk. You will have 2 potholders ready to be quilted. The more strip sets you make, the more you can mix and match the sides and have a nice variety of “looks.” 

One benefit of cutting strips a variety of widths is that you don’t need to worry about matching seams. Sometimes they will match up perfectly, while others will be more whimsical and will be playfully mismatched.

Layering the Potholder

*In my house, the side of the potholder that will touch hot dishes is always the backing. It is usually not pieced and the side that I don’t mind getting dirty or even burned. The shiny side of the Insul-Bright faces the heat source so it can reflect the energy back to its source. The cotton batting is next to the top/pieced part of the potholder and provides a barrier to protect your hands.

Layer the potholder as described below:

Backing – right side DOWN

Insul-Bright – shiny side down toward the Backing

Cotton Batting

Leaf Potholder – right side up.


Quilt as desired.  


Binding

The leaf is curved, so bias binding will make binding this much easier. I like to hand stitch binding, but you can sew it down by machine, if desired. 

Trim the potholder around the leaf edges. I used 2" bias binding and used my favorite binding method of sewing to the front and then hand stitching it to the back. 

Enjoy!!

Wednesday, September 20, 2023

Scrap Sewing Continued

I am happy to say that I worked with the pile of scrappy strips that I shared yesterday. 

Last night I sewed a few strip sets.  


As you can see from the picture taken after they were pressed, the edges do not need to be even. The length of the sets needed to be approximately 12" for the long ones and 8" for the short ones.


The 12" strip sets also needed to measure at least 11" tall.


The 8" strip sets also needed to measure at least 11" tall. 


I decided to work with the long sets first. I am presenting some demos at an upcoming event at Chestnut Ridge Sewing, so I decided to "practice" one of my demos using scraps, rather than yardage. I'll have a sample of how I used these strip sets with me. If you are in that area Thursday or Friday, stop in and see me. I'll be in the classroom. :-)

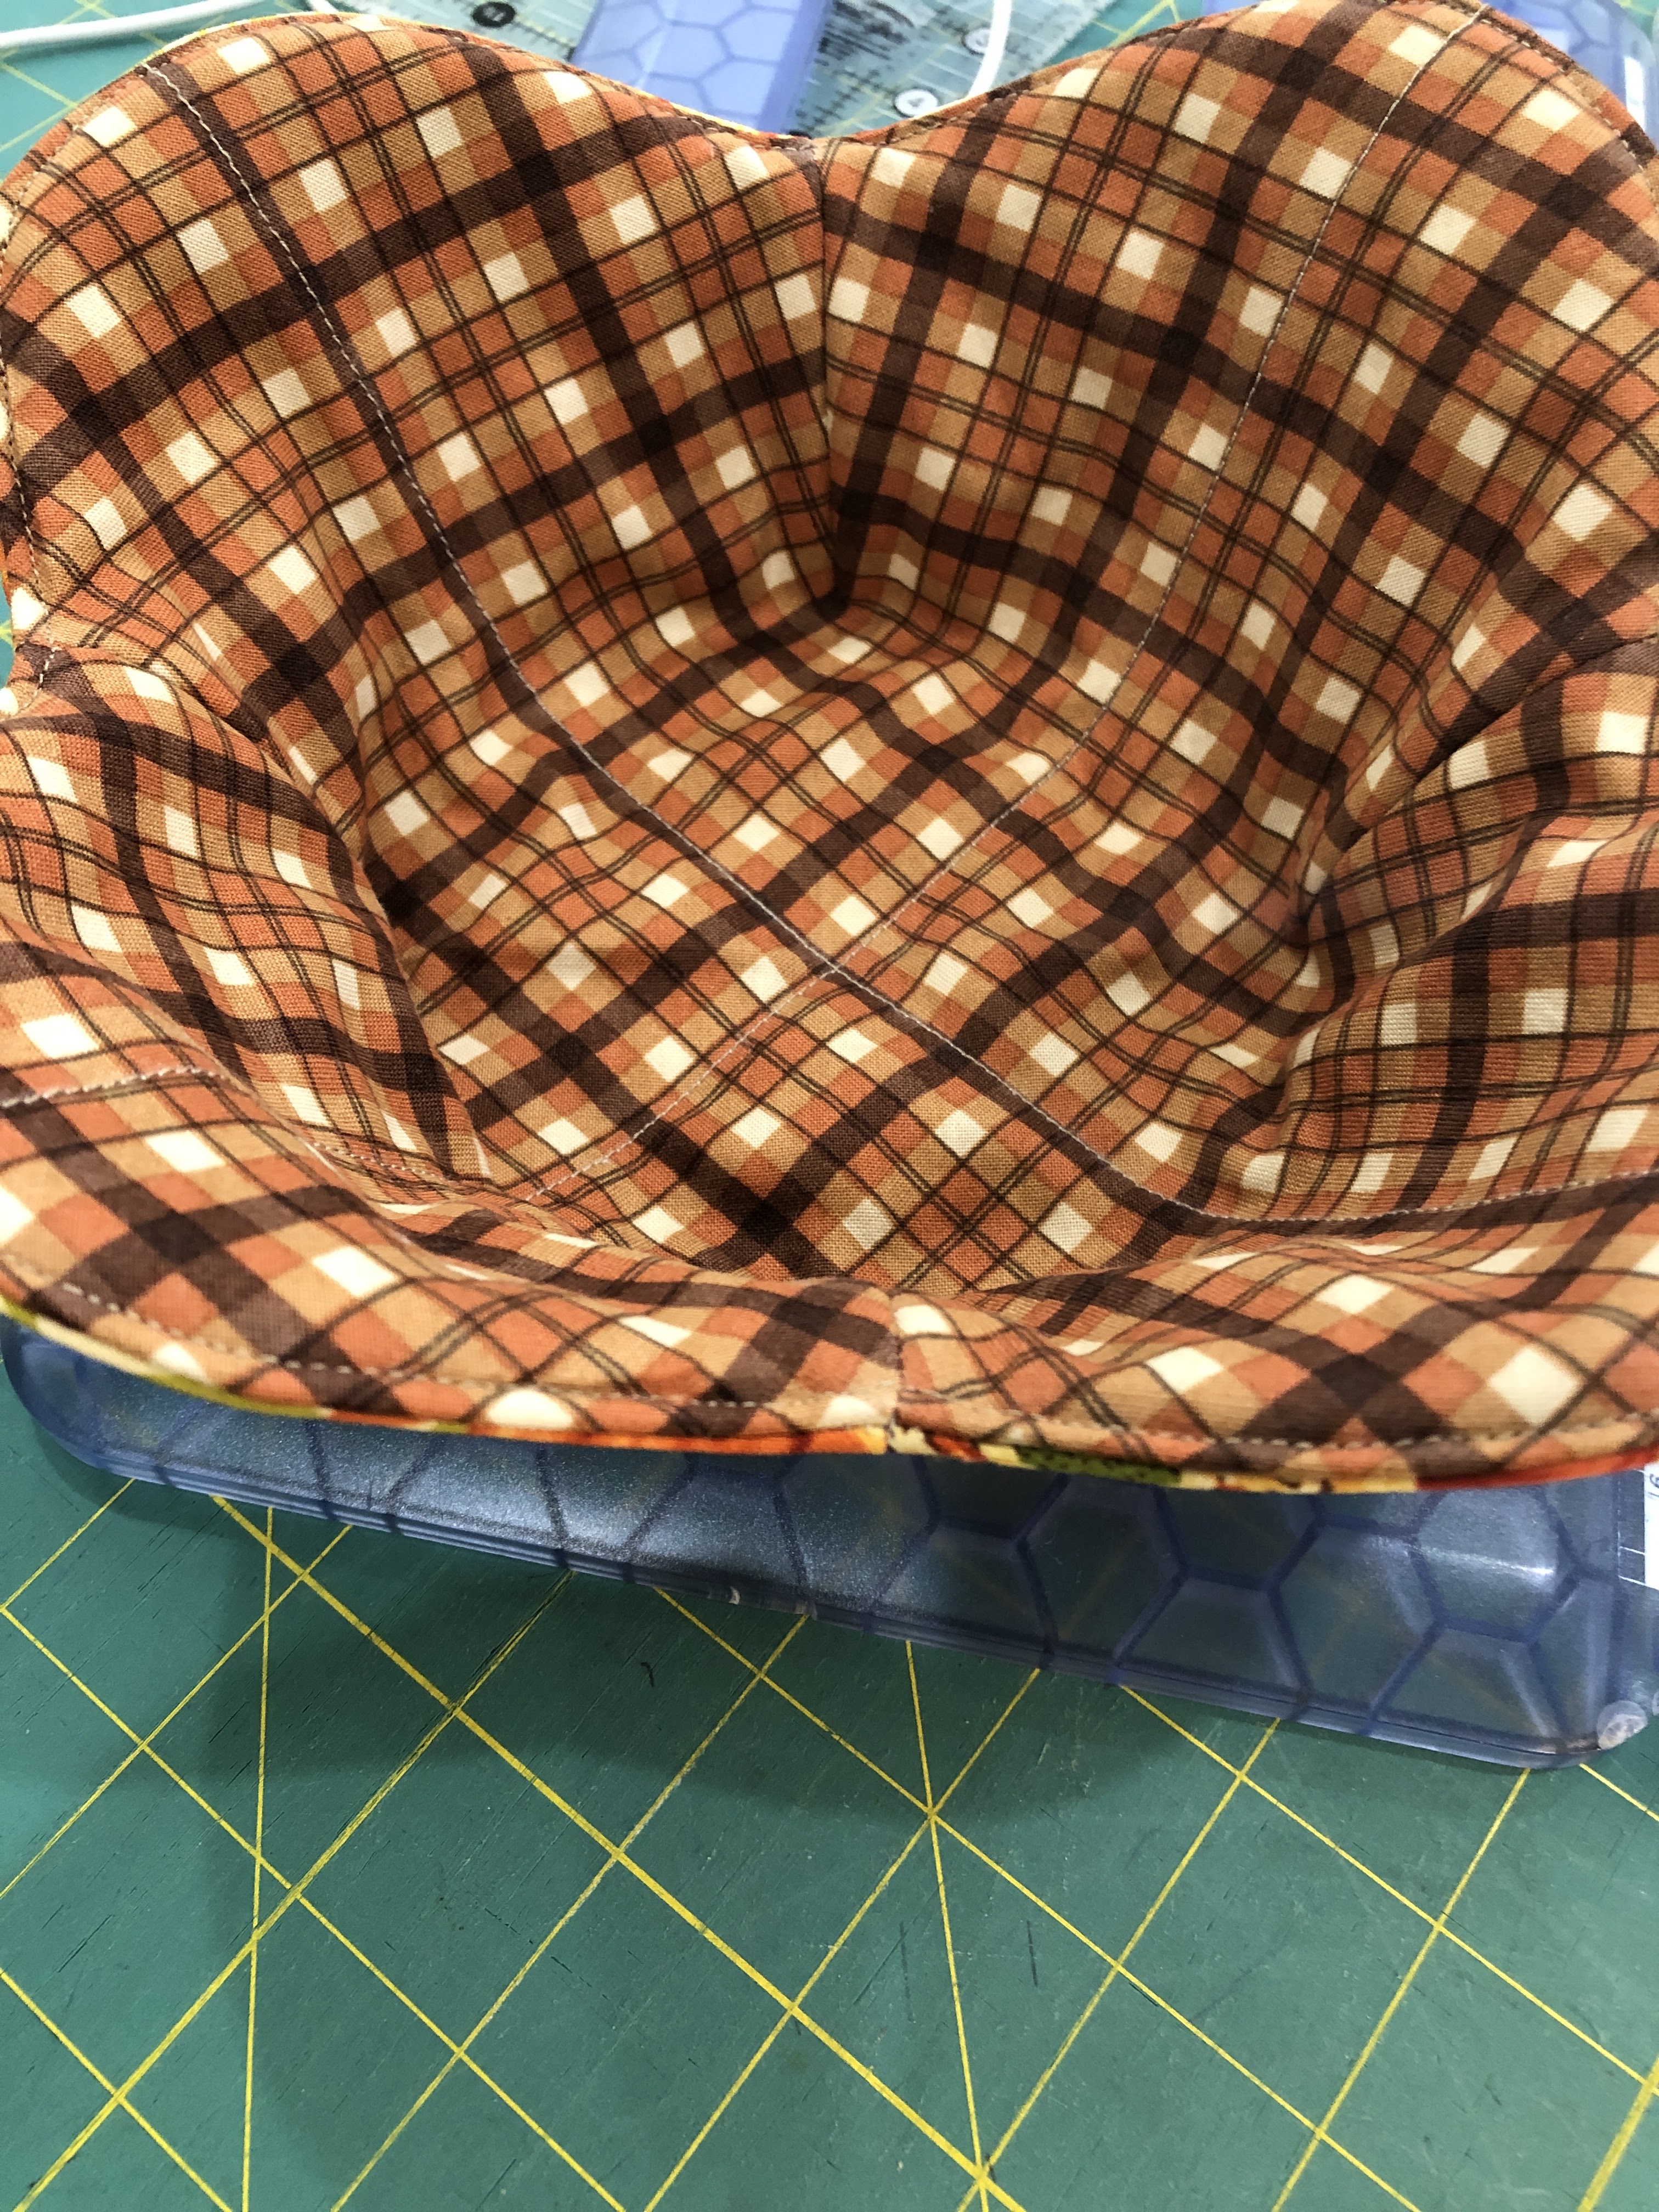
I am sure many of you have made bowl cozies, but I will admit that I made my first ones this past summer and really enjoyed making them. Here are a couple of pictures of one that I made. 


I used the Creative Grids Bowl Cozy Template Set and love the fact that I can make two sizes with it. I like the scallop edges, and think it makes picking up the cozy really easy. Plus, I just like the way it looks. :-)


I decided to make a small cozy using scraps and I really like how it looks. (There is a a template available from The Gypsy Quilter for use with 2.5" strips, but I really wanted to mix and match strips widths.) I also used the pre-cut 100% cotton batting, which made this cozy go together very fast. (Taking pictures of this is NOT easy.  LOL)


Just because I can, I am going to share a few pictures showing my process and a few of the adjustments I've made from the original pattern. One of the reasons I had not made any of these prior to this summer was that quite honestly, I was never much impressed with them. I always felt that they kind of looked sloppy and I didn't like the "fullness" or "not fully quilted" look of the ones I've seen. I am a quilter and while I don't like overly dense quilting, I really don't like quilting that is spaced too far apart. (Yep! I'm picky.)

Ok...back to the process. As you can see from the strip sets below, there is no real rhyme or reason to my strip sets, other than that they should measure at least 11" high by 12" long. I do prefer to have a wider strip on the ends and not a really narrow one, like 1". I think that makes any needed trimming easier. 


I squared up the strip sets to 11" x 11", as per the instructions on the template set. (I've seen instructions that say to start with 10" - 10.5" squares, but that is too close for comfort for me.) 


Using the instructions on the template set, I folded and cut the strip set to end up with this odd looking piece. The cut out V sections are for the darts that will be sewn after the pieces is quilted. This, and the curved sections create the scallop look that I like so well. (I'm not going to show how to cut the template. It's pretty straight forward if you follow the instructions on the package. That, and the fact that I forgot to take pictures. LOL) 

Using a chalk marker, I drew the lines I wanted to quilt. This is more than usual, but as I said earlier, I like these cozies to be more heavily quilted. 


For this scrappy cozy, I also stitched in the ditch of all the seams. Here is a picture from the back, showing all of the lines of quilting that I added. It looks like a hot mess, doesn't it?  


Here is a picture of the back of the original cozies that I made. This shows that I sewed a few "extra" lines on those from what is suggested on the instructions. I really like adding the stitching that creates a square along what will be the bottom of the cozy. I feel like it helps them stand more upright. Honestly, you can quilt as much or as little as you like. It doesn't matter. You can even use decorative stitches, if you want. You are the decision maker here. :-)


So...here is my scrappy bowl cozy. I like it and have enough strip sets sewn to make at least two more. I am also going to make a couple of the large cozies. That strip set will measure approximately 17" x 17" and be trimmed to 16" square. I'll follow the same procedure, including using the large pre-cut batting.  


Now...off to work with the small strip sets. That project is a little different, but along the same lines. It will also be used in the kitchen. :-)