It's been a while since I posted, but I've been awful busy and something had to give. I'm thrilled that I've had a bit of sewing time and have something to show today. Yay!
Before pictures, I have to provide a little back story about a couple of things I've been doing. This past weekend was the first Ohio Amish Country Quilt Festival and I was asked to present a Triangle Frenzy School House Program on Thursday. I did and it was a lot of fun!
Because of an emergency situation, on of the teachers for a Saturday class had to cancel and I was asked if I could fill in for her. She was scheduled to teach Tumbling Triangles, a Dub Tucker pattern.
Although I had experience with a few of the specialty rulers that Deb Tucker uses with her patterns, I had never used the V Block Tool. I did a quick internet search and watched a YouTube video and I decided that if I could get my hands on the tool and a pattern, I could make the quilt and teach the class.
Things didn't turn out exactly as planned and I did not get either the pattern or tool until Friday morning. Yikes! I was stressing out, thinking that there was no way I was going to have even a small quilt top done in time for the class.
Well someone was watching over me because a woman working in one of the booths at the Festival (Sue), heard me talking about the situation with a couple of the organizers. She said that she had a Tumbling Triangles quilt top and the pattern in her hotel room. Sue really didn't know why she stuck it in her luggage, but she did and I was welcome to use it for the class. She was a life saver and I was so happy!
I spent Friday learning to use the tool and making some blocks in between talking with Festival participants at the Chestnut Ridge Sewing booth. I got one of each of the four blocks made as well as all the pieces needed for a step by step visual of how to make each block. I was so relieved to not have to make the entire quilt top!
The class went well and the students were wonderful. At the beginning of the class, I explained the situation and they were appreciative of the fact that the class was not canceled. The were also ok with a sample that was only a quilt top and step by step visuals that did not match the sample. I sure did luck out with that group!
I spent yesterday getting myself reorganized and prepped for some presentations I will be doing this coming weekend at Gathering Stitches in Holmes County. After I was feeling pretty good about the status of that prep work, I decided that I REALLY wanted to do some sewing before heading to bed. I pulled out the bag in which I put all the Tumbling Triangles pieces, reorganized it, and sewed the rest of the small triangle units. I completed all nine of the A Blocks and have all the triangles units made for Blocks B-D.
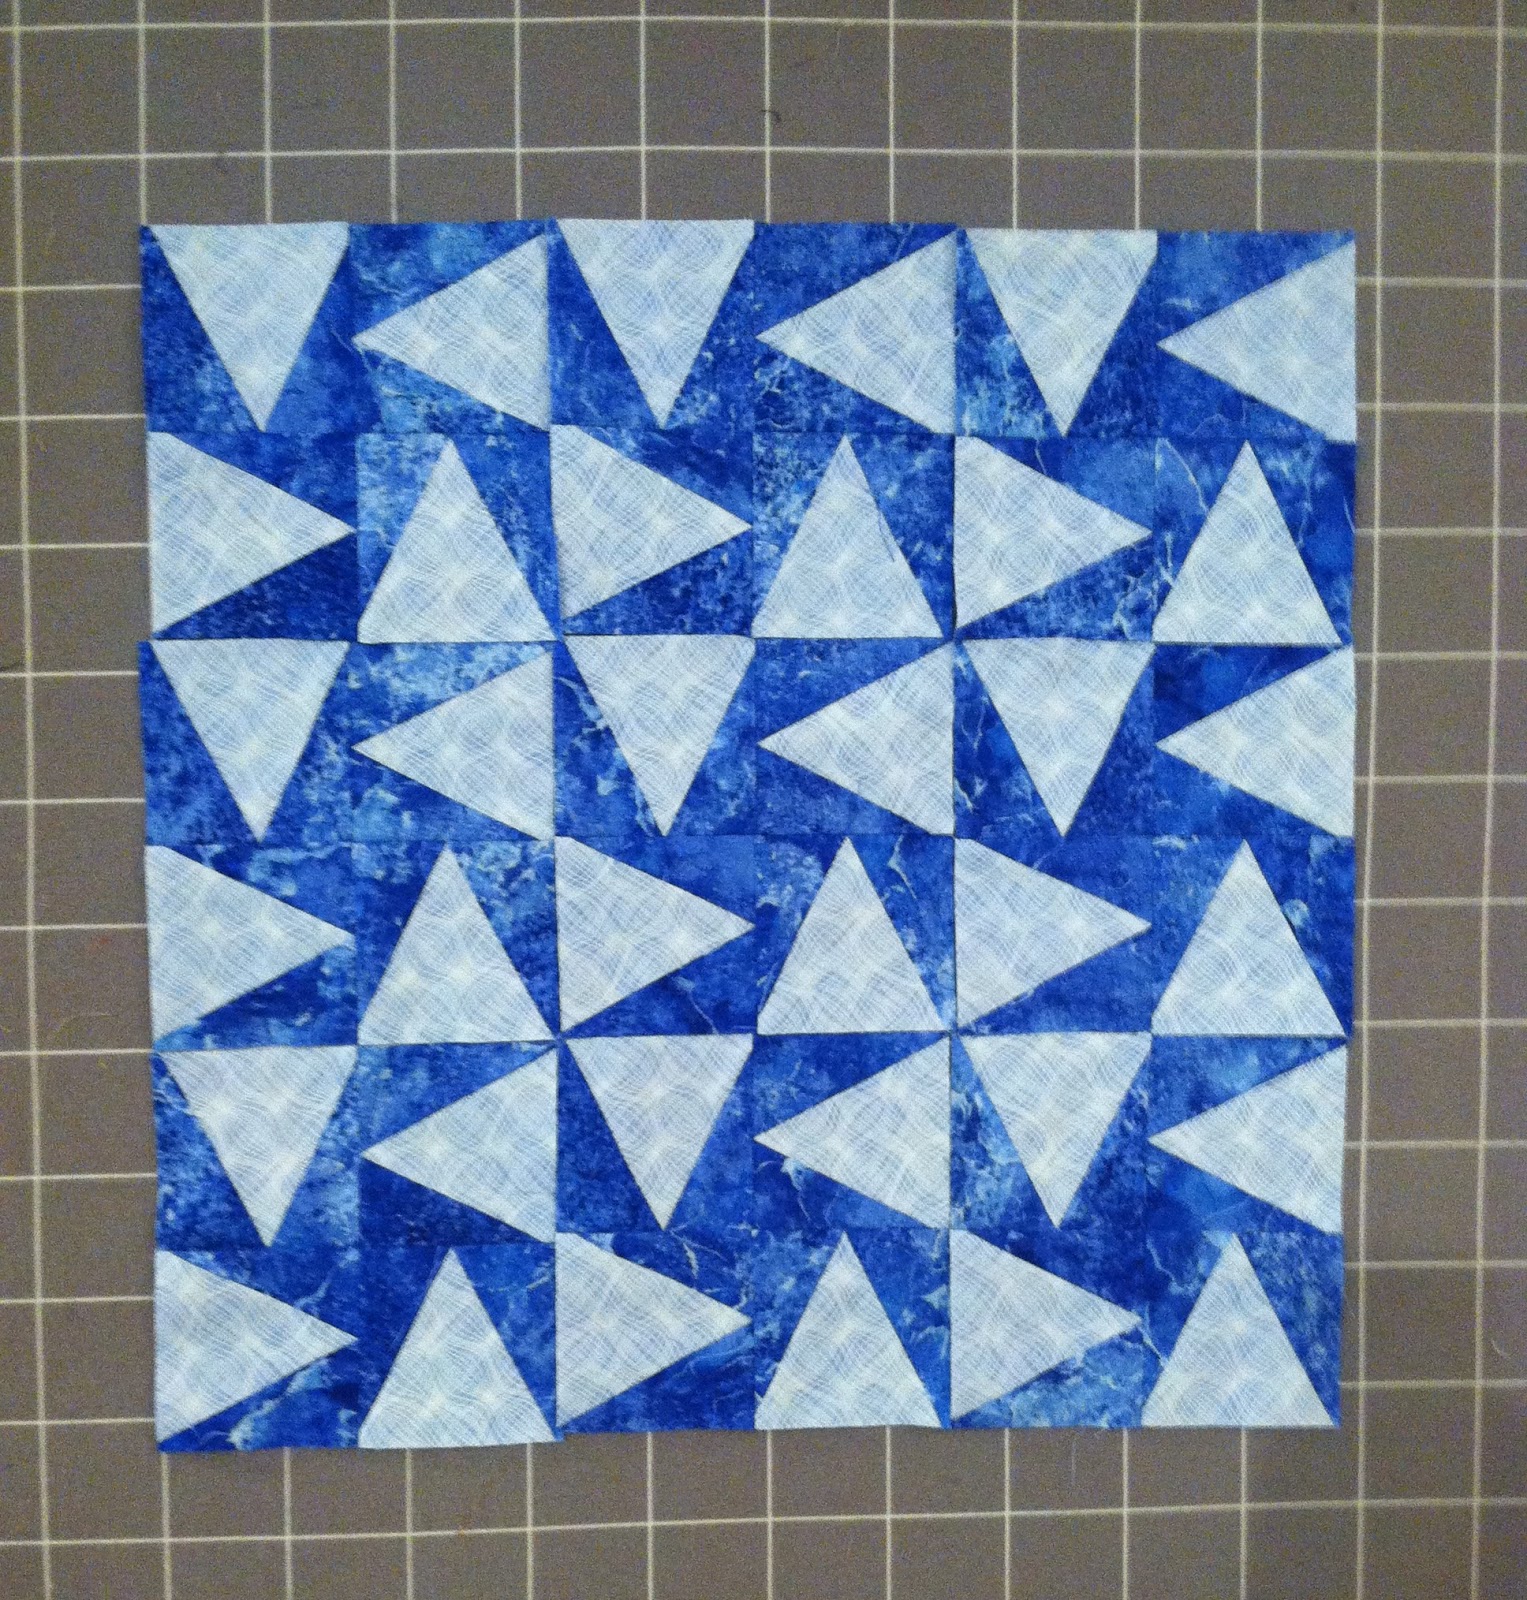
Since I was thinking that I needed to make a sample very quickly, I chose to make the 40" version rather than the larger one that I like. Each of the triangle units measure 3" finished, so the block is only 6" x 6". Here's a picture of the nine A Blocks. (They will not be placed side by side in the quilt.)
I have all the triangle units for the other blocks sewn and ready to press and trim. You can see what Blocks B-D will look like in the picture below.
For some reason, the picture I took of Sue's quilt, along with my step by step visuals did not work on my phone camera. That makes me a bit sad because I really wanted you to see her version. She used an off-white background and a Kaffe Fasset fabric for the triangles. I am making mine reversed. The background on my quilt will be the dark blue and the triangles will be the light blue. I can't wait to see how this turns out.
I'm hoping to get this quilt top completed soon and perhaps make another one, only larger. :-)
What are you working on today?
Check out some quilting eye candy at
and